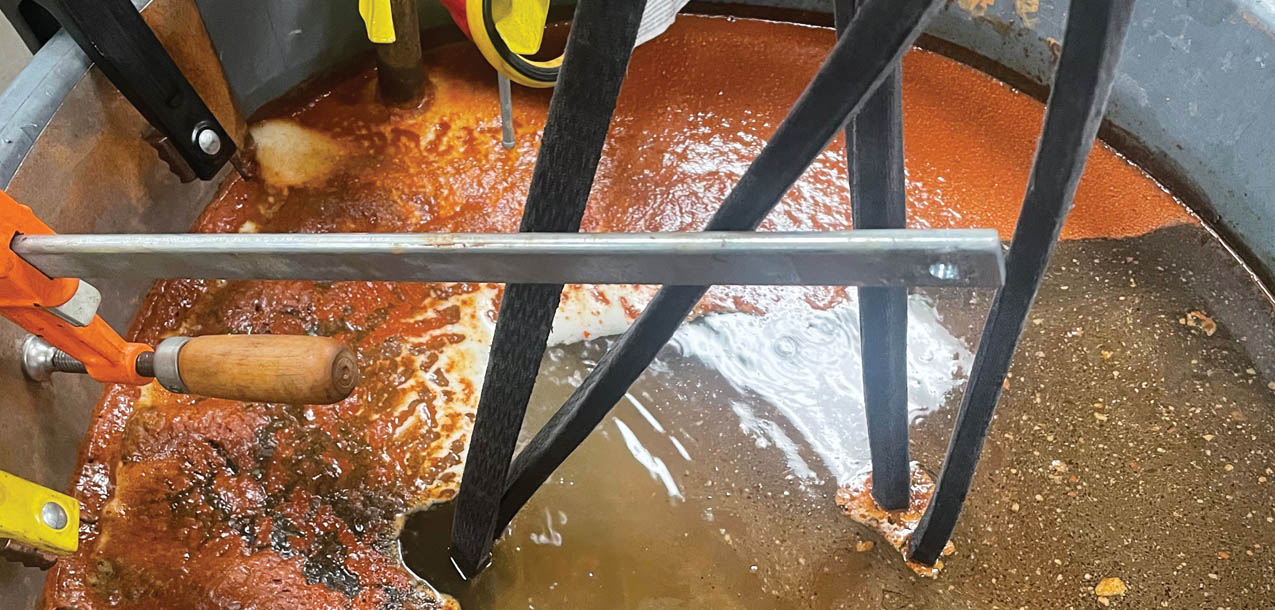
It’s Cheap and You Probably Have Everything You Need But…
DSPORT Issue #249
Text by Michael Ferrara
Rust sucks, but it’s a Reality foR iRon and many steel alloys that encounter moisture and air. Once you have a part that develops rust, you’ll probably want to find a way to remove the rust. While there are numerous chemical, mechanical and even electro- chemical means of rust removal, no single approach will work best for all situations. If you have a good understanding the costs and benefits of the various methods, you can choose the best approach for your situation. For exceptionally large items or when you are on a tight budget, the DIY method of electrolytic rust removal may be the best solution. A er reviewing the chemical and mechanical approach to rust removal, we will outline how to effectively build an electrolytic rust removal station from parts that you probably already have on hand.
General Safety Note
All rust removal processes are best conducted outdoors or in an exceptionally well- ventilated area as toxic or explosive fumes may be produced in the process. Always read all of the warnings and follow the directions when using any rust-removal products. When using mechanical methods such as wire brushes or sandpaper to remove rust, wear a mask.
Chemical Rust Removal
In the simplest terms, acids dissolve rust. Several commercial rust removers use strong acids like hydrochloric, sulfuric, and phosphoric acids. These strong acids can often remove rust at a fast rate, but they are more likely to damage paint and possibly the base metal.
Since these strong-acids are dangerous to work with, always follow the directions and avoid YouTube DIY tutorials that may provide inaccurate information that could create a dangerous situation. Most consumer rust removers use weaker acids like oxalic, citrus or tannic acids that use the same basic chemical process to attack the rust. In general, these products take a bit little longer to get the job done than the commercial products.
While we aren’t big fans of acid-based products for rust removal, products that rely upon chemical chelation are our favorites for chemical-based rust removal. We’ve had great experiences with EvapoRust and we use it frequently on rusted hardware and tools. We’ve found it to work extremely well when heated and when used in an ultrasonic cleaner too. It is the least likely product and process to harm paint and it’s also one of the safest methods. About the only drawback to many chemical rust removal products can be the cost for doing extremely large items like an engine block.
Mechanical Rust Removal
Wire brushes, sanding and media blasting are the most popular methods for rust removal by mechanical means. Depending on the hardness of the base material, brass, steel or stainless-steel brushes can be used to physically break the rust free from the surface of the part. If parts are flat enough to use a power sander, sandpaper can also be used to effectively remove rust from a surface. Since many parts may not have the geometry or are too big to use brushes and sandpaper exclusively, media blasting is another popular option. However, not all media blasting is created equal. Media blasting methods using sand, glass or steel shot should be avoided on engine parts. The reason is that there will always be some amount of media left remaining on the part and sand, glass or steel is going to damage your engine bearings. Instead, a soluble media like baking soda (soda blasting) should be used on engine parts. Even if some soda media is left on the part, it will simply dissolve into solution once in contact with the engine oil. While the ultimate plan for rust removal may rely upon a chemical or electro-chemical process, mechanically removing as much of the rust as possible with brushes or media blasting will speed up the amount of time required for the chemical and electro-chemical process.
Electro-Chemical Rust Removal
In addition to chemical and mechanical methods for rust removal, there is an electro- chemical process that uses electricity that is very effective in rust removal. By passing a small current through the part that is submerged in an electrolytic solution, the rust (iron oxide) has its oxygen stripped away, forming magnetite (the black substance) and then eventually you are left with iron again. The amount of current needed depends on the size of the part but a trickle or standard car battery charger should be in the range needed. As for the composition of the electrolyte used, there are a few options available which will be explained later.
Part Prep
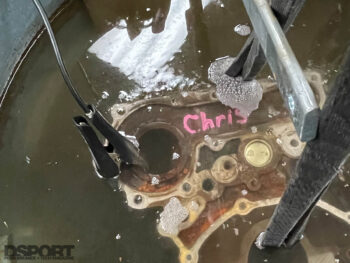
Regardless of what rust-removing process is being used, the part itself needs to be free of greases, oils, waxes and other substances that do not conduct electricity. If there is paint on the object (and rust under the paint), expect the paint to come o during the process too. We typically pressure wash large items and them give them a good scrubbing with Simple Green Extreme cleaner and then a second pressure washing rinse. If there is any flaking rust on the outside of the part, give the exterior of the part a good brushing to get o that loose layer. Also, make sure there is a least one clean, rust and paint free spot to make the electrical connection to the part with the negative cable if electrolytic rust removal is planned.
Electrolytic Rust Removal System
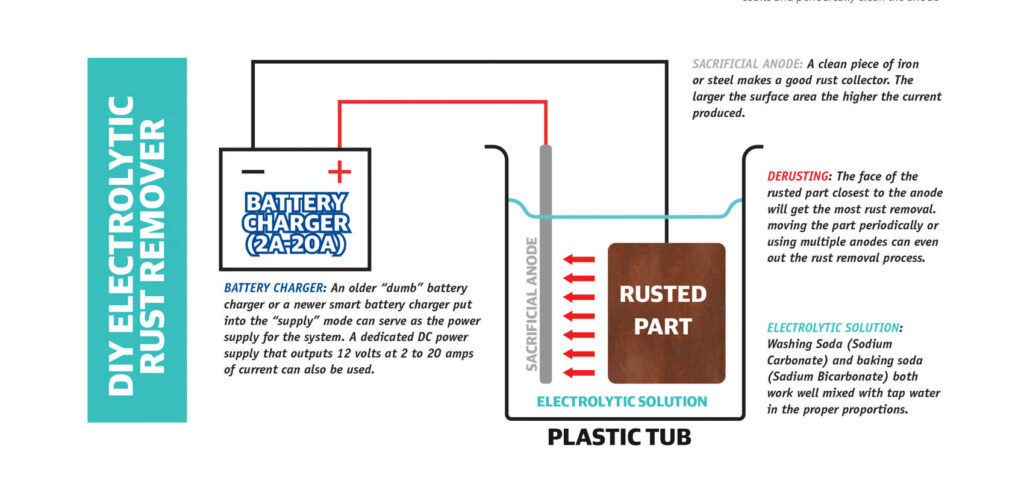
A DC power source (battery charger), water, an insulated tub, a sacrificial anode (piece of iron or steel), some wire leads and electrolyte chemicals (Washing Soda, Baking Soda or Salt and Vinegar) are all that is needed to build your basic electrolytic rust remover.
DC Power Supply:
As mentioned previously, a battery charger is most o en used in a DIY electrolytic rust removal system. If you have a regulated DC power supply that operated at 10-20 volts and can deliver anywhere from 2 to 20 amps, that could also be used. Some newer smart chargers may need to be put into a “supply” mode to work properly. The amount of current required depends on the surface area of the part being de-rusted. Larger parts can benefit from more current. Tip #1; If the water is getting significantly heated up during the process, you are using more current than needed. Tip #2: Assuming your DC power source doesn’t have a current control, you can reduce the current by reducing the concentration of electrolytic chemicals in the solution or by using a smaller surface area sacrificial anode. Tip #3: When doing this process it is important to never leave the part in the tub of electrolyte when current is not flowing. This will only cause the rusting process to put the rust back on that you have removed.
Warm Tap Water:
Tip #4: Do not waste money on distilled water. Tap water already has some trace minerals that will act as an electrolyte which is needed for the process to occur. As with many chemical reactions, heat aids in the chemical process. Tip #5: Using warm water will speed up the rate of reaction and de-rust the part faster. Warm water will also dissolve the electrolytes added. However, warmer parts will flash rust quicker when removed from the solution.
Insulated Tub:
The insulated tubs that we have used have included 5-gallon plastic buckets, huge plastic storage totes and even 55 gallon plastic trash pails. Glass aquariums can also be used with caution as you can easily break the glass if you hit it with the part. If the container doesn’t conduct electricity and it can hold water, it’s a candidate.
SACRAFICIAL ANODE:
The sacrificial anode can also be called the rust catcher as you’ll see it build up a coating of rust about as quickly as the rust gets removed from the part. The best material is iron or mild steel. Avoid stainless steel and galvanized steels as they may produce small quantities of undesirable and potential harmful fumes. The bigger the surface area of the rust catcher, the faster the rust removal will occur. In an ideal setup, there would either be multiple anodes or a continuous anode that surrounds (but never contacts) the part. The more surface area of the anode(s), the higher the amperage that will be used and the faster the process will take place. Be sure that the anode is clean (especially where it connect to the wire coming from the DC power supply) for best results and periodically clean the anode during the process for best results.
Wires:
In most setups, you can probably just use the leads from the battery charger to connect to the part (negative cable) and the sacrificial anode (positive cable). If you need to extend these for any reason or if you are connecting multiple anodes, use a copper wire of at least 16AWG.
Electrolyte Selection:
This is where some trial and error will help you determine the best compounds to use for your electrolytic rust remover system. Here are the pros and cons of three of the most popular solutions.
A) Washing Soda (Sodium Carbonate): Sodium Carbonate mixed with tap water is usually done in a ratio of 5 gallons of water to 1/3- cup of Washing Soda. In some cases, the amount of Washing Soda can be doubled if more current is needed. Washing Soda solution will have a high pH and will irritate the skin, so wear gloves. When you have completed your rust removal, you should neutralize this solution back to pH neutral with the appropriate amount of vinegar. Get pH testing strips to determine the pH levels.
B) Baking Soda (Sodium Bicarbonate): Sodium Bicarbonate mixed with tap water is usually done in a ratio of 5 gallons of water to 2/3-cup of Baking Soda. The amount of current created by this electrolyte will be less than Washing Soda. However, the pH increase from Baking Soda will be minimal and shouldn’t require neutralization.
C) Salt and Vinegar: A 50/50 ratio of white vinegar to tap water is o en used for rust removal from cast iron and steel. Adding some salt to the solution to make it an electrolyte allows it to be used in an electrolytic rust removal system. This solution has the benefit of being a rust remover on its own. However, since the vinegar (acetic acid) is a weak acid, it can etch the metal which may or may not be desirable. Etched metal will allow primer and paint to adhere better to the metal.
Post Rust Removal Process
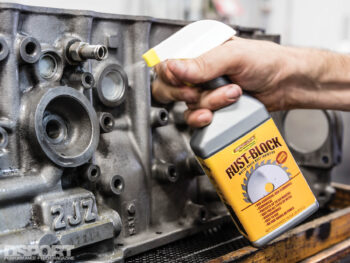
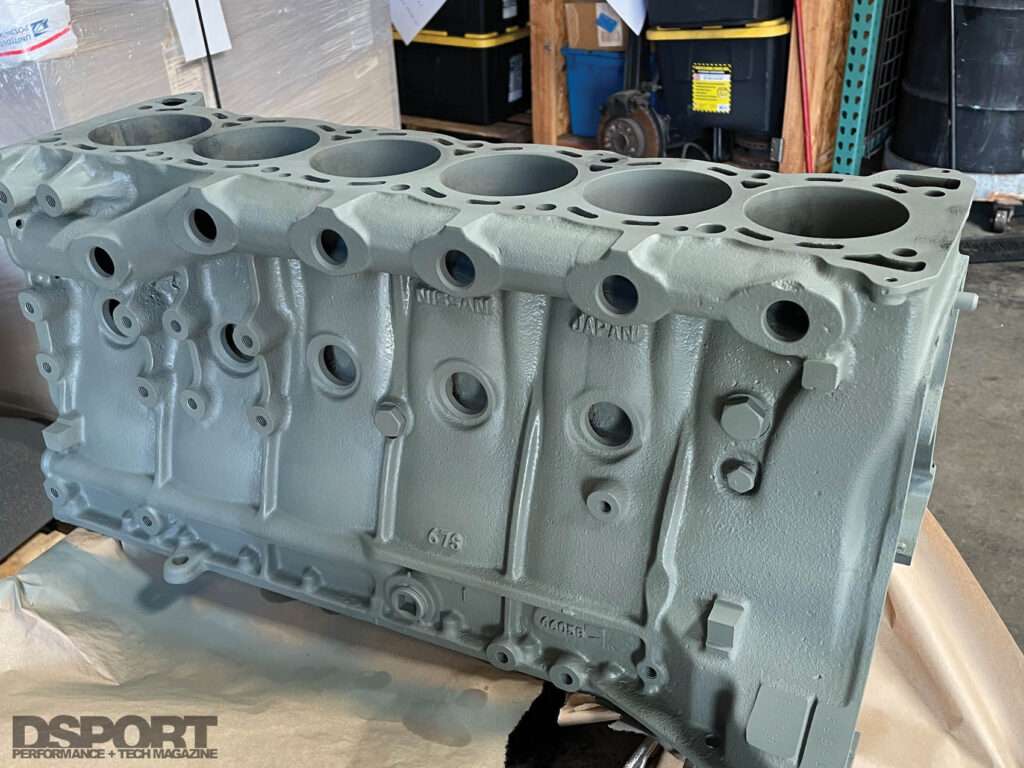
Once you are happy with the results from the process, it’s important to have a plan to prevent future rusting of the part. In most cases, the first step should be to rinse the part in cold water to remove any traces of the electrolyte. The second step is to remove as much of the water on the part with a towel or compressed air. If you have a drying oven, put the part in immediately a er blowing o the water. If you are not planning to immediately prime and paint the part, a liberal coating of WD40 will help displace the moisture and provide a temporary barrier for rust formation. Another alternative is to use a chemical like Rust Block from Evaporust. Rust Block will also temporarily prevent rust formation but it will not leave an oily film and can be painted over directly. If WD40 is used be sure to clean the part with acetone or lacquer thinner before priming. Paint adhesion will be the best on bare metals when a self-etching primer is used. Follow the instructions provided for coat thickness, time between coats and drying time. Do the same for the paint being applied over the primer.
The Bottom Line
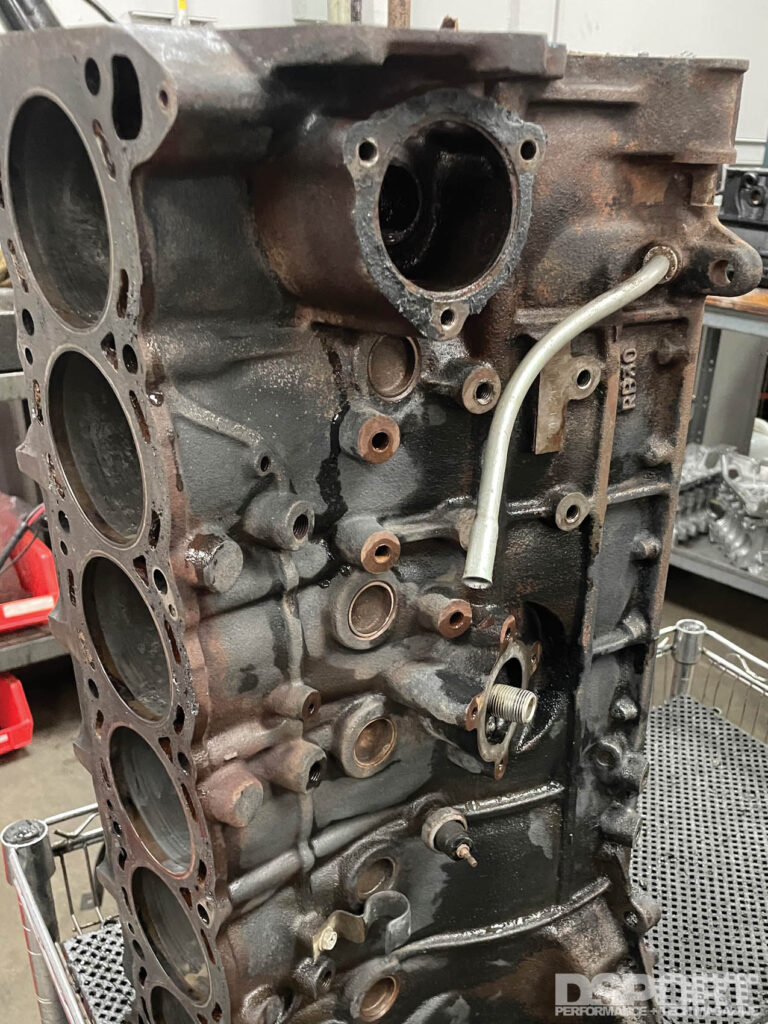
Nissan RB30 blocks tend to have the rustiest guts of any engine block we come across. A couple days of electrolytic rust removal and a round or two in the soda blaster, can get those blocks in better than new condition. The low cost and high effectiveness of electrolytic rust removal makes it a viable process to remove rust on many parts. Considering that you probably have most of the parts on hand to put together your own system, you should give it a try and see how well it works for you.


