
FOUR CYLINDERS, IRON BLOCK AND READY TO ROCK. NISSAN’S KA24DE engine sports a 2.4-liter displacement, dual overhead camshafts, four valves per cylinder and a compression ratio of 9.5:1. In many ways, the design of the KA24DE makes it the perfect candidate for a high-horsepower, turbocharged setup. For that very reason, we’ve been beefing up our Project KA to become the solid foundation for an extreme test of turbocharger technology.
Text and Photos by Jun Chen

The Goal
For every person that understands how a turbocharger works, there are likely hundreds of others who don’t. Even owners of turbocharged vehicles may not know why their turbo or setup performs below, at, or beyond their expectations. Variables such as turbocharger size, aerodynamics, compressor maps and various other factors make the performance of each turbocharger different and hard to quantify. With that said, it’s also the reason why we’re building a bulletproof test platform with a modular turbocharger setup. Utilizing Garrett/ATP Turbo’s divided V-Band flange, we’ll be able to test turbochargers ranging from a GTX3067R (500WHP) all the way up to a massive GTX3582R (750WHP). By changing just one variable such as turbine housings or a wheel combination, we will be able to show exactly how any single change will be reflected on the dyno graph.
Although Project KA already had a fully-built engine, it’s previous configuration centered around a streetable 91-octane, 500WHP setup. Since our new goal will be a full-blown racecar and upwards of the 700WHP mark on E85, the turbo, fuel and electronics systems needed upgrading.
Big Boost Parts
 Starting with the turbo setup, the previous GTX3076R turbocharger utilized a T3 flange mated to a PeakBoost exhaust manifold. For this test, we wanted to ensure that swapping turbochargers on and off would be as easy as a turbo swap could get. With a four-bolt setup like the T3 inlet, extreme temperatures and chance of a leaky gasket meant likely headaches during the testing process. Instead, we’ll be using Garrett/ATP Turbo’s divided V-band inlet. V-band housings require less complex hardware than a traditional four-bolt housing, making for easier installation and removal. In addition, the gasket-less design ensures leak-free operation.

The exhaust manifold built by Wisecraft Fabrication features individual wideband UEGO sensors on the top of each runner and individual EGT thermocouple sensors on the bottom of each runner (not pictured).
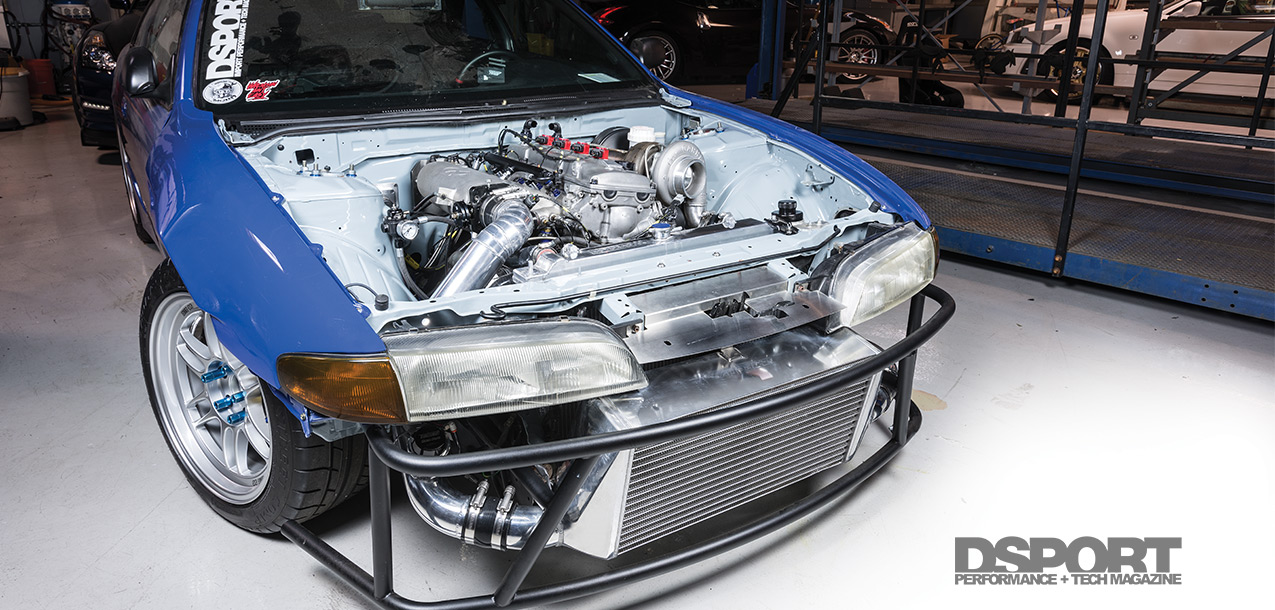
With ATP Turbo supplying the necessary divided V-band collector for the manifold, we turned to Chris over at Wisecraft Fabrication to fabricate the new turbo kit. Utilizing the divided V-band collector, he built us a custom TIG-welded top-mount manifold. Unlike a traditional V-band that allows the turbocharger to be rotated, a divided V-band does not allow the turbo to be clocked. Therefore, Chris carefully measured, designed, and re-measured utilizing the largest turbo to ensure adequate clearance. Since the overall length of the turbochargers in this family is the same, the process to change the turbos should be straightforward. After building the manifold, he welded on four upper bungs for individual wideband universal exhaust gas oxygen (UEGO) sensors, four lower bungs for individual exhaust gas temperature (EGT) sensors and a V-band flange for the Turbosmart Hyper Gate 45 wastegate.

Moroso provided us a few racing-specific parts including the line lock pictured above, a sealed battery box, driveshaft loop and a cut-off switch.
Since the largest turbo setup should deliver at least 50-percent more power than before, we upgraded the intercooler from an HKS S-type to a massive GReddy 25R HG unit. This tube-and-fin intercooler measures in at 294x600x149mm and is the thickest S14 intercooler that GReddy offers. Once the hot air charge is cooled across the intercooler, it rushes through the charge pipe fitted with a Turbosmart Race Port blow-off valve to relieve any excessive pressure. The air charge then passes through a 74mm Skunk2 throttle body mated to an Xcessive Mfg. intake manifold. Wrapping it up on the spent gasses side, a custom downpipe also fabricated by Wisecraft Fabrication joins the exducer of the turbo to the 3-inch exhaust system.

In addition to the exhaust manifold, Wisecraft also fabricated the intercooler piping,downpipe and added all the bungs for all of the sensors.
The Electronics
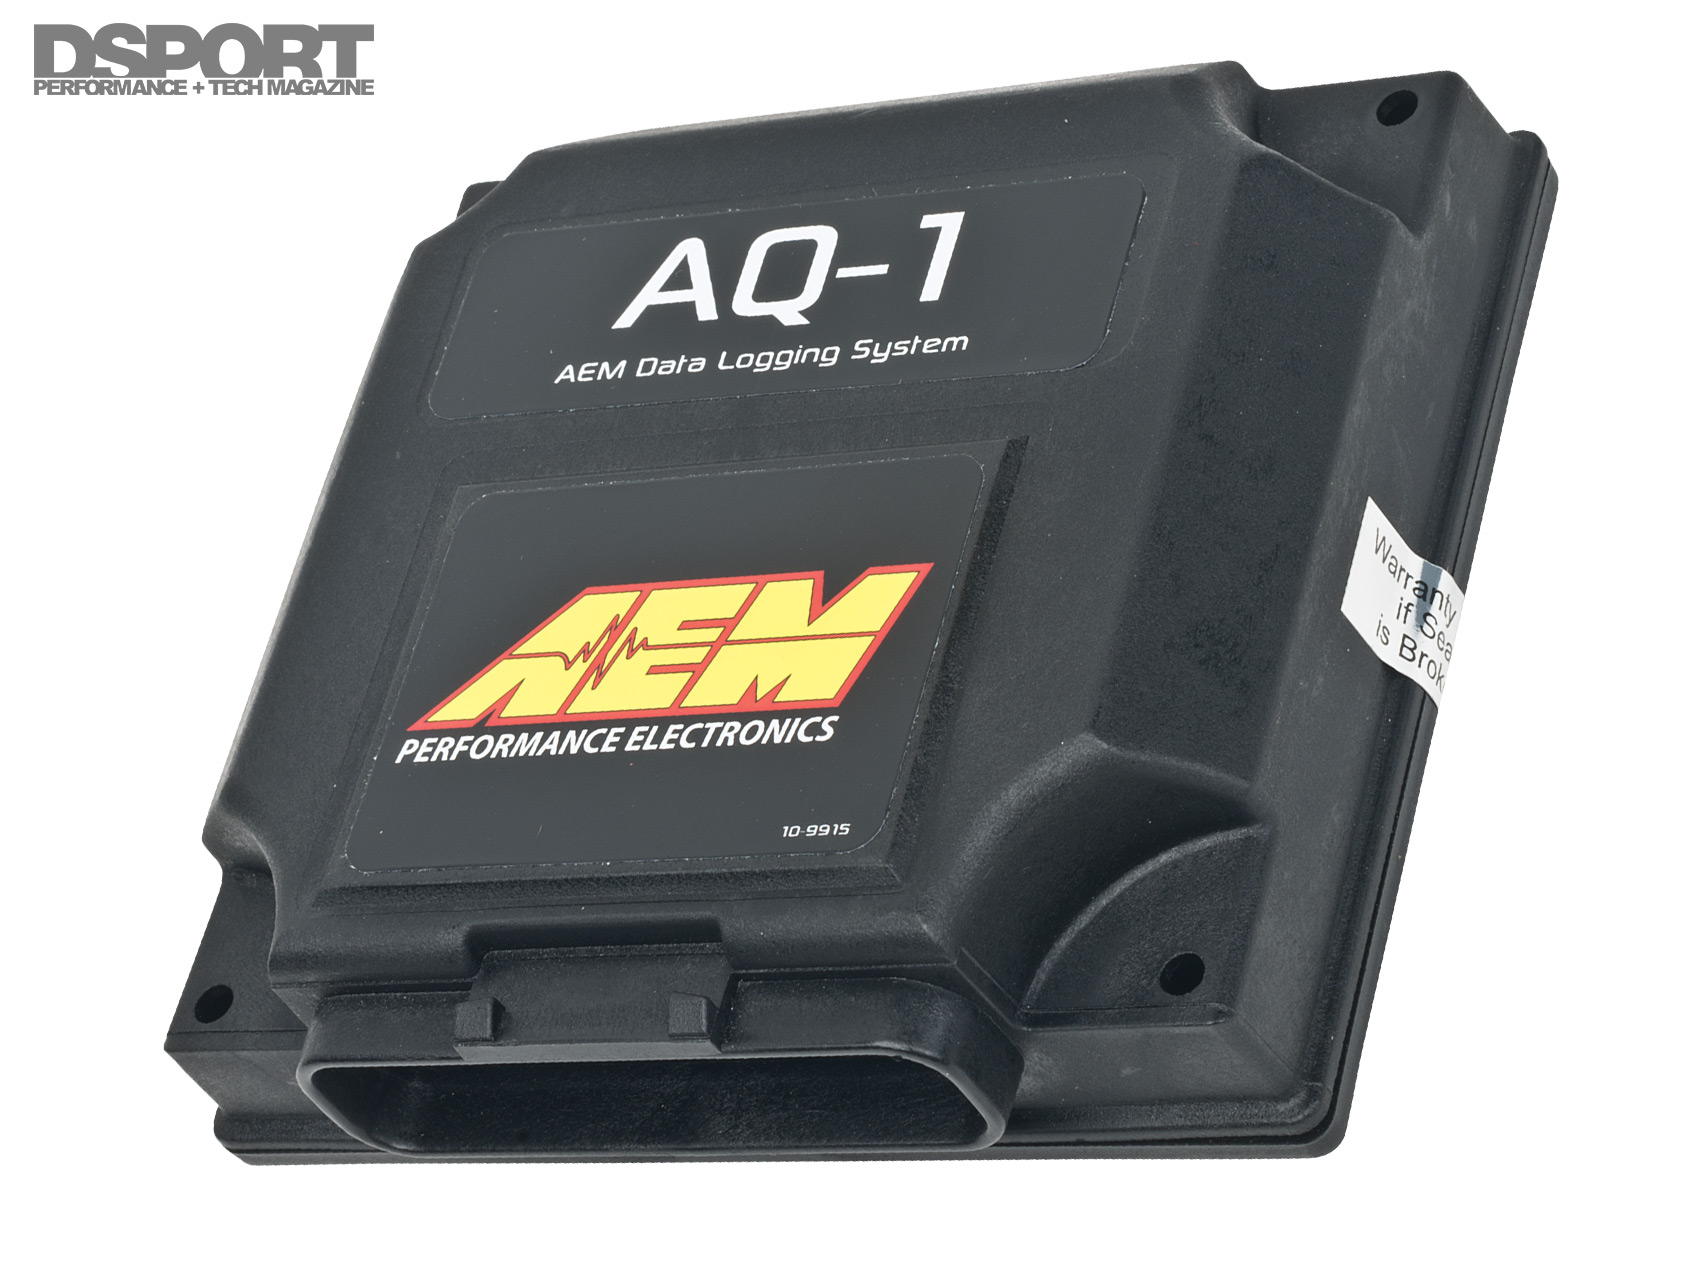
Although A’PEXi’s Power FC engine management system delivered reliable performance, it’s 15-year-old technology cannot deliver the same tuning ability and flexibility as modern volumetric efficiency (airflow model-based) units like the AEM Infinity. In addition, our decision to make Project KA a turbocharger test bed meant that the factory harness with a jumper would no longer suffice either. To this end, we sought an engine harness solution for the 240SX that could support data acquisition hardware. Prior to the test, we had already decided on adding the AEM Infinity-6 ECU to Project KA, but turning it into a test platform meant we needed more channels than it could offer. Thus, we paired the Infinity-6 with AEM’s AQ-1 datalogger, 4-channel UEGO controller, 4-channel K-type EGT amplifier and a multitude of pressure, temperature, EGT and wideband UEGO sensors.

Sensors Galore
You might be thinking that it’s a lot of sensors and electronics, and you’d be right. But it’s all there for a reason. Had we simply built a streetcar, there would be no need to have such sophisticated data acquisition. However, our goal is to build a turbo testing machine that can tell us everything we would possibly need to know about the engine’s health and performance. As previously mentioned, the new setup includes individual wideband UEGOs and EGTs on each exhaust manifold runner. While the UEGOs will be able to tell us exactly which cylinders are running rich and which ones are running lean to reach our target air/fuel ratio, the EGTs will help us tune the ignition timing. The new setup also includes temperature and pressure sensors before and after the intercooler, giving us the ability to monitor the pressure drop caused by flow resistance across the intercooler.
Harnessing the Power
For the harness, we turned to Ryan Basseri and his team at Rywire Motorsports Electronics. Although Rywire’s well known for its Honda swap and wire tuck harnesses, they’ve also expanded to fully custom, motorsports harness builds. He helped us put together a plan and built an Infinity-6 harness, an AQ-1 harness and a fuse box to tie everything together. This harness features Raychem DR-25 heat shrink and junction boots throughout, yellow identification tags, as well as other motorsports harness qualities including concentric wire twisting, proper shielding and strain relief looping at the connectors.
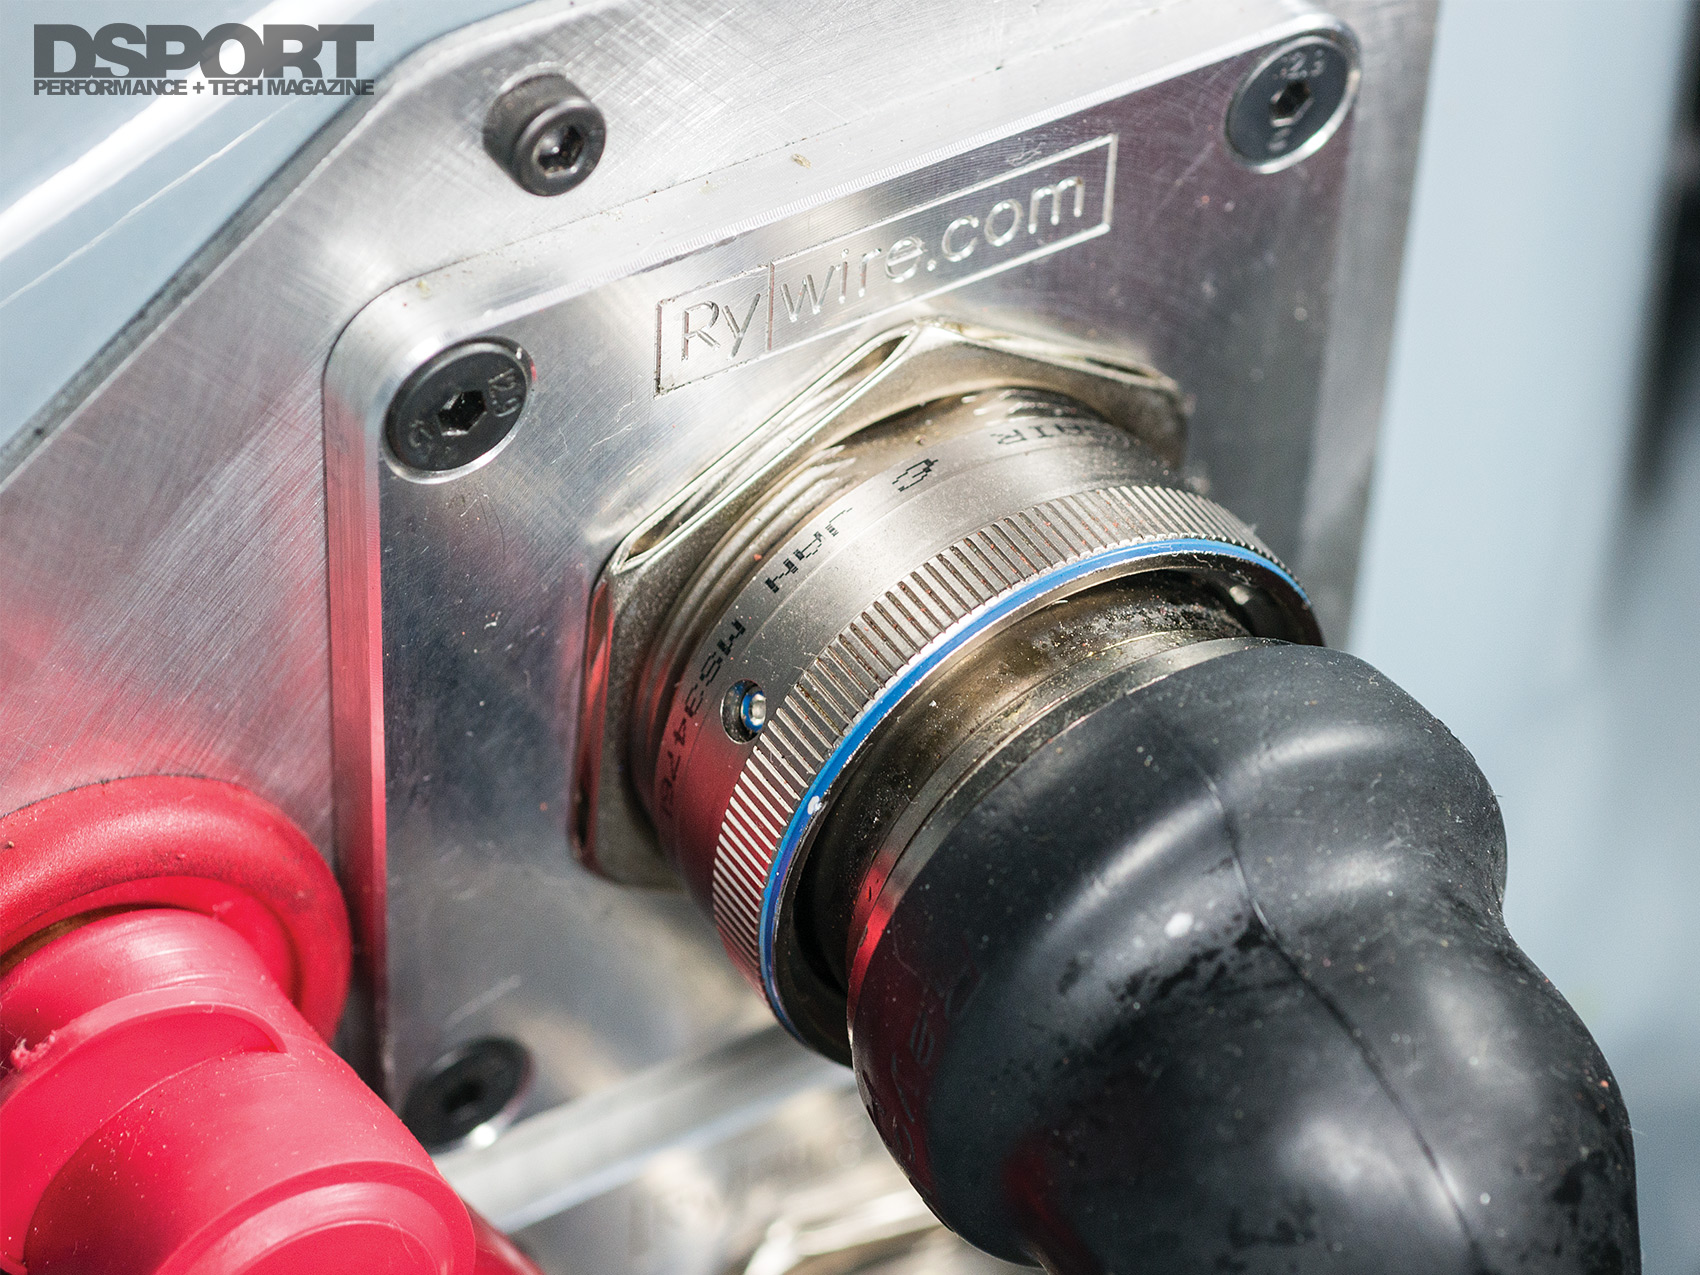
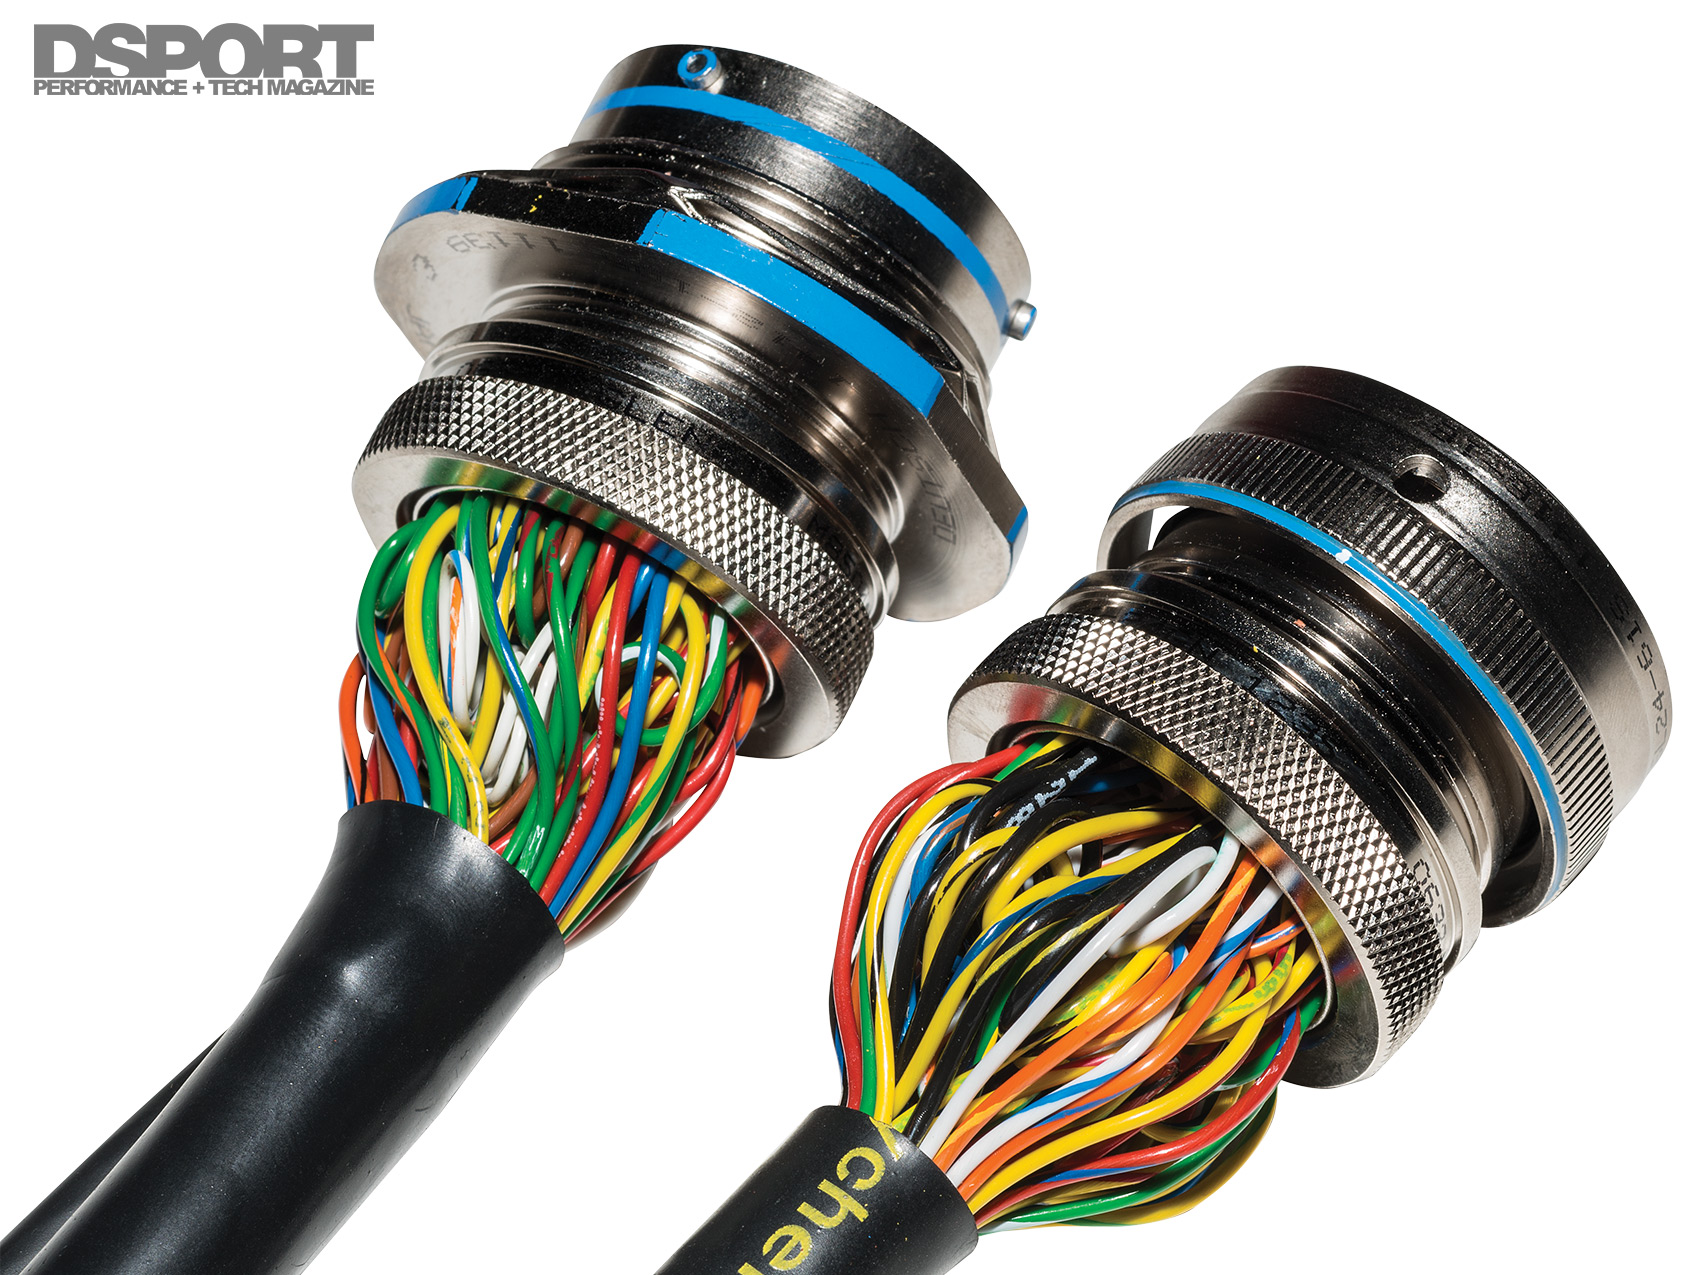
(L) The Rywire engine harness utilizes a firewall bulkhead plate as a way to quickly disconnect the harness and remove the engine without having to unplug the harness from the engine. (R) These Mil-spec bulkhead connectors feature service/ strain-relief looping at the connector. This allows future changes without lengthening the wire and ensures no one wire has more strain than another.
The Fuel System
 With the turbo system and electronics upgraded, the last thing we needed to add was an E85-compatible fuel system. From the pumps to the injectors, E85 has very different requirements than ordinary gasoline. As E85 requires 42-percent more fuel flow than gasoline to reach stoic (14.7:1 for ordinary gasoline versus 9.8:1 for E85), demanding more from both the pumps and the injectors. The old setup, designed around 91-octane and 450WHP, consisted of an Aeromotive 340 stealth pump and Fuel Injector Clinic 1,100 cc/min injectors. This new setup would require much more fuel flow to support the increased horsepower levels on E85.

The Powerhouse Racing twin-pump billet fuel pump hat is a drop-in solution for the 240SX.
Pump and Lines
To replace the single pump, we fitted a pair of TI Automotive F9000267 E85-compatible fuel pumps inside the fuel tank mated to a Power House Racing twin-pump hat. We also modified both of the pumps to keep the relief valve closed above 80-90psi of fuel pressure. Connecting the fuel system together is a complete set of Earl’s Ultra-Flex 650 hoses, fittings and in-line fuel filters. The Ultra-Flex 650 hose features an ultra-light Kevlar braid and smooth-bore Teflon tubing for increased flow. Unlike gasoline, E85 requires Teflon-lined hoses to resist fuel permeation through the hoses. Ordinary rubber lines will harden and begin to crack when subjected to E85, creating fuel leaks and potential danger of fire.

In addition to the plethora of Earl’s E85-compatible lines and fittings, our Project KA is also running a two-stage fuel filtration setup. These filters ensure that the fuel being delivered to the injectors is free of particulates.
With the pumps and lines now upgraded to handle the increased fuel delivery requirements, we shifted our focus to the injectors. The current Fuel Injector Clinic 1,100 cc/min injectors were already reaching max duty cycle at 450WHP, so an injector upgrade was in order. To handle the E85 fuel flow, we opted for a new set of Fuel Injector Clinic 1,650 cc/min injectors. Unlike many of the very-high-flow Bosch-based injectors; these units will accept any type of fuel, including those race fuels oxygenated with MTBE. Put simply, they’re the highest flowing, high-impedance injector with all-fuel compatibility currently on the market. To complement the increased fuel, we upgraded the ignition system with a set of high-performance Ignition Projects coil packs. These coils, originally designed for Honda K-series engines, bolt to a custom fabricated valve cover by Naoto Negishi of NCS Designs.

AEM’s universal adjustable fuel pressure regulator (p/n 25-302BK) is one of the most compact units currently on the market. This regulator is rated to support fuel flow up to 1,000HP, more than enough for Project KA.
Almost Ready to Rock
After making the necessary upgrades to the turbo system, electronics and fuel delivery, our good friend Tyler Hara from AEM Electronics came down to help us get the car fired up. In just a half hour, he set up the AEM Infinity and the KA24 rumbled back to life. Once Jeren finishes wrapping up a few other loose ends, the 240SX will head back to the dyno for a proper tune on the new ECU. Once we verify that the engine is healthy and that all of the sensors have been calibrated correctly, we’ll begin testing all of the turbo combinations available with the divided V-band. You won’t want to miss out.
