2000 Honda S2000 Clutch Install
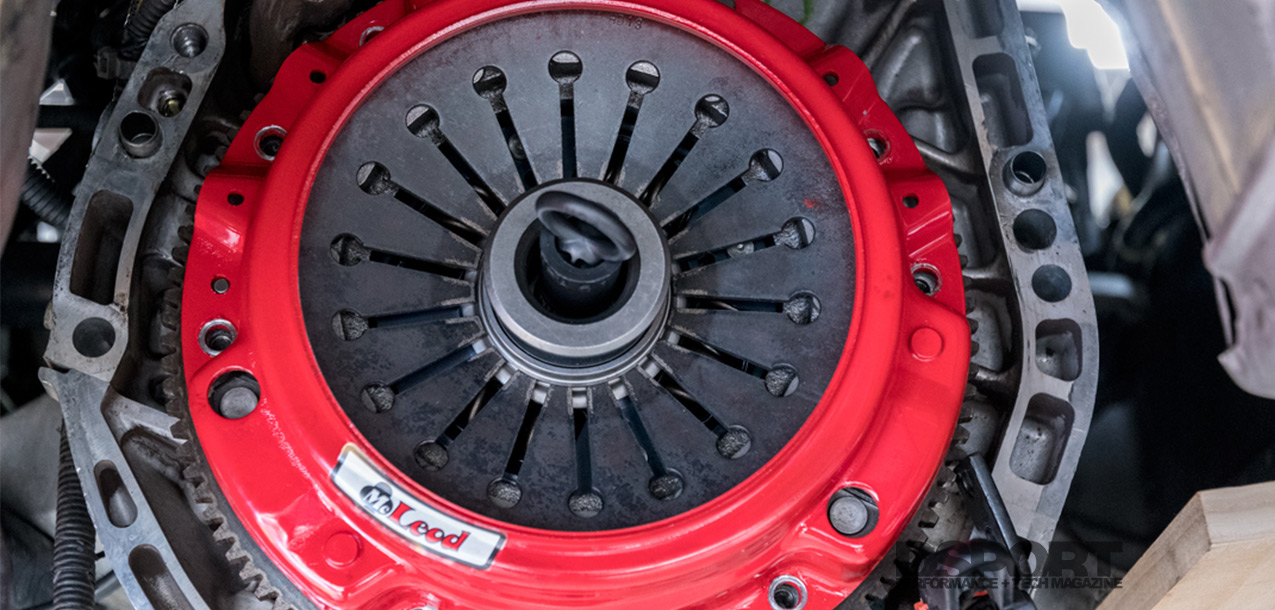
Our project Honda S2000 clocks in with 366,000 miles on the odometer, with only two clutch changes in its whole life. As put together plans to bring the car back up to snuff, a new clutch was added to the list. Given that the car will likely see some mild power upgrades and track time in the future, we opted for some more capable hardware, McLeod’s Street Tuner clutch. Scroll down and learn some of the essentials in swapping a clutch on the Honda S2000.
Text and Photos by Cameron Parsons
DSPORT Online Content
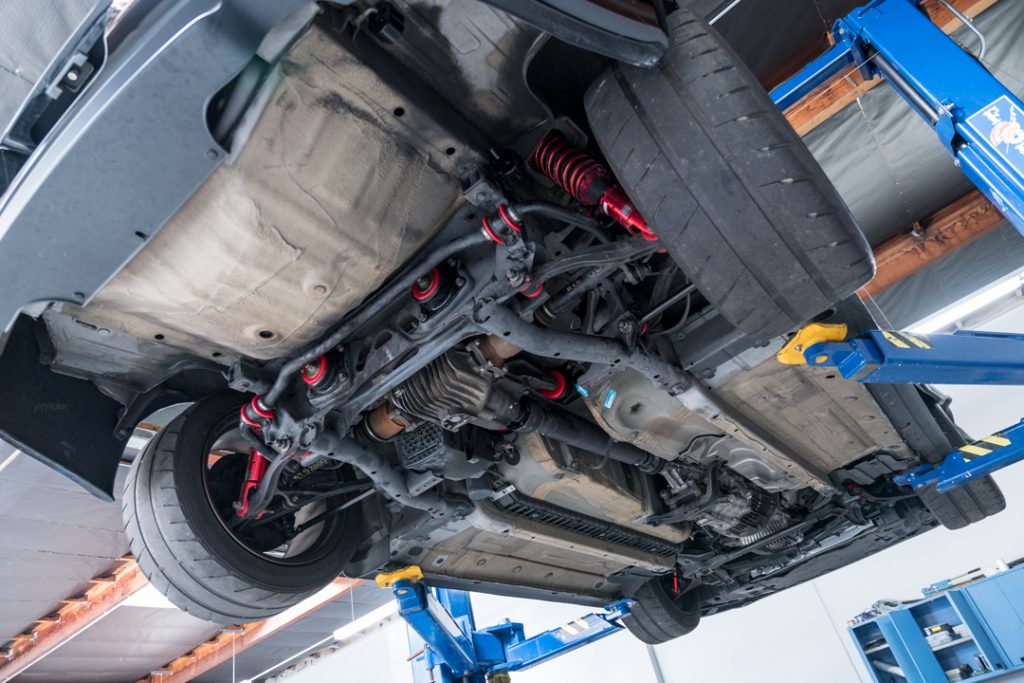 A lift isn’t a necessity, but it will make the job a whole lot easier. If you use stands, get the car as high as you can and ensure that the stands are securely placed in proper and safe locations.
 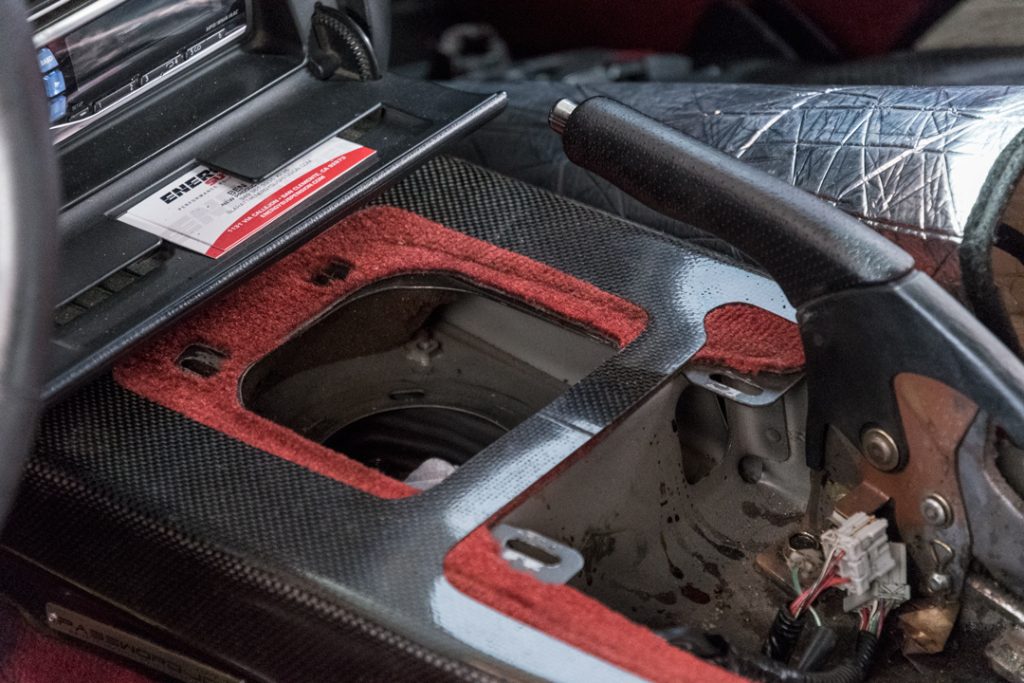 Before going in underneath the car, a few items need to be taken care of in preparation. The airbox, shifter, center console, and exhaust need to come off first.
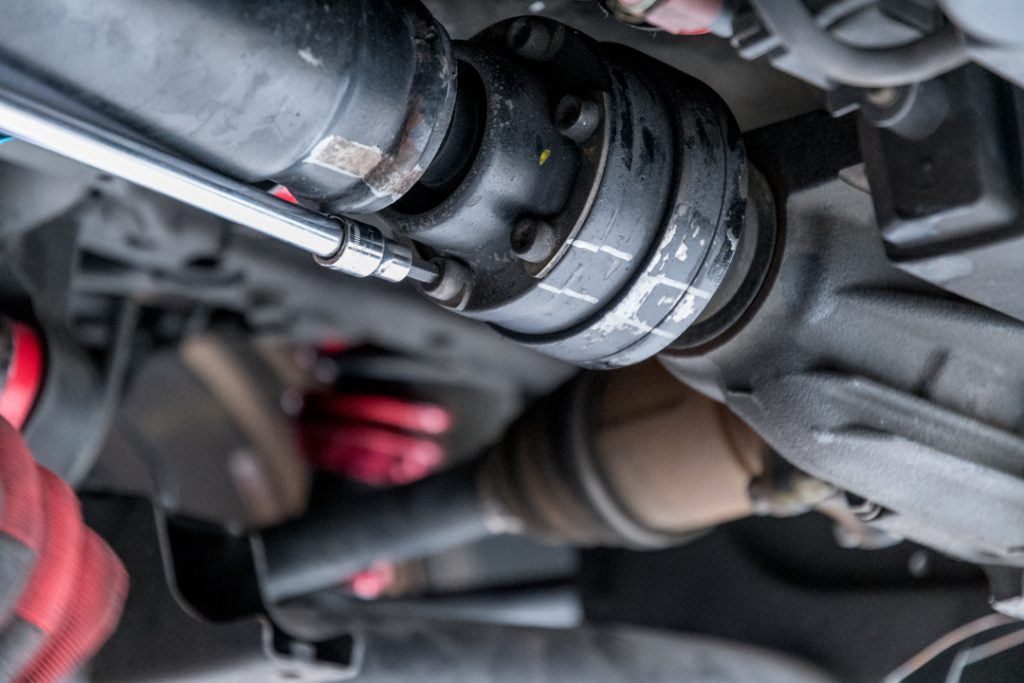
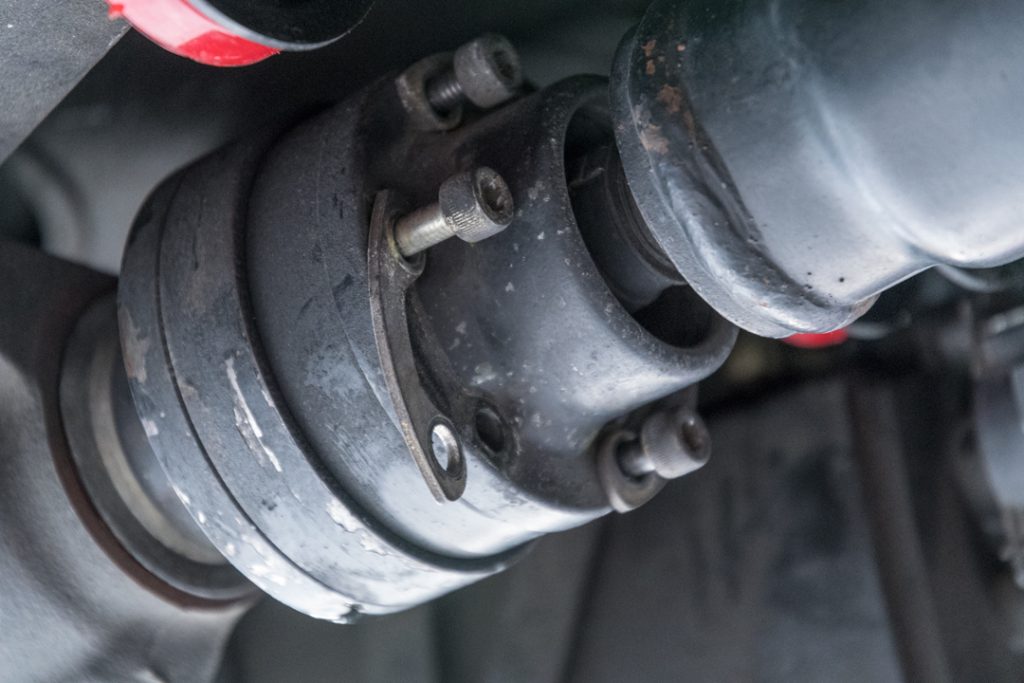 Remove the 8mm allen bolts to remove the driveshaft.
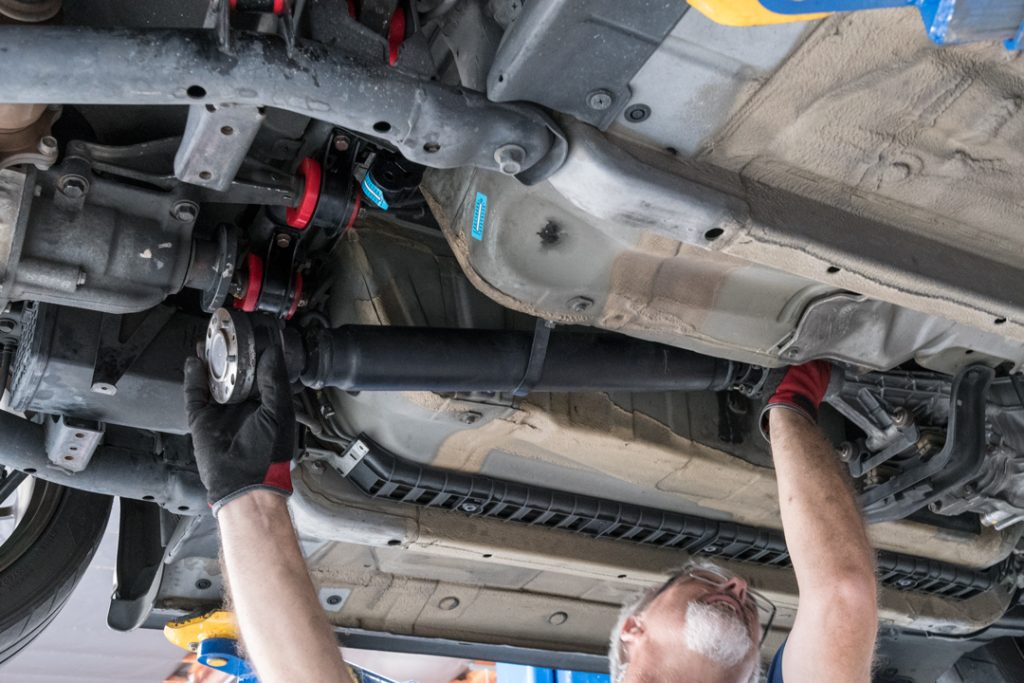 With all driveshaft bolts removed, then remove the driveshaft.
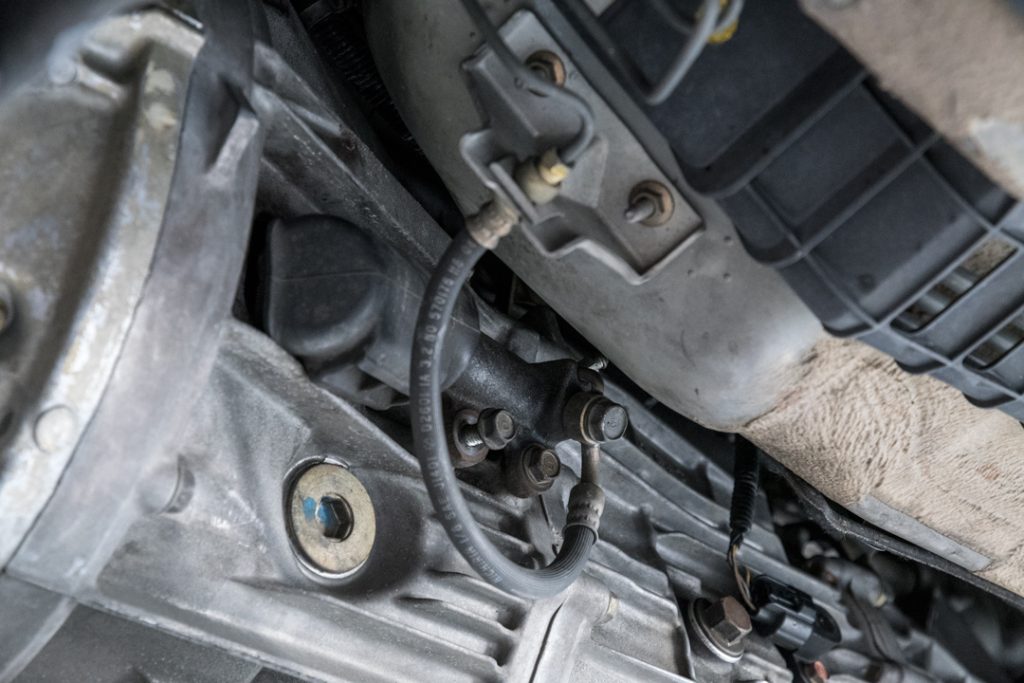
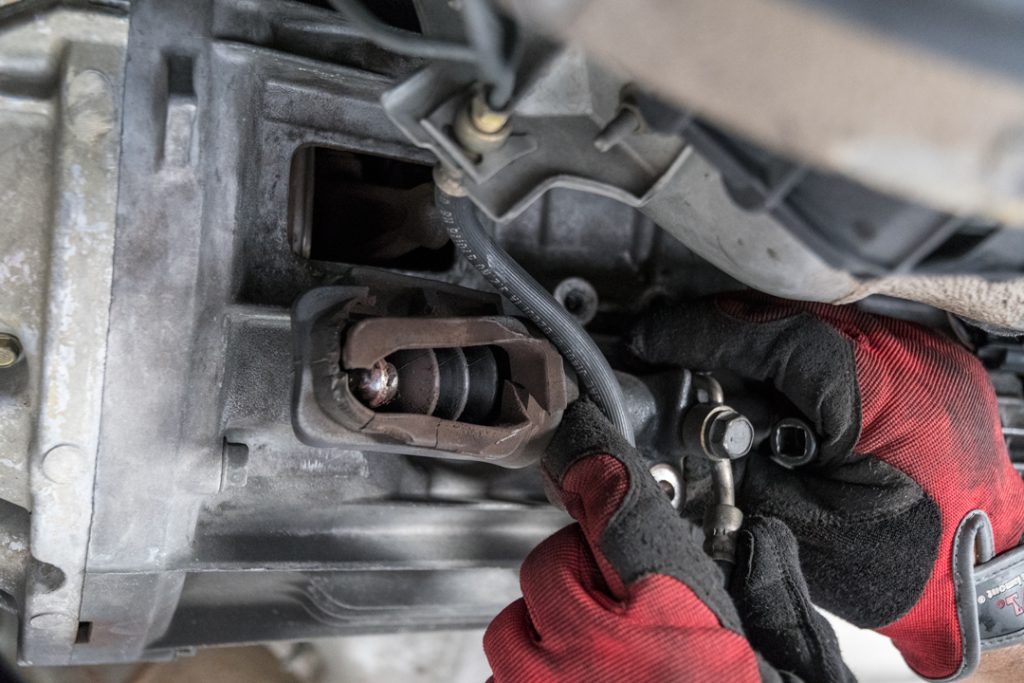 Remove the clutch slave cylinder, mounted on the driver’s side of the transmission housing.
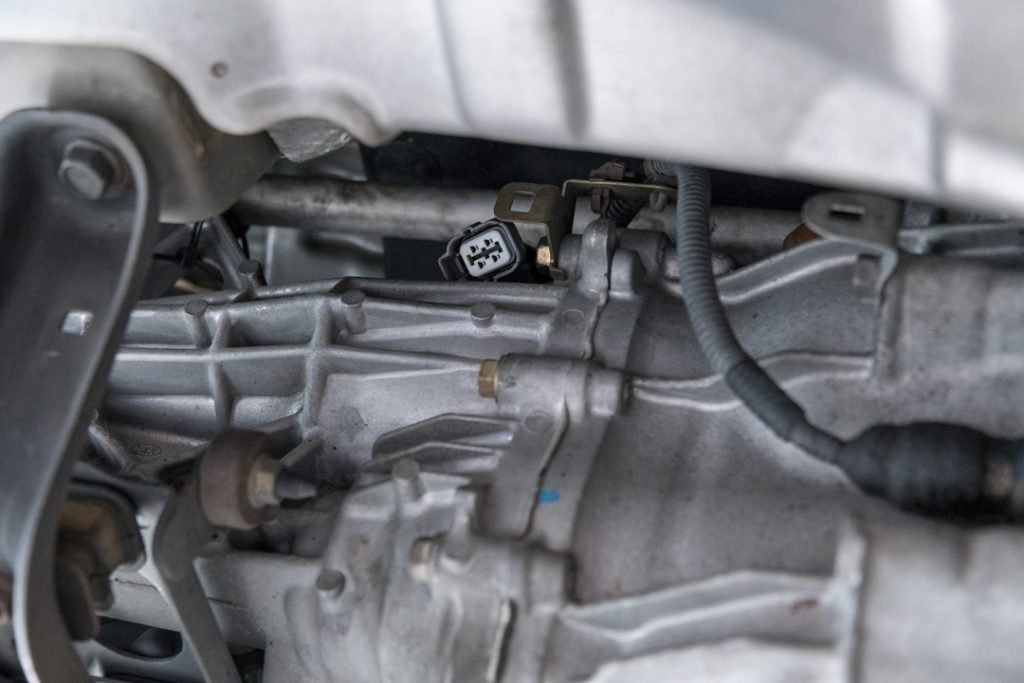
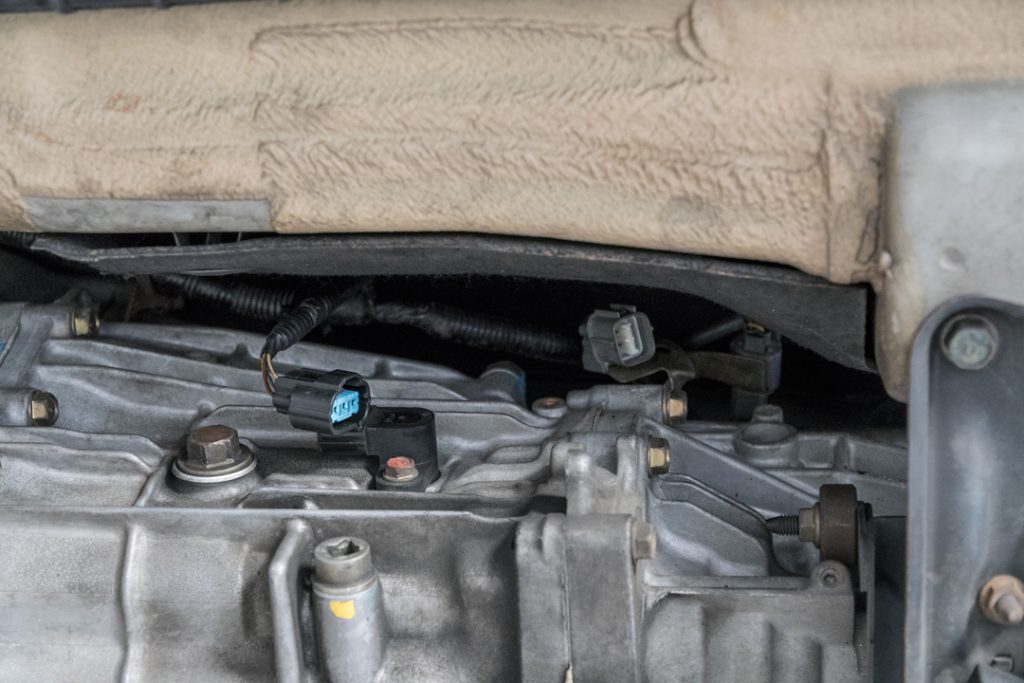 Disconnect the wiring on the driver’s side and on top of the transmission. Unclip the connectors from the brackets.
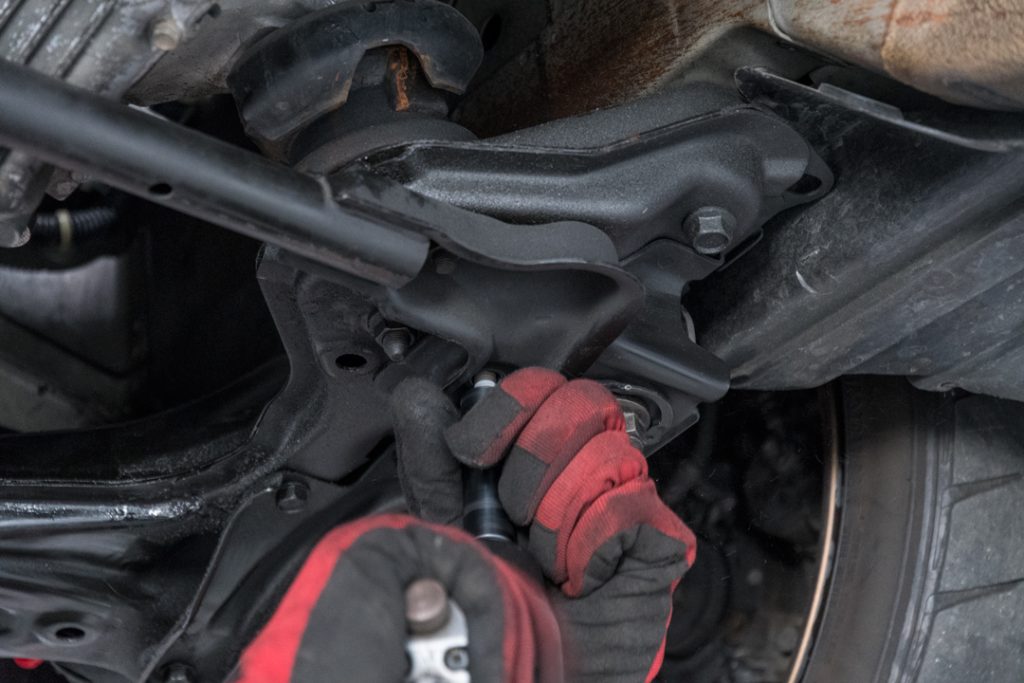 A crossbar sits underneath the subframe, just under where the motor mounts sit. Remove this bar.
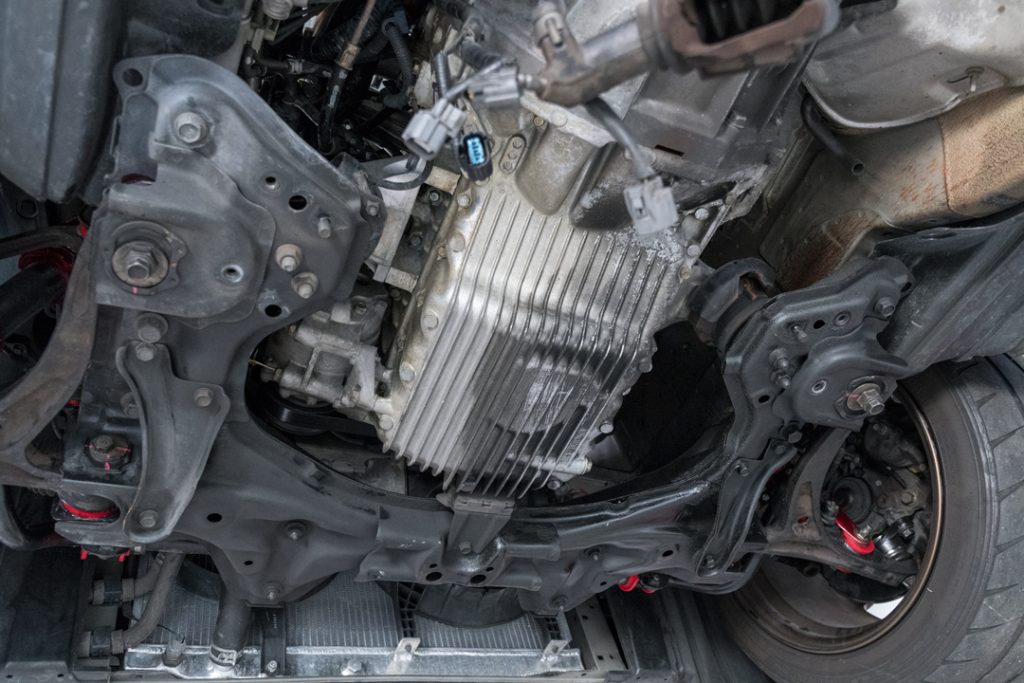
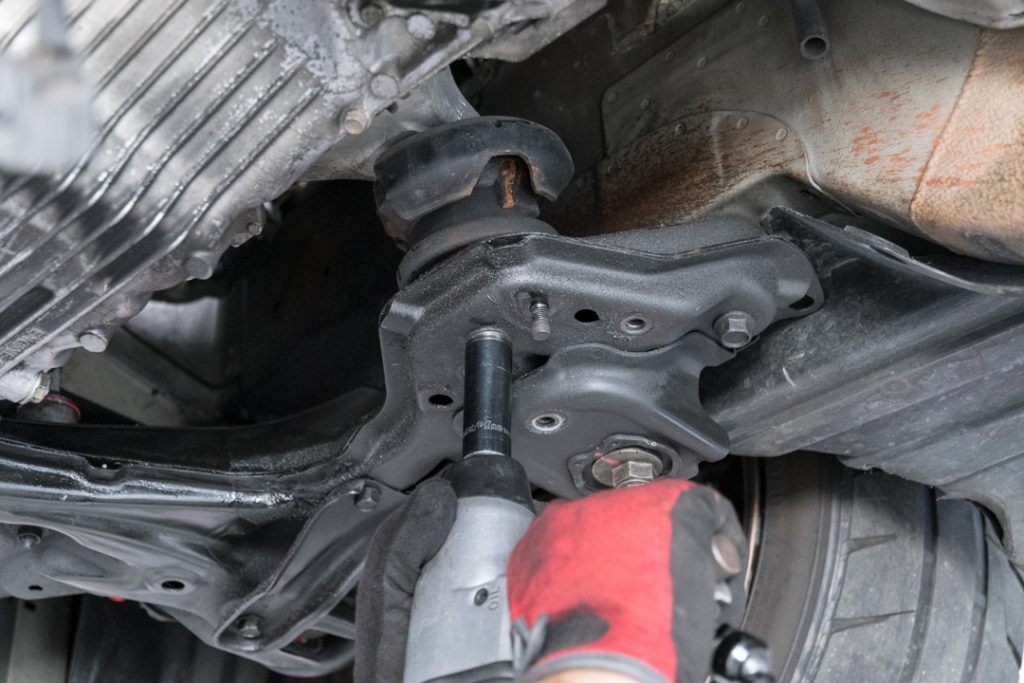
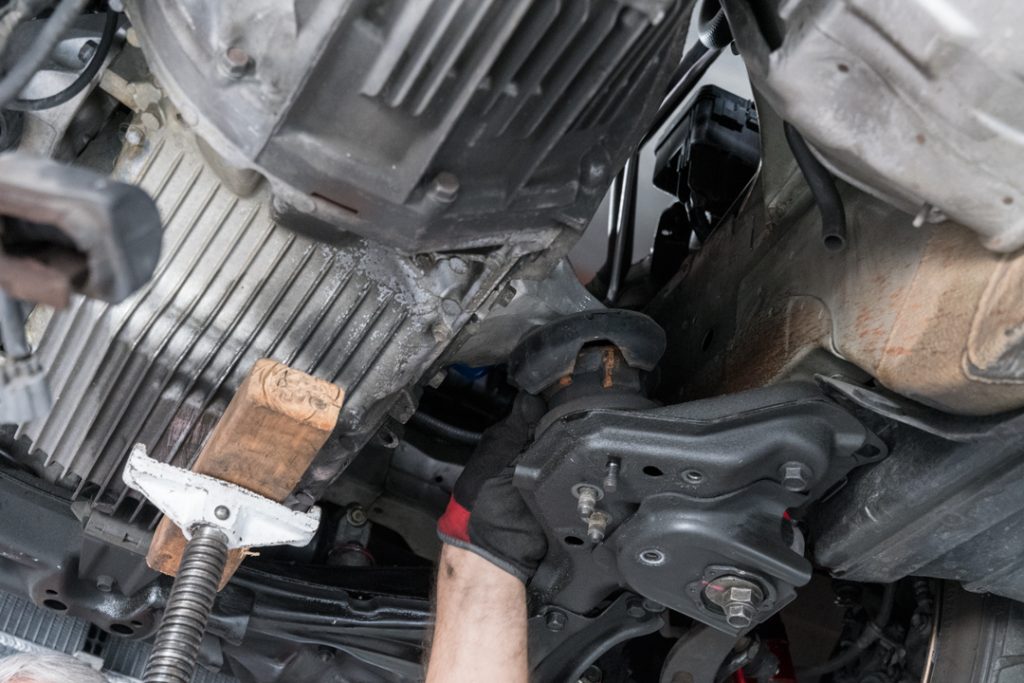 Here, some users have different methods to continue with the transmission removal. We opted to support the engine and transmission we disconnected the rear transmission mount and then removed the motor mounts (we had to replace them anyway).
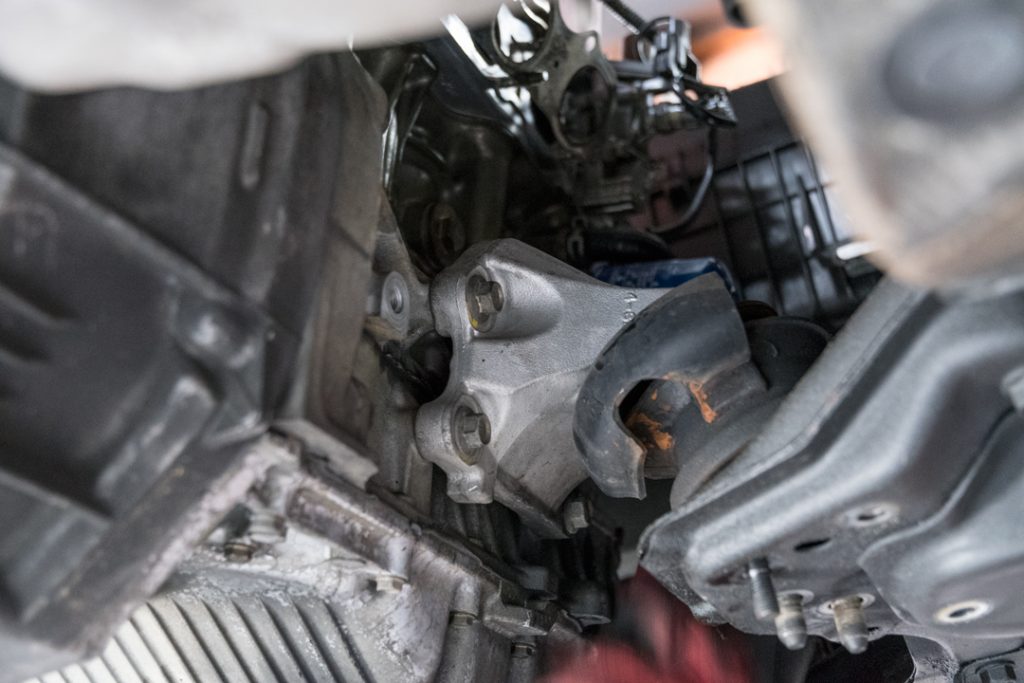
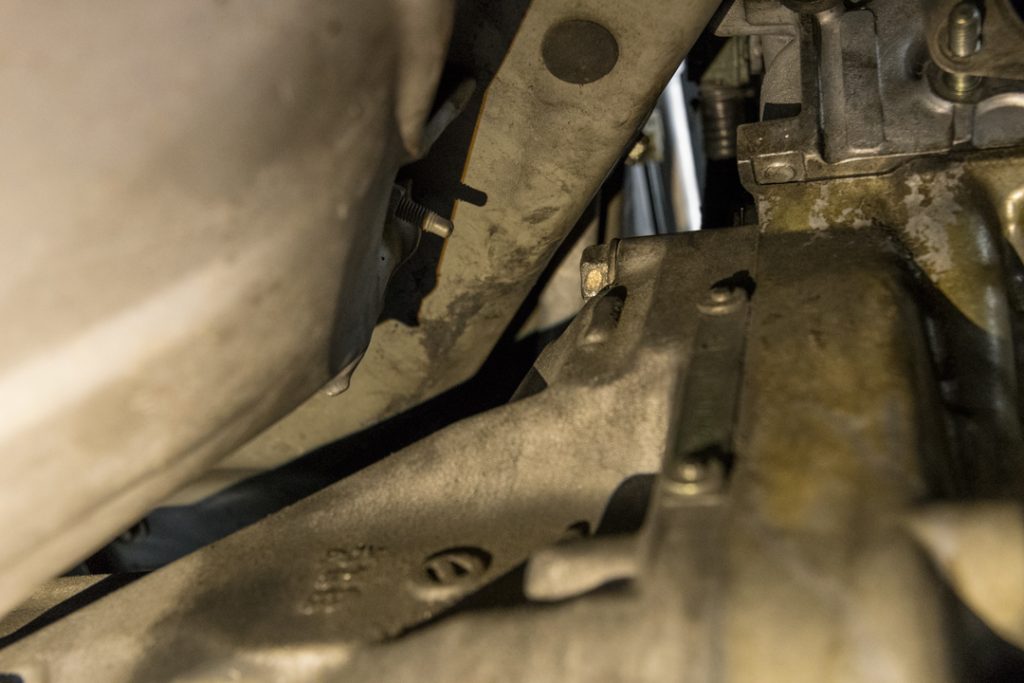
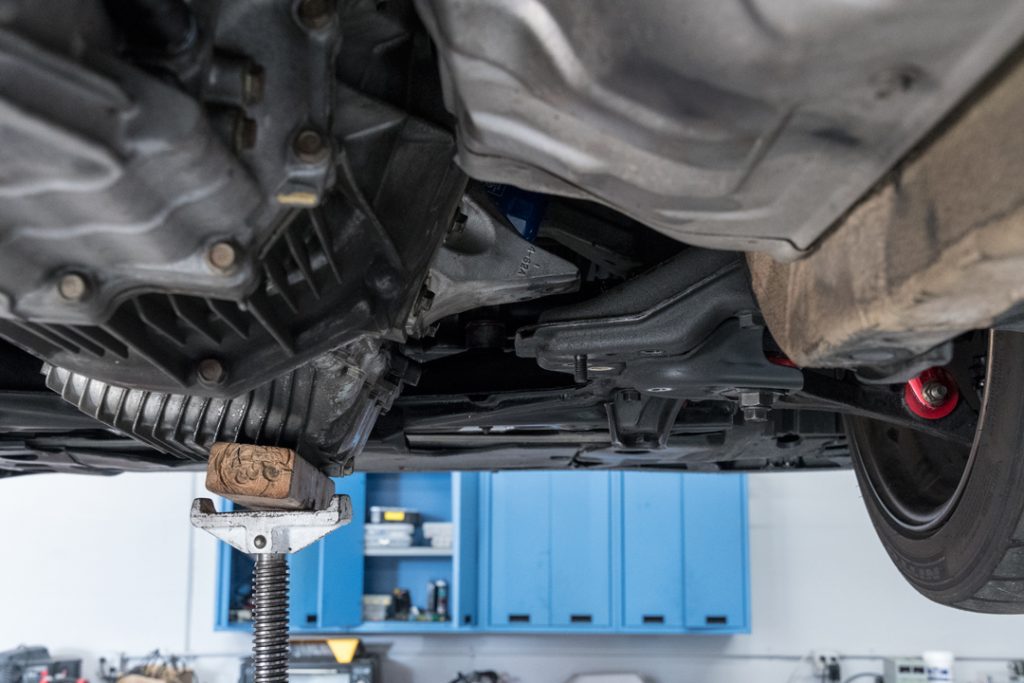
One of the upper bellhousing bolts sits very close to the frame at the firewall. Since there wasn’t room to back the bolt out, we lowered the passenger side of the engine until the bolt cleared. If you go this route, ensure that no hoses or wires are being pulled on.
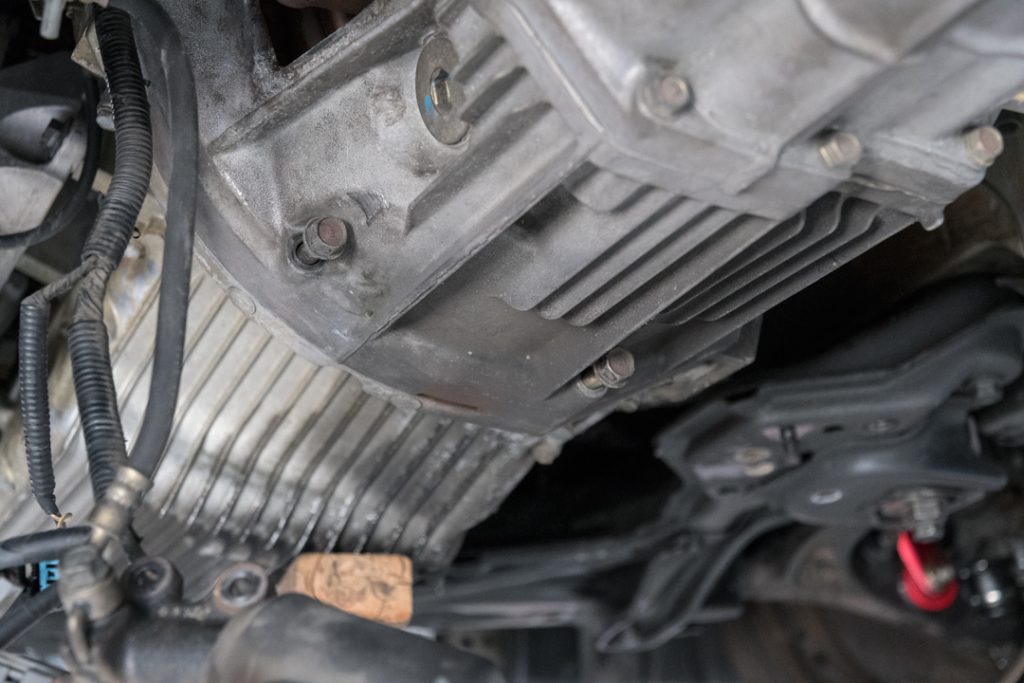 Remove the bellhousing bolts. There is one that is especially difficult on the starter, which is easier to access from the top.
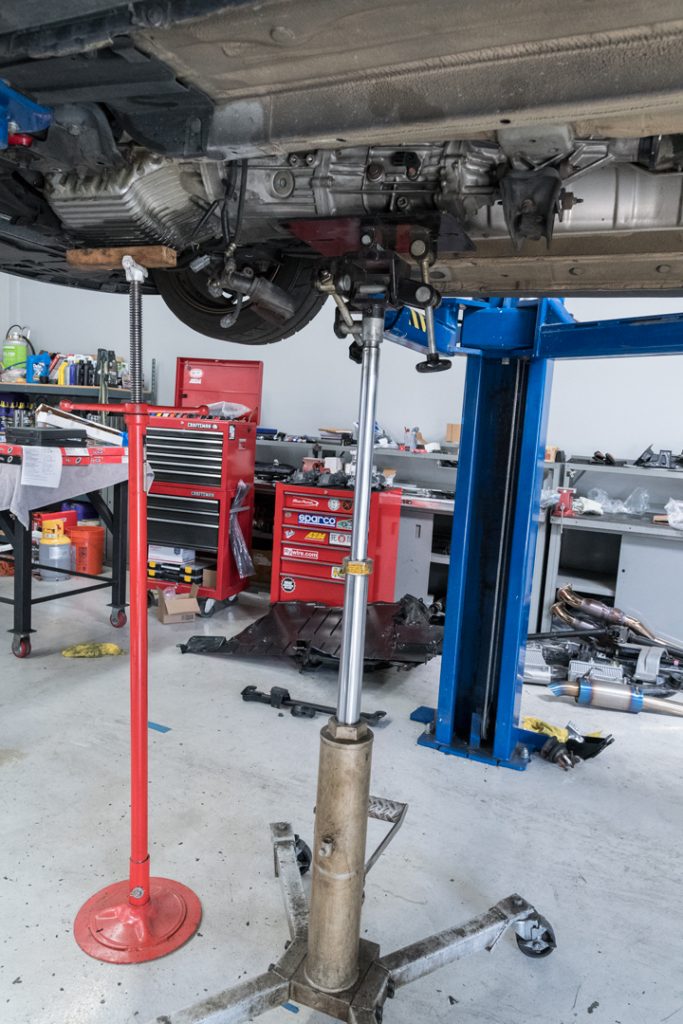 With the transmission properly supported, work it back and away from the engine until it is completely clear, and then lower it.
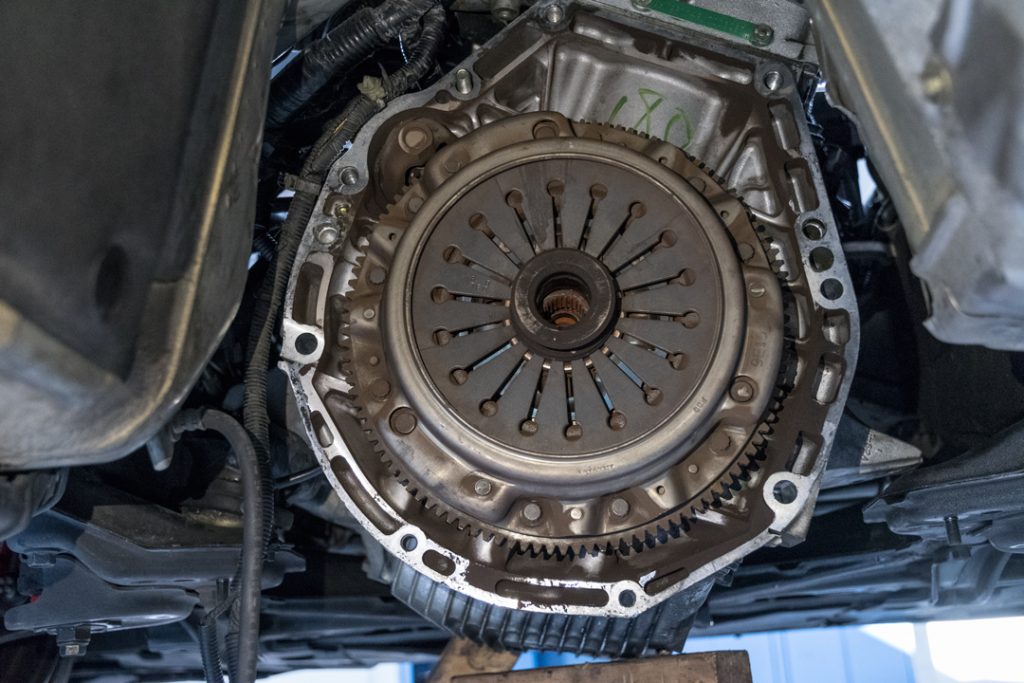 Now that the clutch assembly is exposed, remove the 12-point pressure plate bolts.
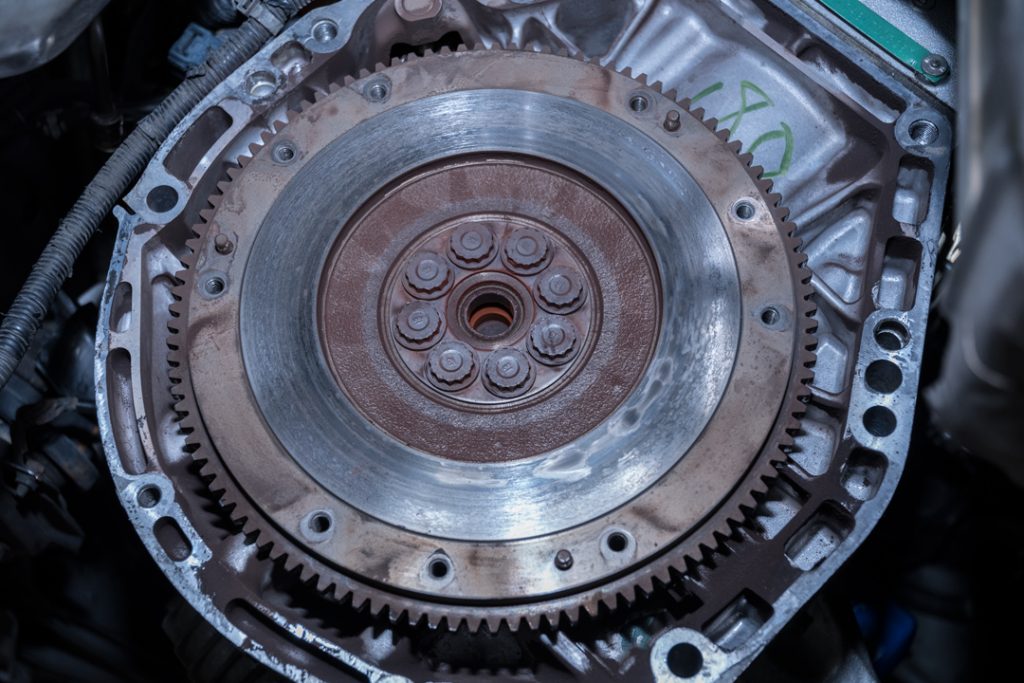 With the clutch removed, remove the 12-point flywheel bolts.
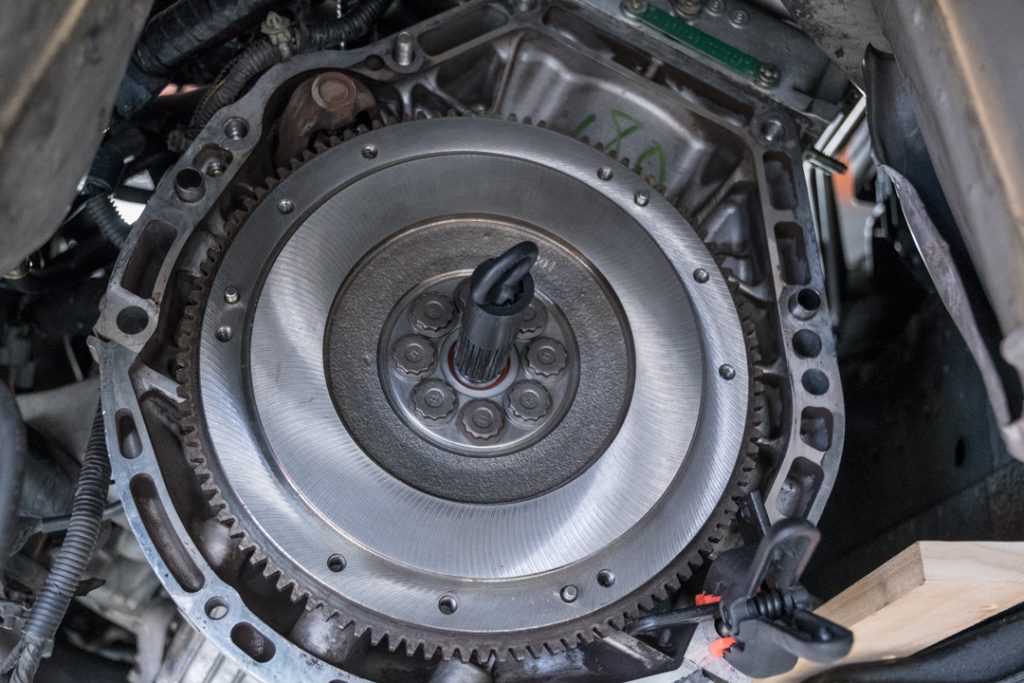 We had the flywheel resurfaced as it showed wear, but was salvageable enough to not require replacement.
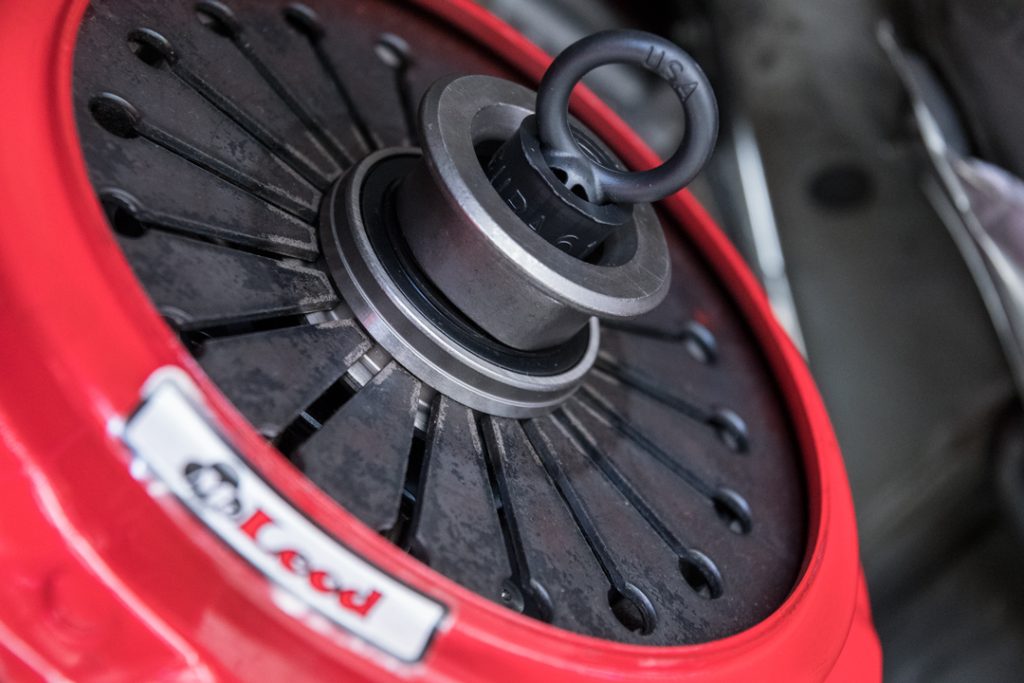
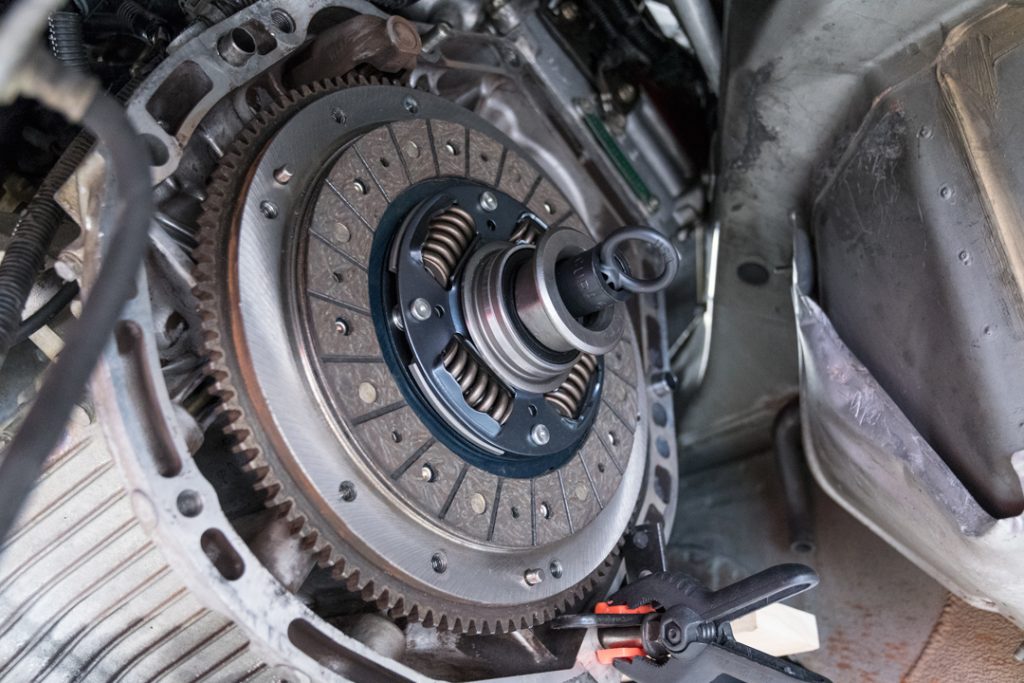 Bolt the flywheel back into place using the factory torque recommendations, and use the clutch alignment tool to line up the new components for installation.
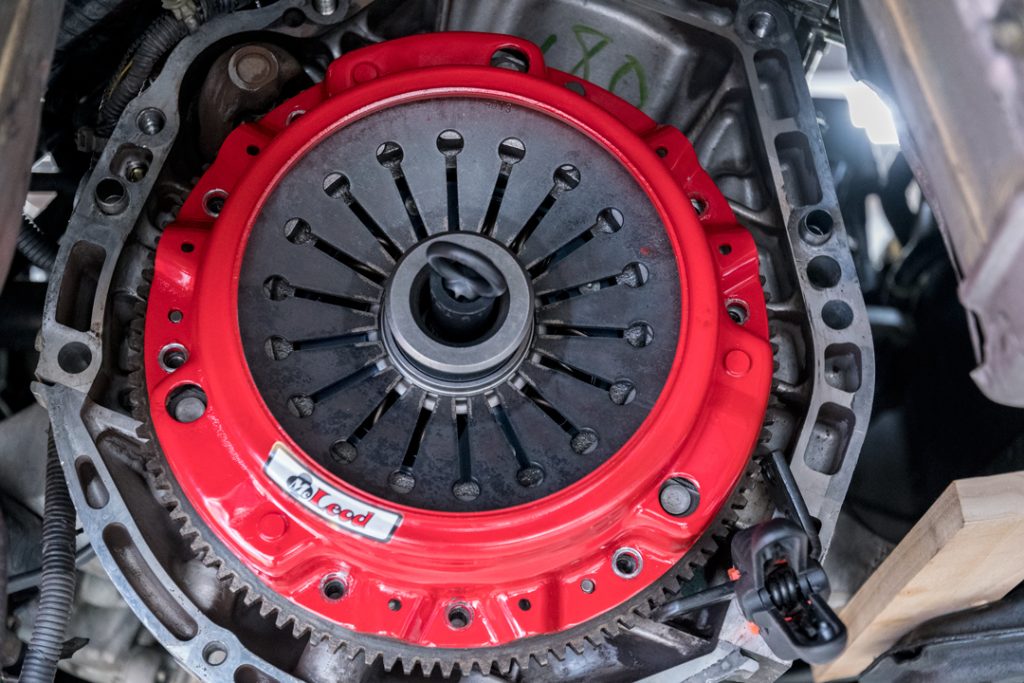
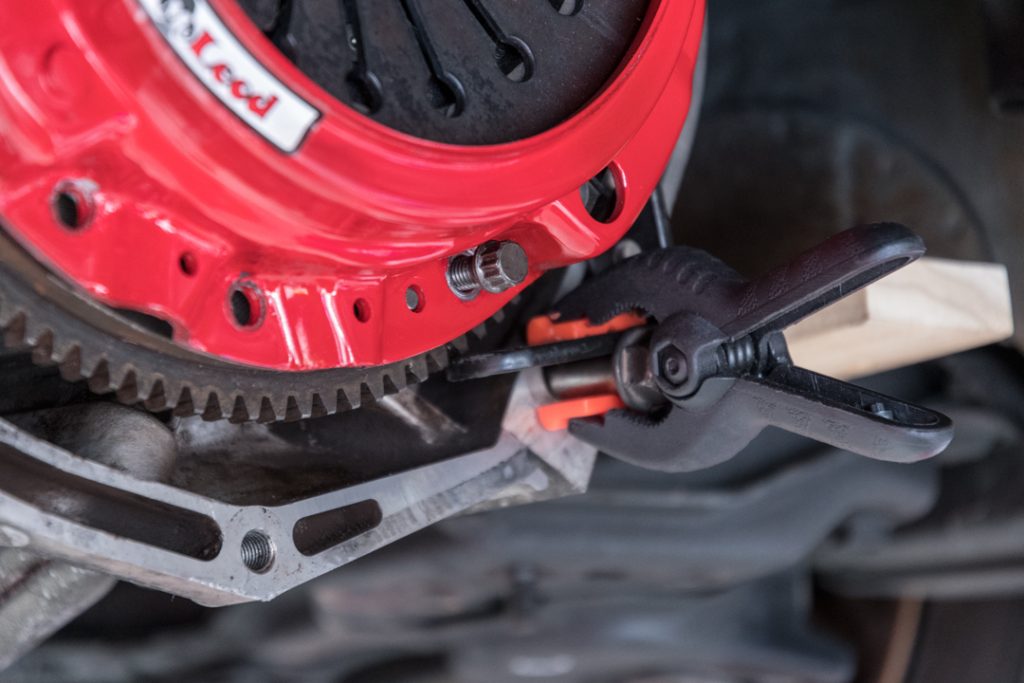 Bolt the new clutch assembly together with all of the pieces properly aligned.
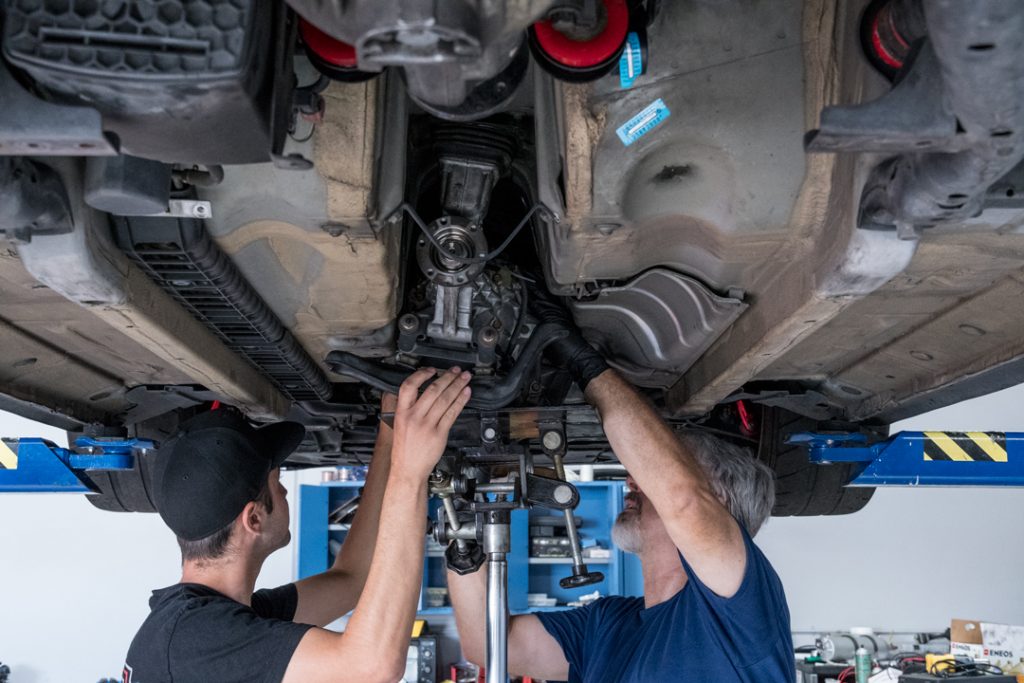
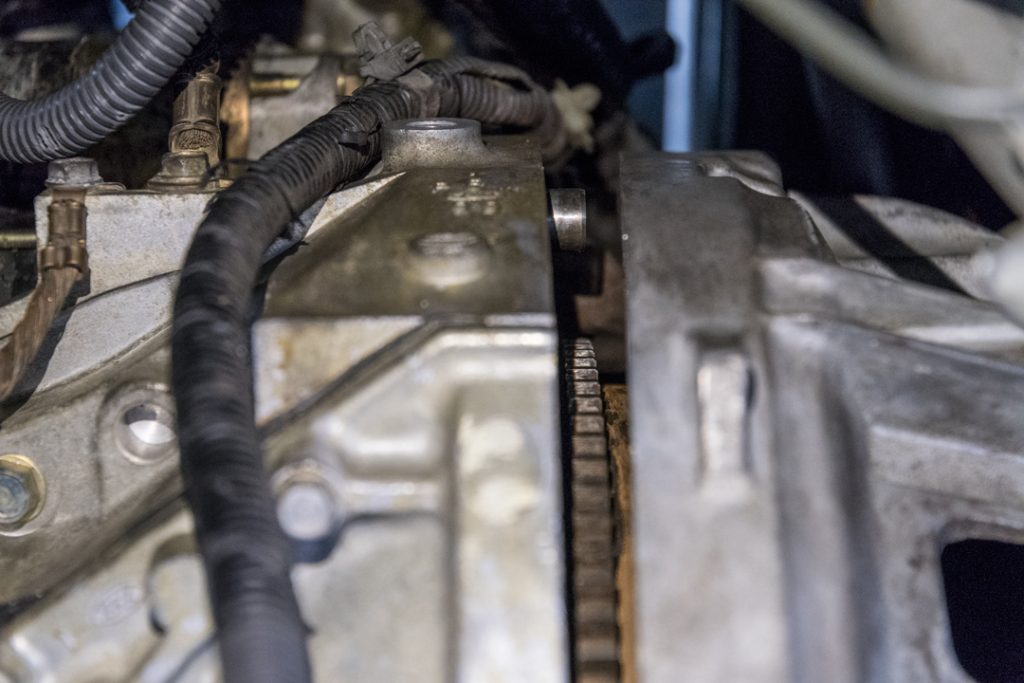 Align the transmission bellhousing with the engine so that the dowel pins and openings line up, and then slide the transmission back into place.
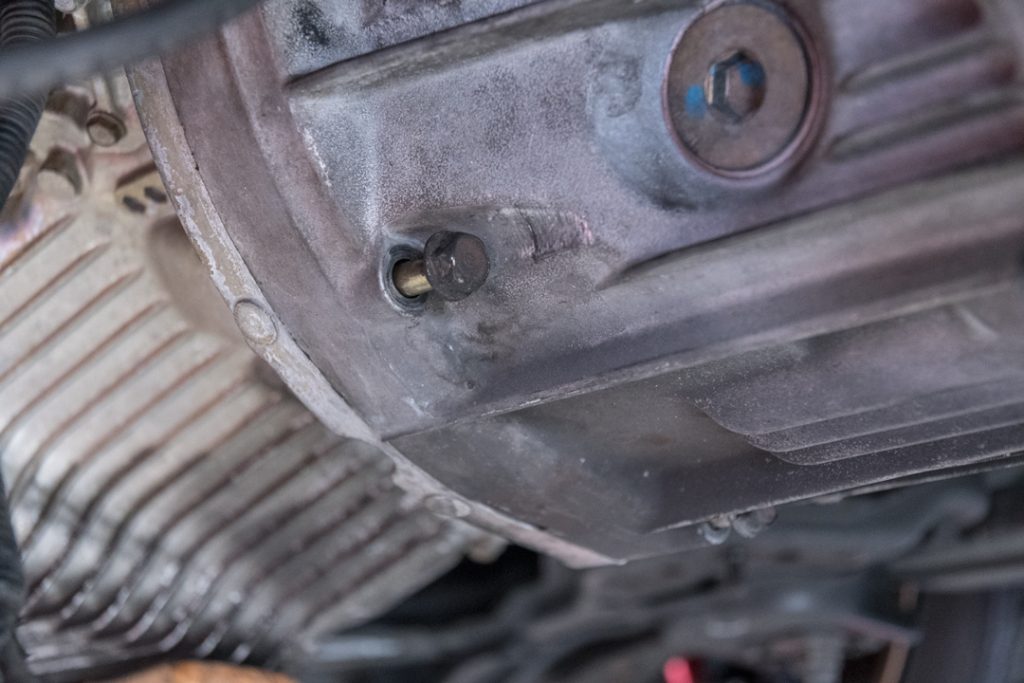 Reinstall the bellhousing bolts and rear transmission mount.
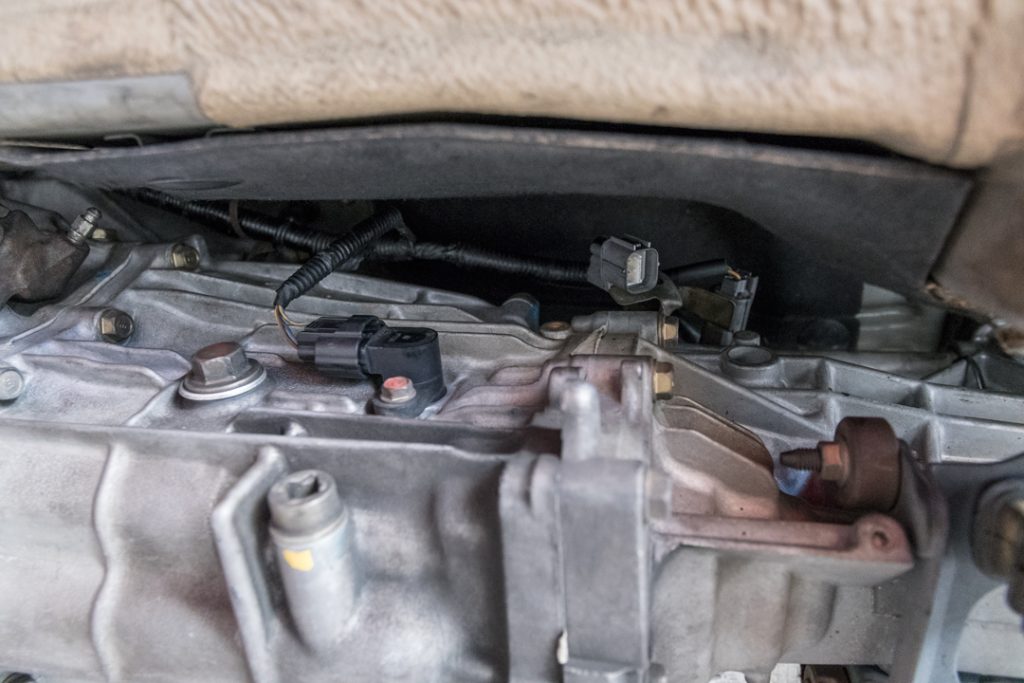 Reconnect all electrical connections.
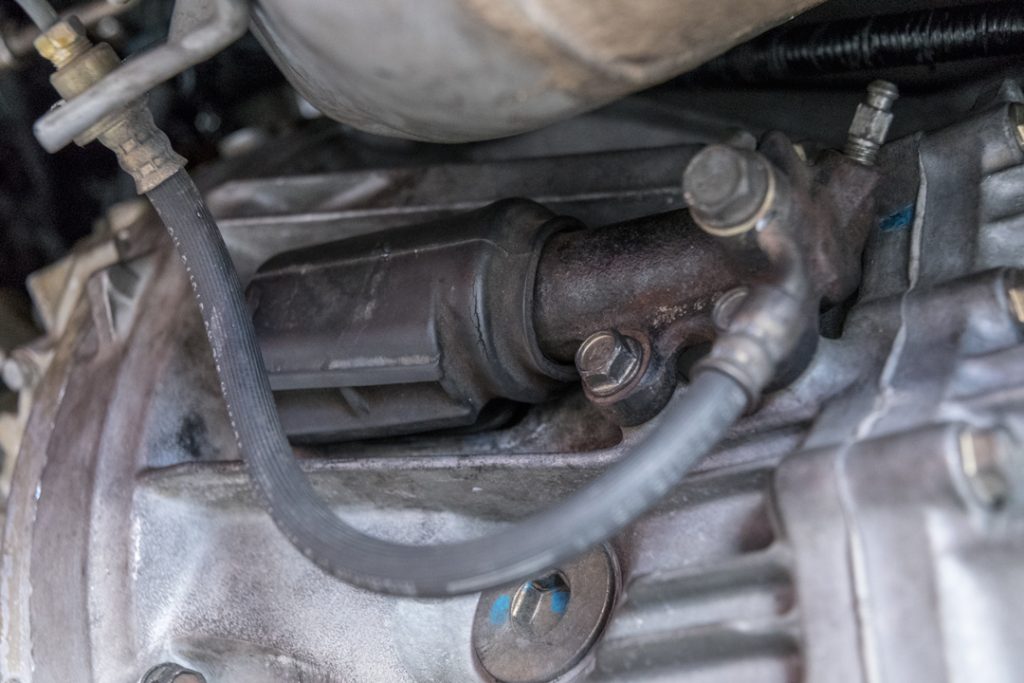 Reinstall the clutch slave cylinder.
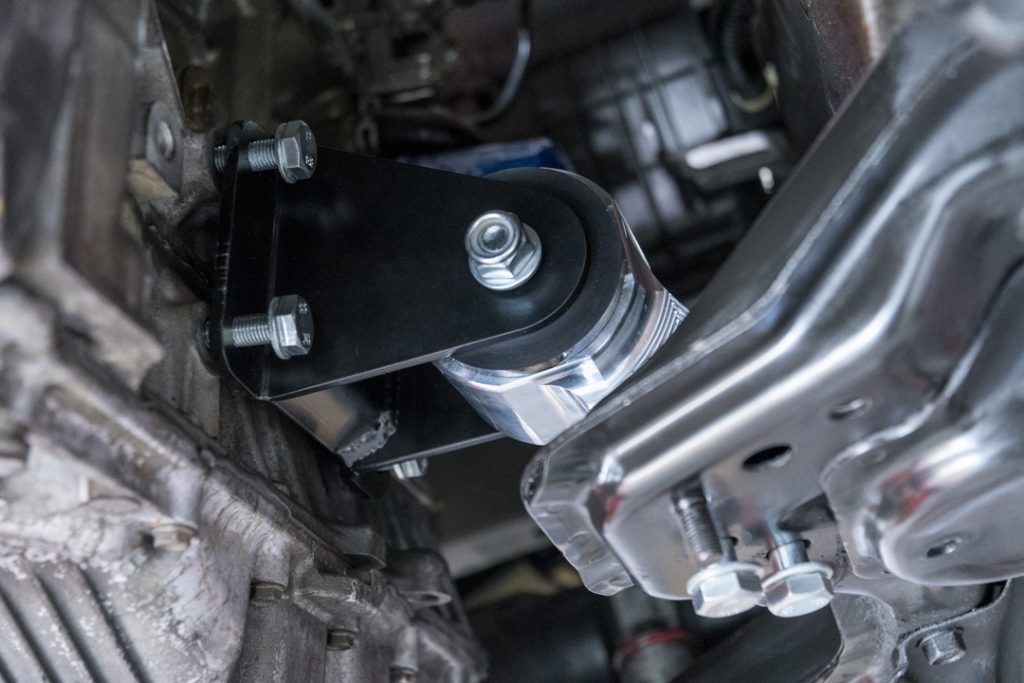 Do not remove support from under the engine until the motor mounts are back in place.
Post-Install Notes
Since the clutch is new, it may feel a little aggressive or quick to bite. After some regular driving, it should smooth out. In our case, the McLeod Street Tuner clutch actually felt very similar to the factory equipment as soon as we started driving on it.


