While the general public is pretty good about sticking to a regular schedule for oil and oil filter changes on their vehicle, the same cannot be said for cooling system maintenance. Depending on the vehicle, its usage and the type of coolant being used, the maintenance interval for the cooling system could be as short as every 24,000 miles or 2 years while other vehicles may promise a “lifetime” coolant. Regardless of the vehicle and the recommended service interval, a coolant service should be performed at least every 5 years. Unfortunately, the majority ignore regular servicing of the cooling system. As a result, corrosion, scale and rust form that degrades the cooling system efficiency.
Text By Michael Ferrara
DSPORT Issue #210
The corrosion, scale and rust act as insulators that don’t allow the heat to transfer through the radiator to the outside air. The rate of corrosion doubles for every 10 degrees (Celsius) rise in the coolant temperature. With decreased cooling efficiency, engines will run hotter and may even run so hot that serious damage results. Just as the materials used in the cooling system have changed over the years (with aluminum alloys replacing cast iron and copper in many areas), the chemical formulas used to clean the cooling system during the “flush” portion of the service have also changed. While some of the new formulations are more eco-friendly, they can surprisingly be even more effective. After a quick review of the history of the materials used in cooling systems and the “old school” radiator flush chemistry, we’ll take a look at the newer chemistry being used by some of the new radiator flushes on the market.We’ll follow this up with an actual cooling system performance maintenance using THEMROCURE by EVAPO-RUST on our 1988 Mitsubishi Starion.
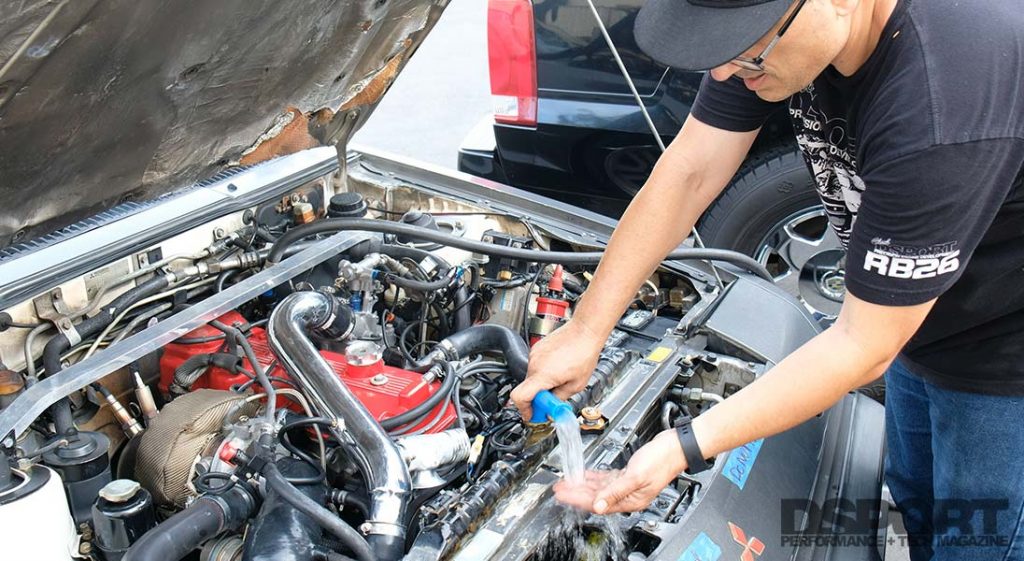
No matter what product is used to clean your cooling system, be sure to flush your system thoroughly. We used a “backflush” kit to speed up the process.
Materials Matter
 If you like performing science experiments at home, get four iron nails, four glasses, a bottle of deionized water and a strip of copper and a strip of zinc. Place one iron nail in each glass. Pour the deionized water about a 1/3 of the way up the glass in three of the glasses leaving one glass with no water. Place the copper strip in one glass and the zinc strip in another. The longer you wait, the more obvious the results. The iron exposed to only air will have a very slight amount of rust buildup (depending on the humidity of the climate where you live). The iron immersed in water will have a good amount of rust buildup. The iron in water with the copper strip will show the highest amount of rust formation while the iron nail in the water with the zinc strip will show no rust. Instead of getting into the chemistry of the galvanic properties of different metals, the important thing to remember is copper accelerates the formation of rust on iron.
Cast-Iron, Copper and Aluminum
While domestic vehicles were produced with cast iron engine blocks, cast-iron cylinder heads and copper radiators well into the 1990s, most imports since the early 1960s have featured aluminum-alloy cylinder heads. While a cast-iron block/head and copper radiator system is likely to have the highest amounts of rust formation in the cooling system, a cast-iron block/aluminum cylinder head teamed with a copper radiator is also a great candidate for excessive rust formation. Besides excessive rust formation, the aluminum cylinder head(s) add(s) another complication. Depending on the pH level of the coolant and the type of coolant used, it’s very likely that the aluminum cylinder head becomes the sacrificial material in the cooling system. This often leads to erosion of the coolant passages in the cylinder head or intake manifold. If you are unlucky enough to have a tri-metal cooling system (cast-iron, aluminum, copper), you’ll need to plan on regular coolant changes every 2 years or 24,000 miles. Since we didn’t want the annoyance of such a short-service interval, we decided on a different solution for Project Starion. Our solution will first involve a clean and flush of the entire system before an upgrade from the OEM copper to an aftermarket aluminum radiator is made.
When the OEMs ditched copper radiators in favor of aluminum, the rate at which rust could form in the cooling system greatly decreased. While aluminum radiators eliminated the copper that was a rust accelerant, this did not mean that rust formation stopped. Removing the copper only slowed down the rate of the rust reaction. In fact, we’ve seen many older 2JZ and RB engine blocks (cast-iron block, aluminum head, aluminum radiator) needing a week long soak in EVAPO-RUST before machining operations could be started at Club DSPORT.
Today, a number of modern engines feature aluminum cylinder head(s), an aluminum engine block and an aluminum radiator. Since the major components are made of the same material, no galvanic corrosion should take place. So how is it that some of the cooling systems on these vehicles will show traces or staining of rust on the aluminum? While aluminum is the main material, there can still be some items made of cast iron or steel in the cooling system. It could be the impeller of the water pump, parts of the thermostat, or even fasteners or fittings that come in contact with the coolant at some point.
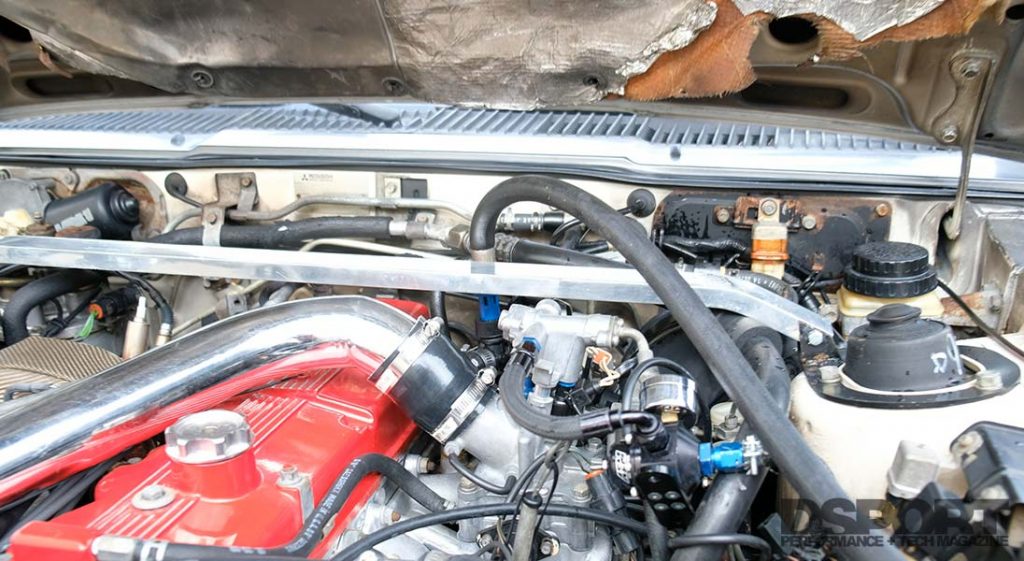
The backflush tee installs in one of the heater hoses located behind the throttle body and near the firewall. If you elect not to backflush, you will need to fill, run and drain the system three to four times.
Old-School Flush Chemicals
A few years ago, acidic chemicals were the active ingredients in most radiator cleaners. Oxalic acid was one of the more popular acids used. It did a good job of burning away the rust off the cast-iron. When directions were followed and the acid was properly flushed out, it usually didn’t cause any issue with the copper or aluminum in the system. Unfortunately, if the oxalic acid cleaner wasn’t completely flushed out, the high acidity would lower the pH value of the engine coolant below the desired range (8.0-to-11.0 pH for conventional coolant or 7.0-9.5pH for extended life coolants). The lower than ideal pH of the coolant would result in corrosion of iron and the other metals in the system as well. It could also cause pitting of the cylinder liners while turning the corrosion protection chemicals to ineffective solids.
New SchoolFlush Chemicals
While acidic cleaners were prevalent in the past, most of the new radiator cleaners are actually on the other side of the pH scale. While many of these cleaners require a longer time to work, that doesn’t mean that they can’t do as good of a job.
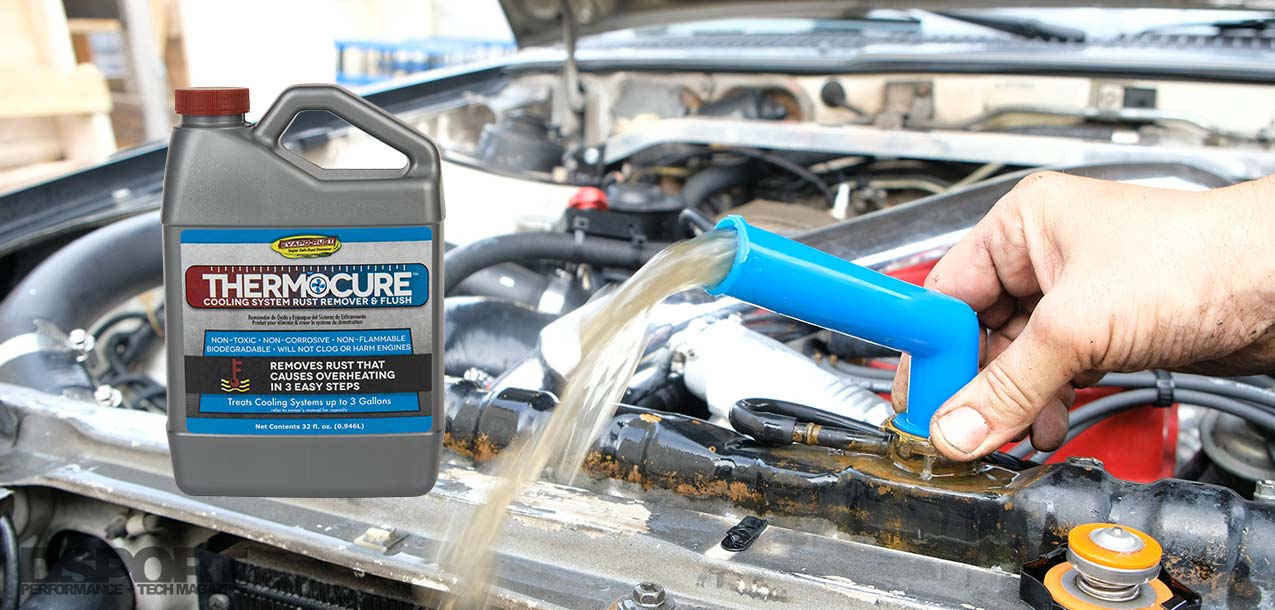
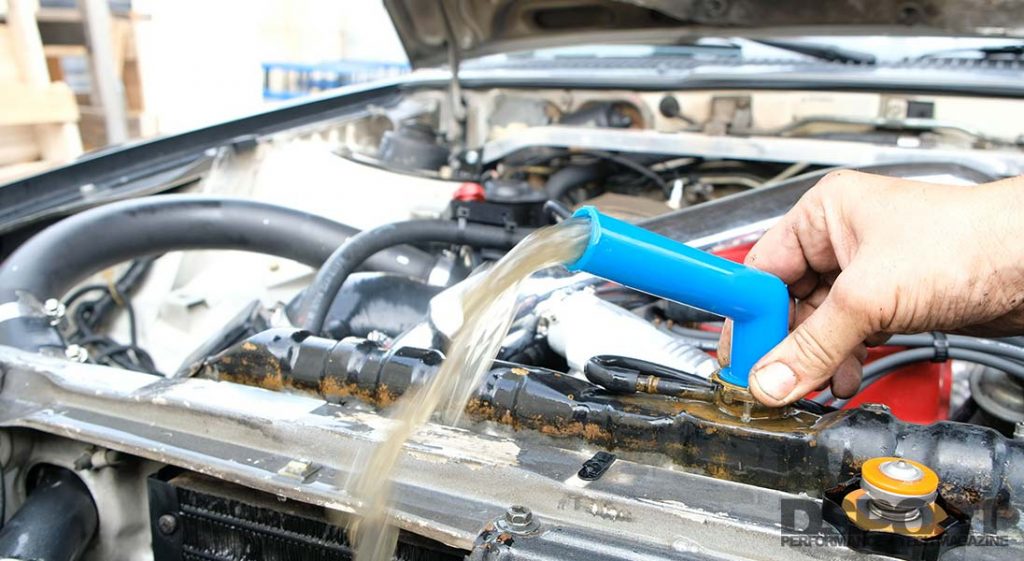
After draining out the cooling system, the flushing process will get the remaining buildup out of the system. This was the color of some of the initial flow during the backflush process.
EVAPO-RUST THERMOCURE
A few years ago we did an editorial on different products for rust removal. One of our favorites turned out to be a product called EVAPO-RUST. Since then, we literally get the product by the barrel to use on everything from engine blocks to rusty tools to bolts and washers. Unlike harsh acids, EVAPO-RUST removes the rust without attacking the base metal. When we learned EVAPO-RUST had a product for cooling systems, we decided to find out more.
One of the unique properties of THERMOCURE is that its pH level is essentially balanced to a neutral level. Its pH will measure somewhere between 6.0 and 7.0. Since its pH is essentially neutral, there isn’t a risk of trace amounts (from an incomplete flush of the cleaner) impacting the pH levels of the coolant. Like EVAPO-RUST, the method by which THERMOCURE removes rust from the cooling system is called chelation. When THERMOCURE comes in contact with rust, its chemistry attracts the rust away from the metal and to itself. While the THERMOCURE can accomplish this when the engine is cold, it works even faster when heated up.
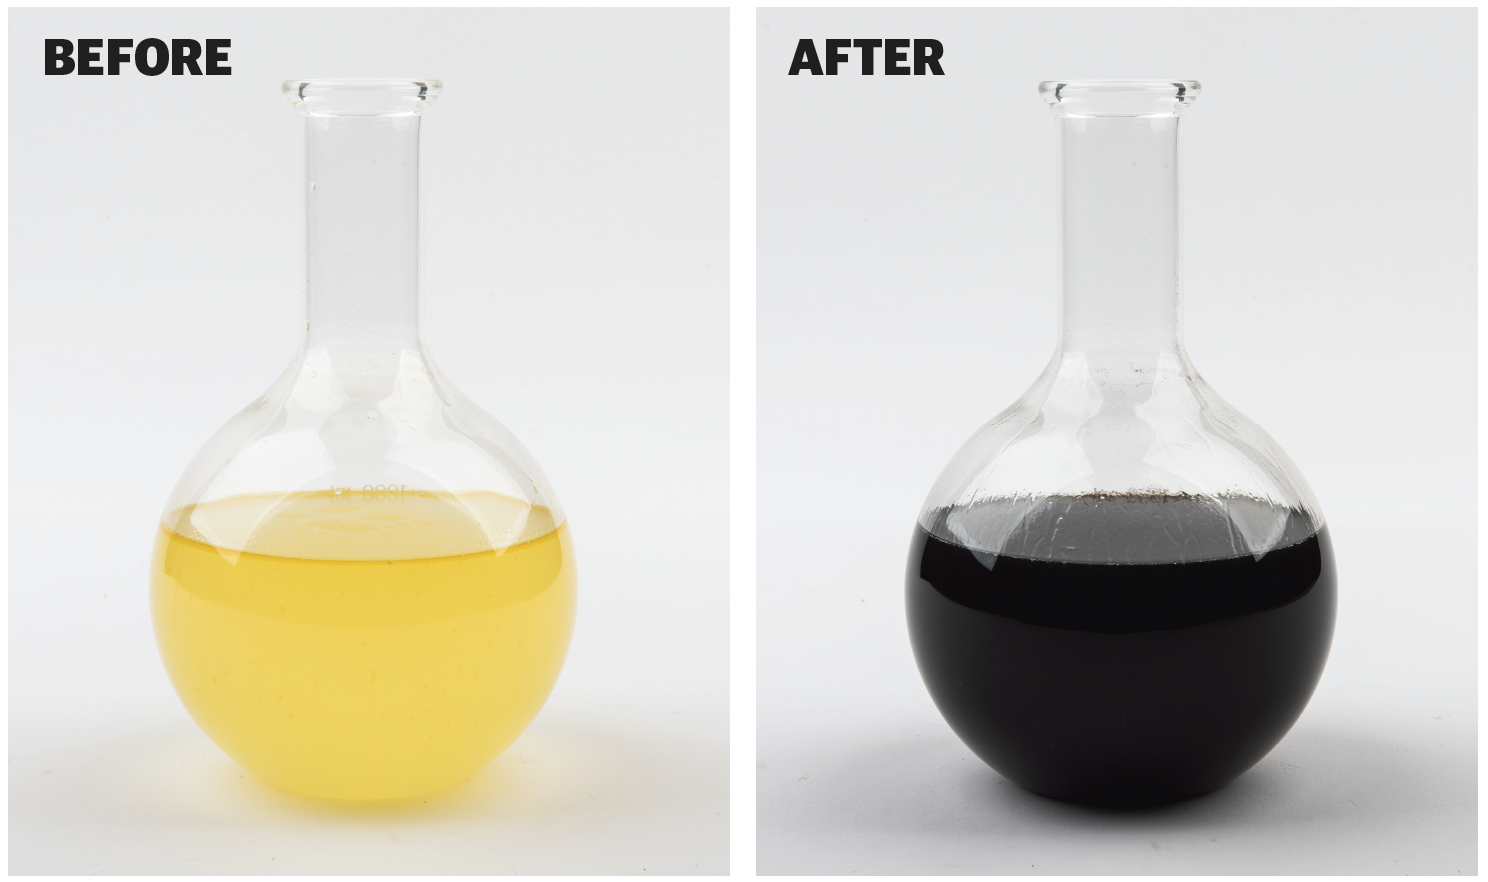
(L) This is what THERMOCURE looked like before it went into our Starion’s neglected cooling system. (R) After driving around for a week with THERMOCURE in the system, this is what was drained from the radiator. The black color results from the conversion of the rust that previously lined the cooling system.
The Process
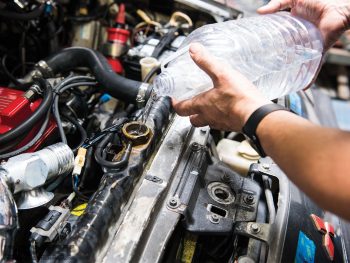 To clean the cooling system of a vehicle using THERMOCURE, the first step is to remove the coolant that is already in the system. Be sure to capture this coolant and dispose of properly based on your state and local laws. The next step is to pour the THERMOCURE into the cooling system and to fill the rest of the system with water. Use whatever procedure works best on your vehicle to purge any air in your cooling system and then simply drive the vehicle as you normally would for the next few days. Keeping the heater on or at least using it a few times during that period will ensure that it’s cleaned too. If you do your maintenance on the weekends, you can drive for a week or two with the THERMOCURE in the system. The more running time, the more rust removal that will take place. At the very least, you will want to at least log three to four hours of run time on the engine during this cleaning phase. Since THERMOCURE is non-corrosive, you don’t need to worry about leaving the product in the system too long.
The fun really begins when you get to drain the system. We had enough rust in our cooling system to turn what used to be a gold-tinted clear liquid (water and THERMOCURE) into a solid black liquid. All of the black comes from the rust that was removed from the cooling system. Following this draining, you will want to water flush the system until the water comes out clear. The most basic method is to refill the system with water. Drive to normal operating temperature (so that the thermostat opens and the water is circulated throughout the entire cooling system. Park the vehicle and wait until the engine is cool and drain again. This process will need to be repeated at least 3 to 4 times until the water comes out clear. If your time is more valuable or it’s a real pain to purge the air from your cooling system, consider a backflush kit. A thorough backflush will get it done in one session.
Our Experience
With Project Starion, we acquired a vehicle that would overheat on any daytime trip longer than about 15 minutes. On both visits to the dragstrip, we had to pull over and let the vehicle cool down before we could get back on the road. Rather than throw a brand-new aluminum radiator into a cooling system that may have a good deal of rust, we decided to use THERMOCURE first to remove this rust and prep the system for the new radiator.
We ended up leaving the THERMOCURE in the cooling system for about a week. We drained out a nasty black soup of what was once rust, and back flushed our system to make sure we got out all the converted rust. After this process, the engine no longer overheated on longer drives. The factory temperature gauge now sits at about the 3/8 mark instead of the 1/2 mark it previously rested at once the engine is warmed up. Just to see if the THERMOCURE “missed” anything in the process, we decided to do another round of cleaning with a popular conventional radiator flush. The Prestone Radiator Flush+Cleaner is a sodium citrate based product with an average pH of 9.1 (moderate base about the same as baking soda). We followed the directions on the bottle and at the end of the day, we were convinced that the THERMOCURE got the cooling system as clean as it can be. Now we just need to fabricate a few brackets and we will be able to install our new Mishimoto 240SX aluminum radiator and fan combination into Project Starion.


