
Safe, Gentle, Environmentally-friendly, Non-Toxic and Natural. What do these buzzwords evoke in your mind? For me, I picture a product that is going to let me down. After all, nine times out of ten these words end up as the excuses as to why a product doesn’t live up to expectations. Of course there are some exceptions. But the reality is that experienced enthusiasts appreciate products that require special handling and special precautions because they generally deliver special results. If I must keep away from flames, use only in a well-ventilated area, store away from heat, wear goggles, wear gloves and use a respirator while applying the product, sign me up. A few years ago was the first time I used a 2K clear from a spray can and the list of precautions checked all the boxes. As I expected, the results were nothing short of amazing. When I bumped into the manufacturer at last year’s SEMA show, I shared my experience and asked what other products are equally impressive. As they gave me the rundown, the Spray Max 2K 2-in-1 Headlight Clear sparked some interest. Could this be the missing ingredient to headlight restorations that would add long term UV protection?
Text & Photos by Michael Ferrara
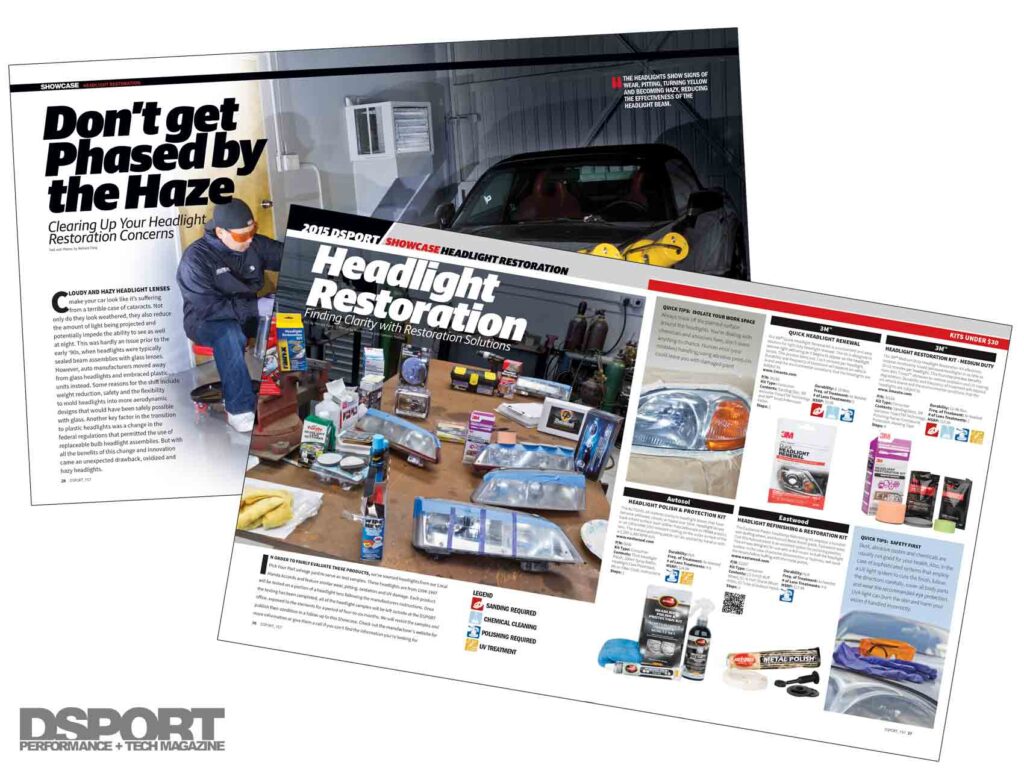
Headlight Restoration History
A few years back, we had tested nearly 30 different headlight restoration products. These products varied in effectiveness in transforming weathered plastic headlights into ones that looked as good as new. The worst of these products simply tried to clean the headlight surface and then apply a shiny top coat that would attempt to give the headlight a wet look. The better products would actually seek to fix the defects in the outer layer of the plastic. The restoration process usually involved an initial cleaning step, followed up by a chemical or mechanical stripping of the weathered plastic layers. Ultimately, the best products usually had successively finer grits of abrasive that would take the surface from dull to a shine. The final stage was often a UV protective coating that was supposed to keep the restored plastic surface from future damage. While the better products seemed to keep the headlights looking good for a few months, the protection failed to last. After 6 months to a year, the once restored headlight was usually back on the highway to hell.
My 2K Experience
Since building models in elementary school to just a few years ago, I had sprayed more than my fair share of rattle-cans. Regardless of the color or manufacturer, getting the ideal final finish was always a concession. “Well it’s a spray can, what do you expect?” was always the rationale. In efforts to achieve better results, various types of clear coats had been tried from lacquer to enamel. Not only did these single-stage clear coats fail to deliver the desired initial results, these clear coats were often apt to yellowing, cracking and flaking over time.
While doing some basic paint touch-up on a car that we had recently purchased, I asked the automotive paint store if anyone made a decent clear coat solution. When he asked if I had tried a 2K clear and found out that I hadn’t, he immediately suggested I give it a try. Unlike conventional clears from a spray can, a 2K clear is just like an actual automotive clear coat in that it is a catalyzed two-part component. Like an epoxy with an A and B component, a 2K clear has an activator or catalyst that controls its adhesion and drying process. It comes in a special spray can that has the two components separated until activation. With the 2K product, the contents of the spray can must be completely used in a certain time window once activated. Any product not used that remains in the can will not be useable beyond that time window. In addition, there are a host of warnings and precautions associated with using 2K clears, so I had a hunch the results would be pretty impressive. Reading all the precautions and following the instructions yielded incredible results with the Spray Max 2K clears. Unlike the non-2K clears from a spray can that can’t seem to build up or be color-sanded or buffed, the 2K clears act just like they were sprayed on by a professional gun in a spray booth. The 2K clear provides superior UV protection and doesn’t have the yellowing, cracking or flaking issues of the non-2k clear coats. Due to these characteristics, I was excited to hear that Spray Max had a new 2K clear coat product especially formulated for plastic headlight lenses.
Spray Max 2K 2-in-1 Headlight Clear
Spray Max formulated this 2K clear product specifically for plastic headlight lenses. As such, it is formulated particularly for bonding to a properly prepped plastic headlight surface. It is also formulated to provide exceptional UV protection to keep the plastic headlight from weathering over time. Since this product is used in the final steps of the process, let’s take a look at the entire process from the beginning.
Step 1: On- or Off-Car Decision
Depending on the application, it may be more desirable to remove the headlights from the vehicle than leaving them in place. If they are to be removed from the vehicle, it is important to completely clean the entire headlight, and you do not want any trapped dirt or dust to get into the clear coat layer at the end stage. It is also important to be able to safely and softly secure the headlight in such a way that it wont get damaged during the sanding process. If the headlights are to remain on the vehicle, the first step is to wash the front of the vehicle with dishwashing liquid and thoroughly dry the vehicle (using compressed air to get water out of any crevices is a must). Do not use regular car soap that may contain waxes or other additives that can affect paint adhesion. After the front of the vehicle is washed and dried, it is important to tape off the areas around the headlights, so that they aren’t accidentally sanded or hit with overspray during the clearing stage.
Step 2: Initial Sanding
Depending on the condition of your headlights, you may start with a 220 grit sandpaper if there are deep scratches or a P500 grit if there is just normal weathering. Regardless of the grit that you start with, the goal is to achieve an even finish that only has the sanding marks in the direction that you are sanding. All other scratches should no longer be visible after completing this first initial sanding. If you can see a defect, get it out now as it won’t come out later when finer grits are used. A dual-action sander can be used, or the sanding can be done by hand. When finished, spray the plastic headlight lens with a solvent wash or a grease and wax remover.
Step 3: Progressive Sanding / Washing
Follow up the initial sanding stage with a secondary stage. If you started with P500, go to P800 grit sandpaper. Again, you want to achieve an even finish that only has the scratch marks of your current sandpaper. One way to accomplish this, in some cases, is to sand at a 90-degree angle to the previous sand marks. In this way, you will know when to stop sanding vertically when all the horizontal sand marks disappear. Once the P800 sanding is completed, spray the plastic headlight lens with a solvent wash or a grease and wax remover. Repeat this process with P1000 grit with wet sanding, cleaning, P2000 grit wet sanding and then a final cleaning. If you are doing multiple headlights from multiple vehicles, they should all be completed up to this stage before moving on to Step 4.
Step 4: Apply Spray Max 2K Clear
Read all the directions and precautions, and follow the instructions. A respirator mask is required, so make sure that you are wearing it along with any other safety equipment required. Shake the can for a good two minutes (one minute top up, one minute top down) before activating the 2K clear. After activating, repeat the two-minute shaking procedure to ensure that both the product and the activator are thoroughly mixed. The first coat can be applied to the headlights at this time. It should be a light-to-medium coat that will take the lightly glossy finish from the P2000 wet sanding to a crystal clear finish. Be sure to apply the first coat to all the headlights being restored at this time. You will wait about 10 to 15 minutes for the product to flash, and then a second coat can be applied. Applying too little product will result in dry spots, while applying too much may cause runs or sags. It is generally better to do more light-to-medium coats than medium-to-heavy coats if you want a thick build of material without runs, drips or sags. If you don’t have any IR lamps to accelerate the drying process, wait 24 hours before attempting to address any issues in the clear coat. In most cases, nothing will need to be done. However, you can wet sand out defects in the clear and apply more coats, if necessary. Just be sure that headlight clear is wet sanded with P2000 sandpaper again before applying a new coat. Otherwise, you can also wet sand and buff polish if desired.
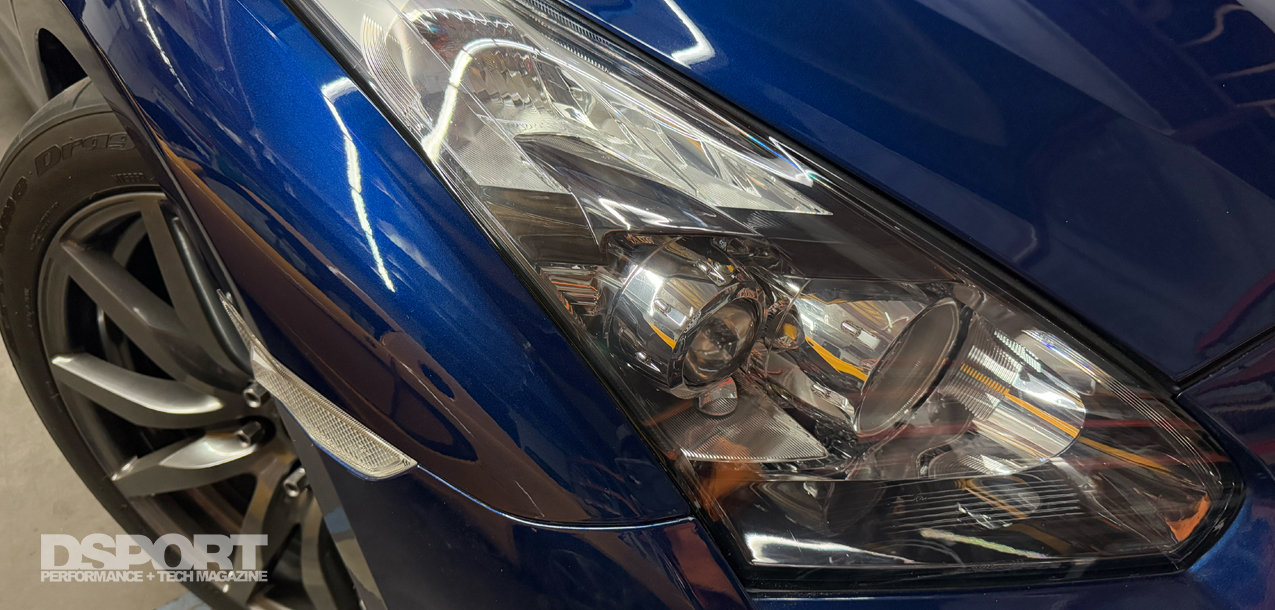
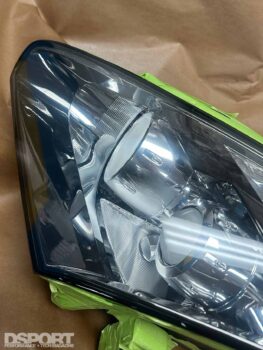
Our Test Bed
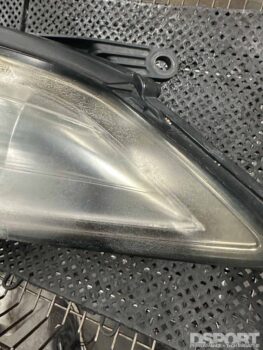
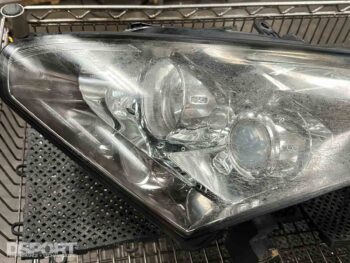
Despite living an easy life in the garage and only putting 25,000 miles on the odometer since being purchased in 2011, the headlights of our 2012 Nissan GT-R looked like they made the trip to hell and back. Cloudiness and a finish that looked as though steel wool had been run across the surface had our GT-R looking years beyond its actual age. I was skeptical that everything could be polished out, but I was hopeful that the improvements made could at least be protected for years to come.
We opted to remove the headlights to eliminate the possibility of overspray on the vehicle. Since we already had plans to remove the bumper, removing the headlights was a relatively easy affair. After removing the headlights, we followed the steps and ended up with headlights that look as good as new. While it will be sometime before we can definitively say that the protection from the Spray Max 2K 2-in-1 headlight clear meets our long-term protection goals, we are very optimistic based on the previous performance of the Spray Max 2K clear that we’ve used on a paint repair. That being said, the two products are not interchangeable. Use the Spray Max 2K 2-in-1 headlight clear over plastic only and don’t use the Spray Max 2K clear over plastic.

The Bottom Line
The price of replacement OEM headlights is getting out of control. A set of 2013+ headlights for the R35 GT-R will run you over $2K for the pair. We took the time a few years ago to test a number of different products. While the products could clean and restore the headlights back somewhere between fair to excellent condition, none of the products seemed to deliver the long-term UV protection that would fend off future weathering. In many cases, the “restored” headlights simply weathered again in a matter of weeks or months. With the 2K headlight clear with UV protection, we should see great results for years to come.