As car enthusiasts, we sometimes overlook one important facet of car care. This doesn’t refer to general engine maintenance or being able to perform your own repair work; we’re actually talking about keeping a car’s finish clean and protected from the elements. All too often, a proud owner will be quick to open their hood to show off a polished intake manifold or compressor housing, but with no concern as to how the car looks with the hood closed. Many car enthusiasts “judge a book by its cover.” How else would you explain the continued existence of car shows? In this section, we’ll inform you about the concepts and methods of caring for your vehicle’s finish. It’s time to get serious about car care.
Text by Aric Shen and Arnold Eugenio // Photos by Minh Nguyen, DSPORT Staff and Courtesy of Griot’s Garage
DSPORT Issue #148
Taking the Steps
Aside from maintaining the value and appearance of your vehicle, there is another benefit to regularly caring for your car’s paint finish. Washing, waxing and polishing your own vehicle by hand forces you to take notice of minute details of your car that you might otherwise miss. For example, you may not notice that your fender well lining has dilapidated almost to the point of falling off, or that the hard steel truck tread you swerved to avoid on the freeway is lodged in your undercarriage, dangerously close to binding or otherwise interfering with your suspension’s normal operation. More often than not, someone who takes the time to care for the vehicle exterior is bound to catch a number of potential accidents before they happen.
Wash and Rinse
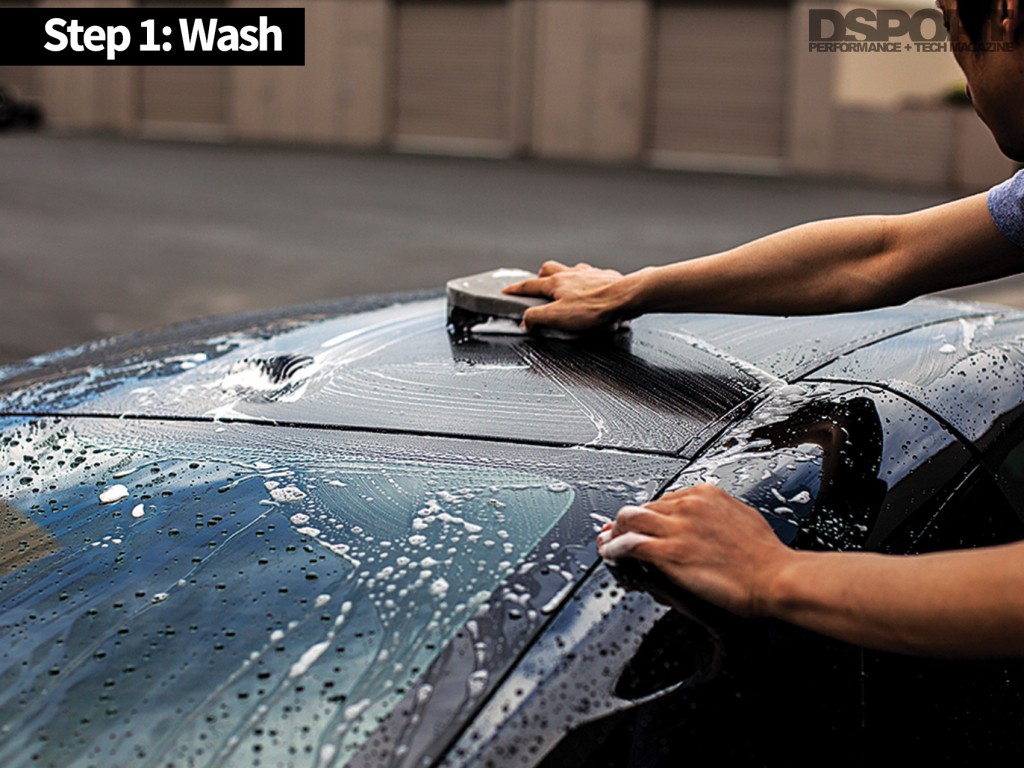
When it comes to washing your vehicle, there are a few things to remember. First, never use dishwashing liquid to wash your vehicle. These detergents are very harsh and can strip wax, remove vital solvents or cause other problems to your paint’s finish. Second, make sure to rinse your car well, no matter what brand of car wash soap you use. You might be using the best, most expensive products to care for your paint but if you haven’t rinsed away any loose dirt or dust, you will end up rubbing these particles into the paint. This is the main reason swirl marks are created in the finish.
 Always wash the vehicle from top to bottom as the lower sections will generally leave dirt, grime and other road debris on the wash mitt/sponge.
For the actual washing process, we recommend the use of a nice, high-quality sheepskin car wash mitt. Sheepskin mitts are easy to use and they’re very soft so they won’t harm your vehicle’s finish. Because of their weave pattern, sheepskin mitts also tend to easily release any dirt that may have been picked from the surface. When selecting a car wash soap, you’ll want to find a pH balanced product that won’t strip your car’s finish of previously applied vital oils or waxes. Today, most car wash soaps that are available will satisfy this requirement.
| Washing Do’s and Don’ts | |
| Do: | Don’t: |
|---|---|
| – Use the two bucket method to avoid scratches | – Use the brush at a coin-operated car wash |
| – Use microfiber towels | – Leave the tags on microfiber towels |
| – Wash the car in a shaded area | – Use a dirty wash mitt on the paint |
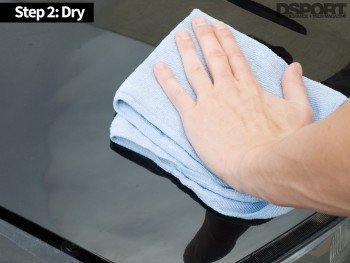
| – Dry the car immediately after washing | – Wash a car with hot brakes and wheels |
–
When in the actual task of washing the vehicle, try not to cover too much area at one time. Taking your time and repeatedly rinsing your wash mitt will ensure that you don’t rub dirt particles back into the paint finish. To make this easier, we advocate the use of the two-bucket method. One bucket contains the fresh soap solution while the other is specifically for rinsing out the mitt. Using this method, you’ll be surprised by how much dirt goes into the rinse bucket. A single bucket method  means you’re taking that dirt and essentially spreading and grinding it into the other areas of your car.
Decontamination
Contamination comes in many forms. New cars transported by train are often victims of “rail dust” or fallout. Most of us that drive regularly have had experience with road tar and dead bugs embedded in our car’s surface. Anything that lands on your car’s painted finish and bonds to the surface can be classified as contamination. If your paint job has been neglected for sometime, you’ll find that you probably need to decontaminate or polish your paint. After you’ve washed your car, gently glide your hand over the surface. If it feels like 400-grit sandpaper instead of smooth glass then you’ll want to take the time to clay your car.
A clay bar is exactly what it sounds like – clay in the shape of a bar. This isn’t just your regular PlayDoh or Silly Putty, however, and it isn’t like the modeling clay you might find at an arts and crafts store. A clay bar’s main purpose is to gently remove bonded contaminants from the surface of your paint. There are different types of clay compounds depending on the particular level of removal power needed but for most purposes, a retail clay kit offered by any of the quality car care manufacturers will work.
You shouldn’t need to take the clay bar to your paint finish frequently if you are keeping up with the maintenance of your paint. Still, many detailers recommend decontaminating your paint once every six months. Claying is a very simple process. Most retail clay kits will come with a clay lubricant and a bar of clay. The amount of clay that comes in a retail kit is usually enough to work on 50 to 75-percent of a passenger car’s surface. It may be deceiving because the clay bar is small, but you’ll only be working with a small, flattened out piece at a time.
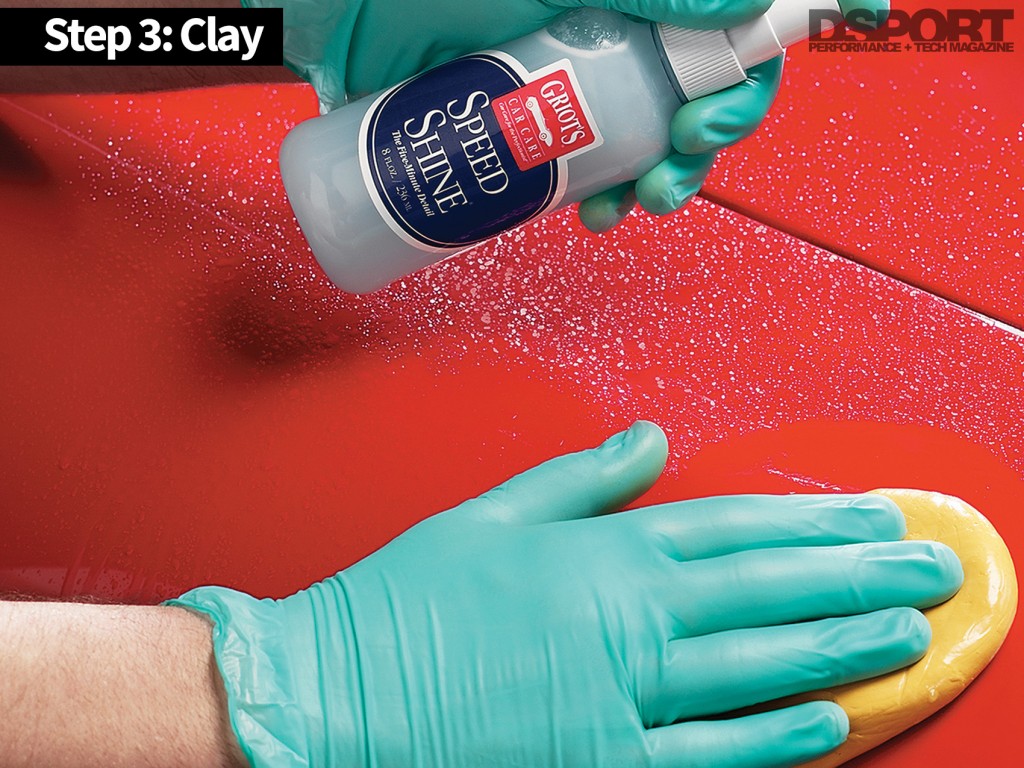
 Using a clay bar will yield a smooth finish free from any contaminents in the paint. Make sure that the area is well lubricated with detailer spray before gliding the clay across the paint.
The application itself is easy; simply spray the section of your car that you’ll be working on with clay bar lubricant. Take the flattened clay, and rub with soft to moderate pressure around the paint. Since you are actually polishing the paint with the clay you should be using a similar polishing motion. The clay should glide easily over the paint. If it starts to stick or leave clay on the paint, you should use more lubricant. After making a few passes over the paint, it should feel as smooth as glass. If it still feels gritty, keep claying. Every so often, you can check the piece of clay that you’re working with and make sure that you are not dragging around contaminants that are picked up by the clay process. Folding your piece over or switching to a new, flattened piece of clay is the best practice.
If you’re claying for the first time make sure you set aside a good chunk of time to complete the job. Don’t be discouraged by the amount of time it takes. The end result depends on this tedious process. After all, the cleaner your paint is the greater it will shine when you’re through.
The final step after claying the surface is to wash the car a second time, using the process outlined in the earlier section.


