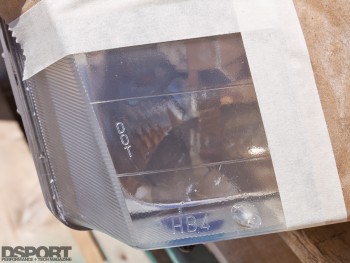
Cloudy and hazy headlight lenses make your car look like it’s suffering from a terrible case of cataracts. Not only do they look weathered, they also reduce the amount of light being projected and potentially impede the ability to see as well at night. This was hardly an issue prior to the early ‘90s, when headlights were typically sealed beam assemblies with glass lenses. However, auto manufacturers moved away from glass headlights and embraced plastic units instead. Some reasons for the shift include weight reduction, safety and the flexibility to mold headlights into more aerodynamic designs that would have been safely possible with glass. Another key factor in the transition to plastic headlights was a change in the federal regulations that permitted the use of replaceable bulb headlight assemblies. But with all the benefits of this change and innovation came an unexpected drawback, oxidized and hazy headlights.
Text and Photos by Richard Fong
DSPORT Issue #157
Blurry Vision
When new, a plastic headlight’s clear polycarbonate lens looks as transparent as glass. Unfortunately, a few years of exposure to Ultraviolet (UV) light and being bombarded by dust, pebbles and road debris, the headlights show signs of wear, pitting, turning yellow and becoming hazy, reducing the effectiveness of the headlight beam. The primary cause for this appearance is the degradation of the factory UV resistant coating. However, when this happens, don’t despair. A surprising number of solutions offered in today’s market cater to the do-it-yourself consumer, the professional detailer and the body shop technician.
The Aftermarket Answer
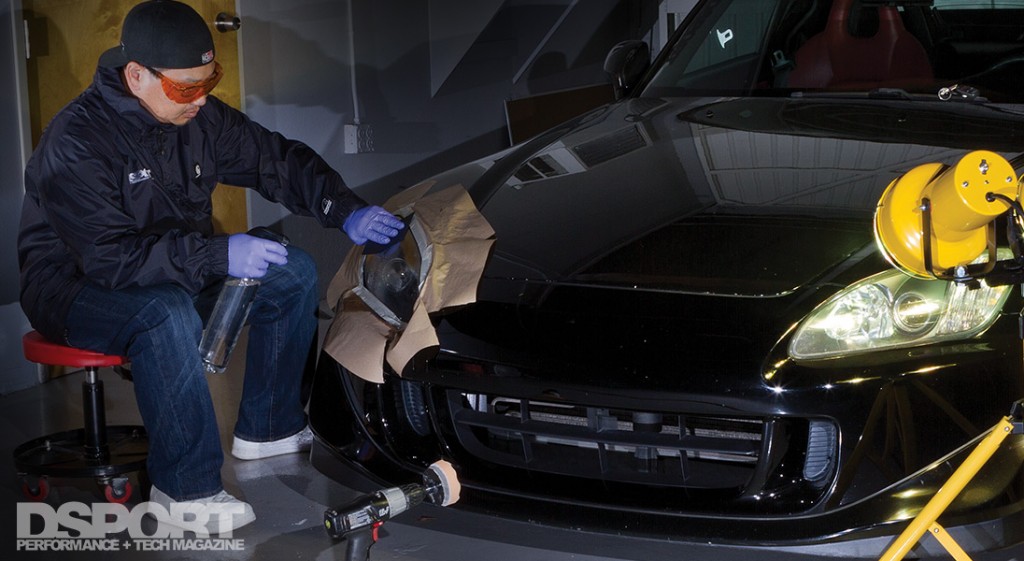
If you’ve ever researched headlight restoration solutions, you’d have discovered a wide range of products with different approaches to headlight refurbishment. Some solutions cater to lightly damaged headlights, offering more of a maintenance type solution that is not as involved and can be performed on both headlights in short order. For medium to heavily oxidized headlights, solutions require the stripping of the worn factory UV coating with a series of abrasives and polishes followed by wipe on or spray-on sealants.
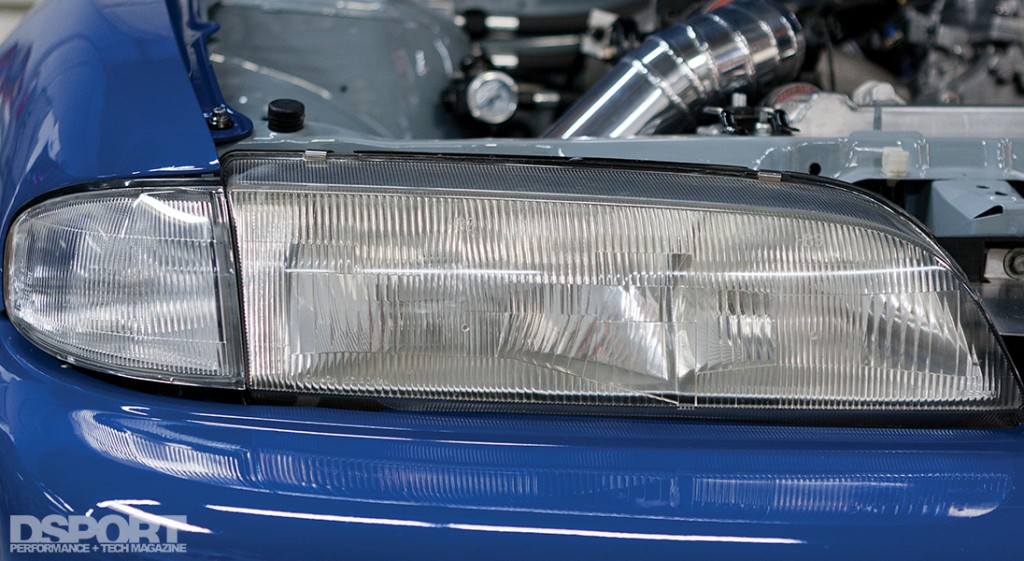 Polishing and buffing are not enough for proper headlight restoration. This headlight has already begun to change color as a result of UV exposure. The corner light is brand new and an example of what the headlight should look like.
Seal the Deal
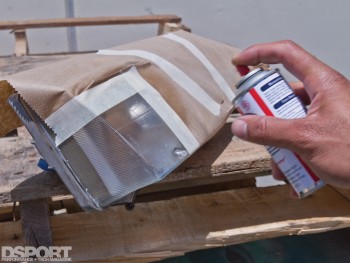
Simply sanding and polishing headlight lenses is not enough, however. The headlights will suffer from the same oxidation and UV damage in as little as a few months unless a protectant or sealant is applied. Some require periodic maintenance (reapplication of protectant/sealant) while others offer longer intervals or even permanent solutions. A few of these sealants include UV resistance for a longer lasting finish. Some of the kits also involve curing by way of UV light.
UV or protectant coatings are offered in a conventional, hybrid or photo initiated formula. Conventional coatings require air or heat for drying. These formulas are self-leveling. As the solvents evaporate, the coating begins to cure. By comparison, photo initiated sealants will not fully cure without UVA light. These formulas require exposure to UV light to fully cure all the way through to the lens. Hybrid formulas benefit from the conventional coating’s self-leveling properties and evaporative solvents while also benefitting from the curing properties of a photo initiated solution. Most DIY kits suggest exposing the headlights to direct sunlight for a specified timeframe for proper curing, while professional systems often recommend the use of UVA floodlights for optimal curing.
–
Page 2- Ultraviolet Light Explained


