Nothing can ruin a day of plans quicker than getting into a car that fails to start. Then again, it can be even more frustrating and dangerous when driving a vehicle that slowly begins to lose power and then goes “dead” while driving. While there is no way to avoid 100-percent of these incidents, over 90-percent can be avoided with proper maintenance and setup of a vehicle’s primary electrical system. Have you ever wondered why some vehicles are constantly burning through replacement batteries and alternators, while other vehicles get more than 10 years of service from a “5-year” battery? Understanding the system basics, selecting the proper components and maintaining a regular inspection and service schedule will ensure your vehicle starts and completes its missions.
By Michael Ferrara
DSPORT Issue #172
System Basics
A vehicle’s primary electrical system is made up of the components that store, use and generate low-voltage direct current electricity. The primary purpose of the battery is to serve as the storage device for the electrical energy. This stored energy is used by everything from the starter and fuel pumps to the cooling fans, lights, stereo system, ECU and window defrosters, just to name a few. While these motors, lights and electronics drain the energy from the battery, the alternator fills the battery with energy. The alternator is responsible for converting the mechanical energy from the running engine into electrical energy.
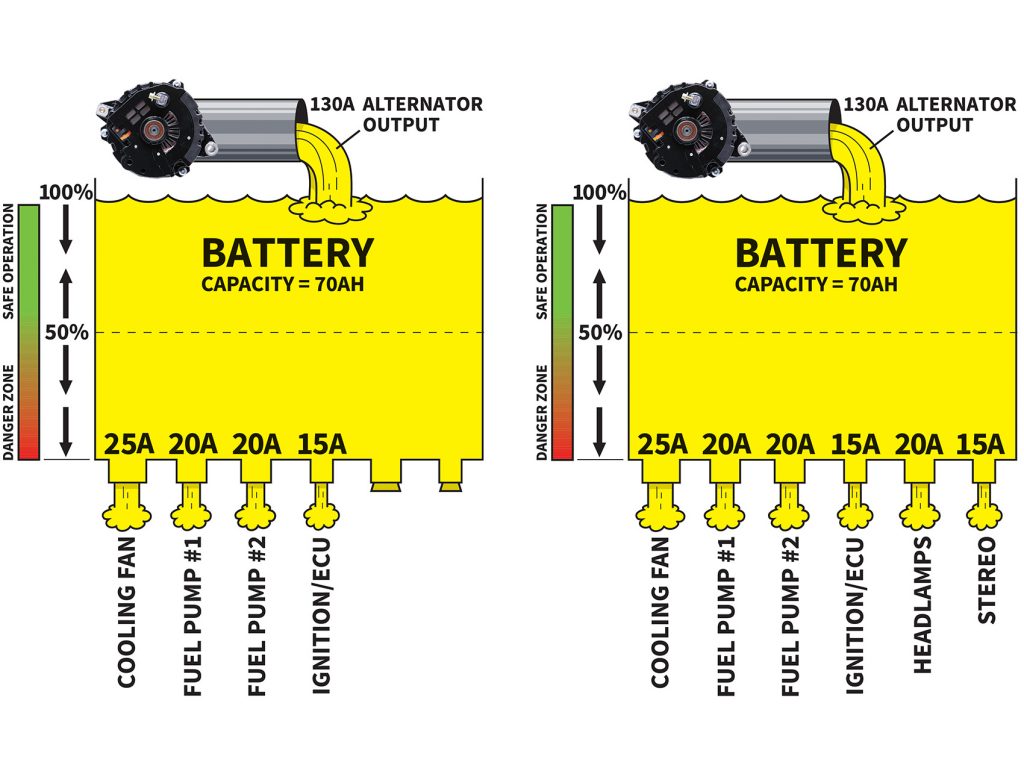
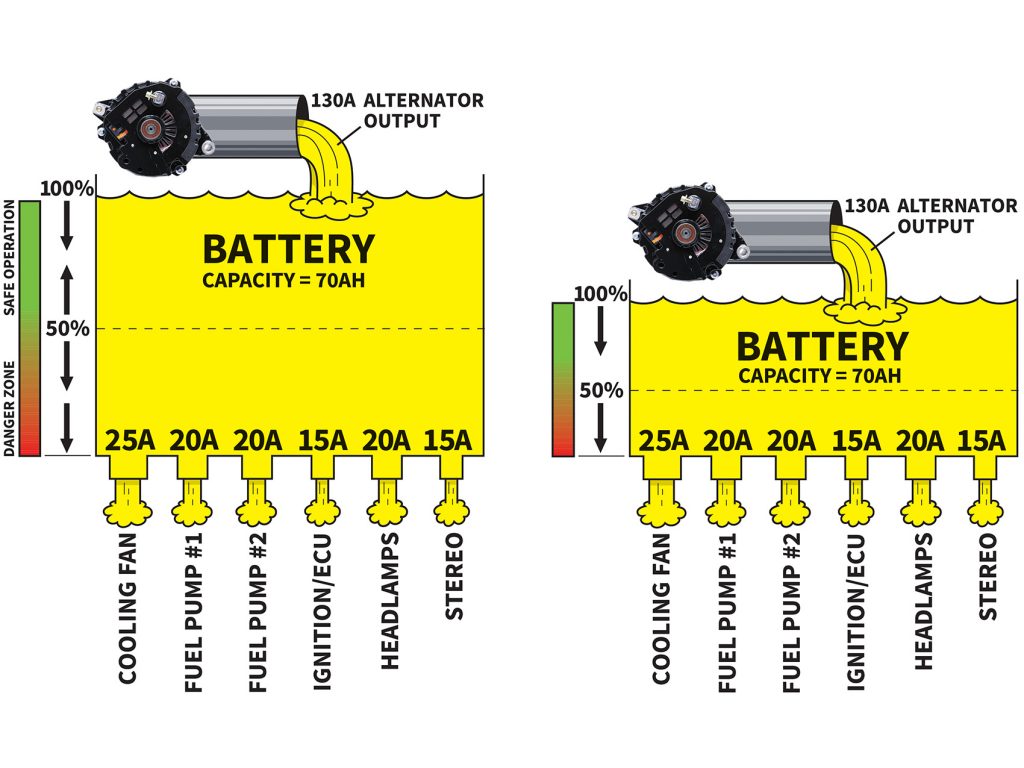
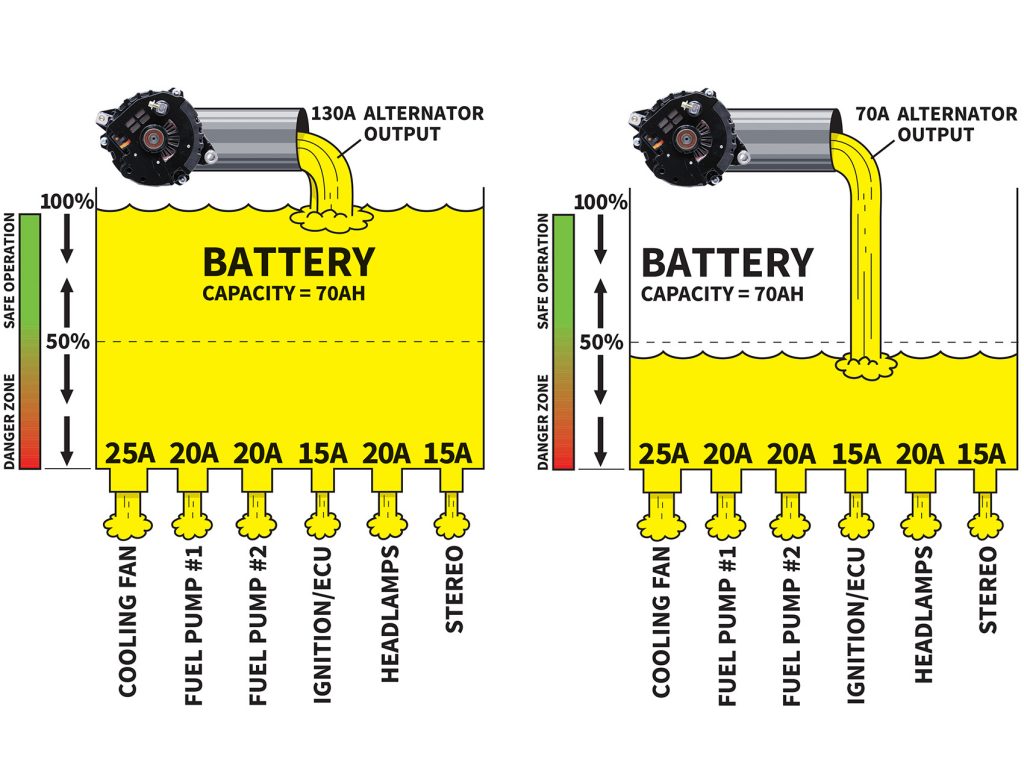
The basic system can be visualized as a pool (the battery) with multiple drains (the devices that require the electrical power) and a single fill (the alternator). Physically larger batteries will tend to have bigger pools of energy storage (measured in amp hours or Ah). Unfortunately, larger batteries weigh more which is not desirable for performance applications. The size and number of drains on the battery will determine how quickly the stored energy in the battery can be used. Bumping that 1,500 watt sound system for 30 minutes with the engine off or leaving the lights on for a few hours can result in draining so much energy from the battery that not enough remains to start the engine. For a performance application, choosing high-efficiency components with low energy requirements (i.e. brushless fuel pumps and engine cooling fans) reduce the energy storage requirements (battery size) for a given application. As for the alternator, it’s important to have an alternator that can produce enough energy to power all of the components under maximum load and still have something left to fill the pool. Hence, you wouldn’t want to use a 70A alternator on an application that produces up to 110A of peak electrical load.
Supply and Demand
Why do some vehicles’ electrical systems run flawless while others are problematic? Many times it boils down to the systems design and the overall supply versus demand factor. Even some OEM electrical systems are “borderline” in terms of the available supply and the realistic demand on the system. Let’s take a look at the factors that influence this supply and demand.
Here are the supply side economics. When a 36-pound lead-acid OEM battery is replaced with a 6-pound lead-acid racing battery, the storage capacity of the system drops by over 80 percent (the drop in storage capacity is roughly proportional to drop in weight when like technology batteries are used). That means if you could leave your lights on for 30 minutes with the OEM battery and still have just enough energy left to start the engine, leaving those same lights on for more than 5 minutes with the small battery would leave your vehicle in need of a jump or tow. Still, this may be okay for a street application where the electrical system is never run without the engine running and the engine starts on the first attempt all the time (not like an E85 engine trying to start in 40-degree weather). For those looking to have their cake and eat it too, upgrading to a lithium-ion battery (very expensive cake) can usually provide a battery with 100-percent of the storage capacity at just 25 percent of the weight. Hence, a 9-pound lithium-ion battery could have the same storage capacity as a 36-pound lead-acid battery.
Low Load vs High Load
The amount of load on the electrical system is going to be dependent upon the number of electrical items simultaneously drawing current. Additional fuel pumps, cooling fans and car stereo upgrades can dramatically increase the electrical loads on the system.
Large vs Small Battery
In a racecar application, saving weight is always a concern. Since OEM batteries can be exceed 50 pounds on some automotive applications, smaller batteries are often substituted on racecar applications. The tradeoff for the weight savings is a reduced energy reserve pool.
Undersized Alternator
While a small racing battery increases your chances of running into an issue due to the reduced storage pool, an alternator that doesn’t have enough output to meet the current demands guarantees big problems in the future. Undercharging of the battery and draining the battery below 50-percent of its capacity will result in premature battery failure.
Down the Drain
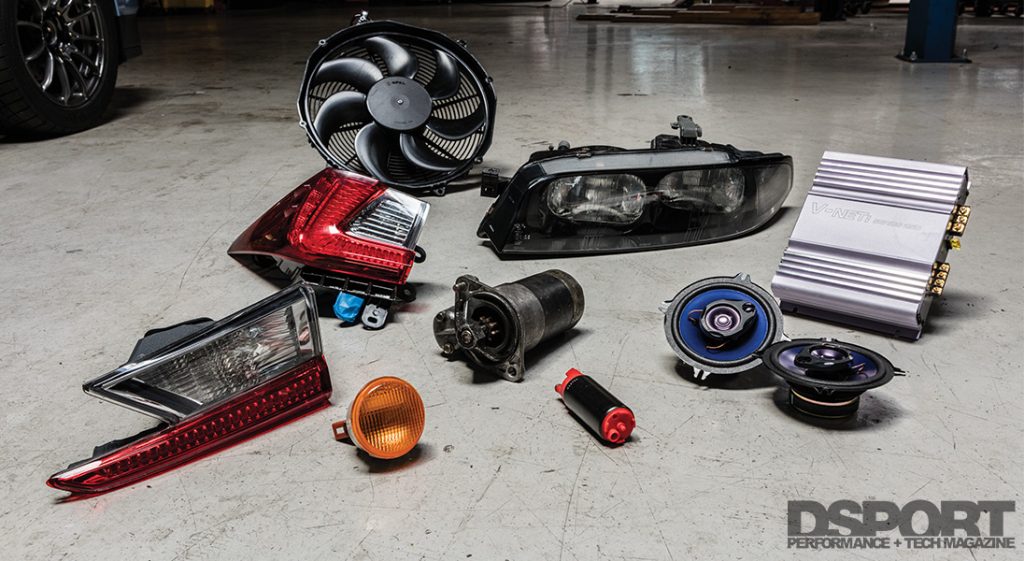
Higher flow fuel pumps, additional fuel pumps, higher flow cooling fans, ignition amplifiers and high-power car audio systems increase the demands on the electrical system. Going from an OEM fuel pump to a triple fuel pump setup could easily increase the load demands by 40~50A. An aftermarket high-performance fan may pull an additional 10A, while a bass-booming sound system can pull over 80A for those 1000 watts of boom. Nearly every component added for performance or pleasure increases the size or number of drains on that storage pool. Hence, having an alternator capable of keeping up with the peak electrical current demands on the system is key. Otherwise, the system will be fighting a losing battle: unable to fill the pool as fast as it can be drained. With many of the import applications, the OEM equipped the vehicle with a different output alternator based on the options on the vehicle. Some aftermarket high-output alternators may also be available for some applications. As long as your alternator has at least 10A of headroom above and beyond the peak electrical demands that your system will experience (i.e. 100A alternator on a system when 90A is peak current demand), you should not run into any issues. Of course, one should also consider the options to reduce demand. LED lights in place of conventional will reduce current draw as will brushless fuel pumps and brushless cooling fans. In addition to being more efficient at peak output, brushless fans and pumps can also be speed controlled to reduce the output under low-load situations. For example, a brushless fuel pump may only pull 3A of current at idle when reduced to a low speed, while a brushed fuel pump may pull 15A in the same application. Under full load, the brushed pump might pull 30A of current while the brushless pump at full speed may only pull 12A.
TIPS AND TRICKS
- Use a quality multi-stage smart charger when charging a battery. If the battery is left in the vehicle during the process, follow the directions with the smart charger. Some chargers may recommend disconnecting the cables between the vehicle and battery.
- NEVER use a dumb charger. These chargers can often overcharge a battery which is the quickest way to shorten its lifespan. These chargers may also undercharge a battery which leads to decreased life due to excessive sulfation.
- Never partially charge a battery. Partially charged batteries will show accelerated sulfation leading to a premature failure.
- Only store batteries that have been fully charged. Store batteries in a location where the temperature will be 75 degrees or less. Sulfation and discharge of the battery will double for every 10 degrees about from 75 degrees. Recharge stored batteries monthly until placed back into service.
- Charge “new” batteries on a quality multi-stage charger before installing in a vehicle. It is not uncommon for “new” batteries purchased at retail establishments to have been sitting for up to 12 months on the shelf.
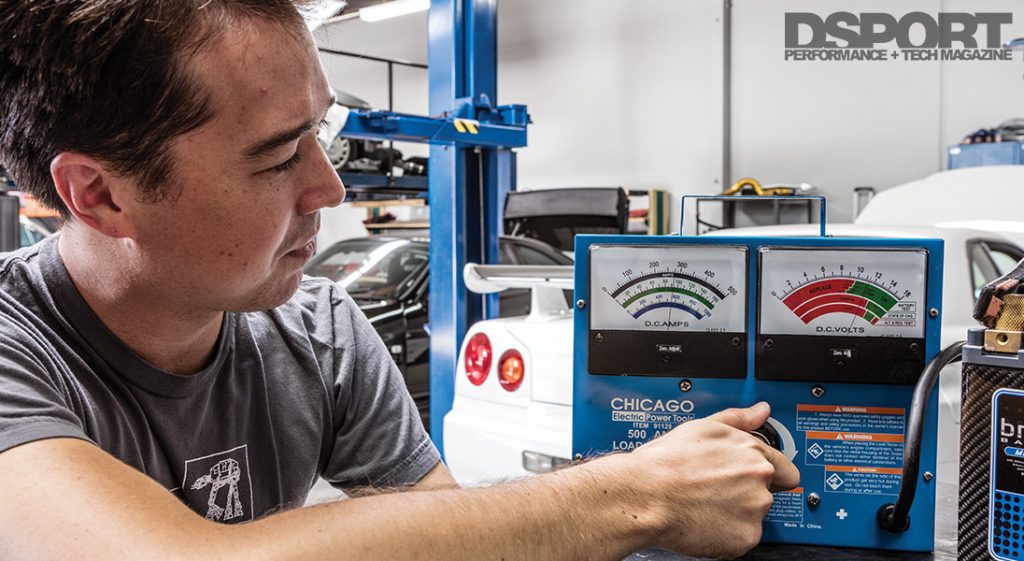
- Always ask for a new battery being purchased to be load tested. While less than five percent of “new” batteries purchased are defective, this is a great way to identify a bad battery before you deal with the headaches of being the 1 in 20 victims.
Battery Maintenance
 A battery will live a long and happy life when it is discharged and charged properly. As for being discharged properly, a battery must have sufficient capacity for its application as to not go below 50 percent of its stored energy level. When a battery is stressed below this level, the battery will begin to lose its storage capacity over time, as sulfation (the buildup of lead sulfate crystals on the plates) will occur on the plates making them less efficient. In an application where the battery is already being discharged beyond the 50-percent mark, the loss of additional storage capacity only exacerbates the problem. Fortunately, the effects of mild to moderate sulfation can be reversed with a specialized charging procedure that is available in high-end, smart, multi-stage chargers.
The improper charging of a battery will have the most adverse effects on battery performance and life. Dumb and cheap battery chargers may appear to save a few bucks in the short run while actually costing the owner hundreds or thousands of dollars in the long run by severely shortening the life of the batteries it charges. While infrequent and inadequate recharging can lead to sulfation, “overcharging” has even more detrimental effects. Overcharging can cause the water in the electrolyte solution to evaporate and may also expose the plates to air where they will quickly oxidize (reducing the reserve capacity of the battery).
SMART CHARGING
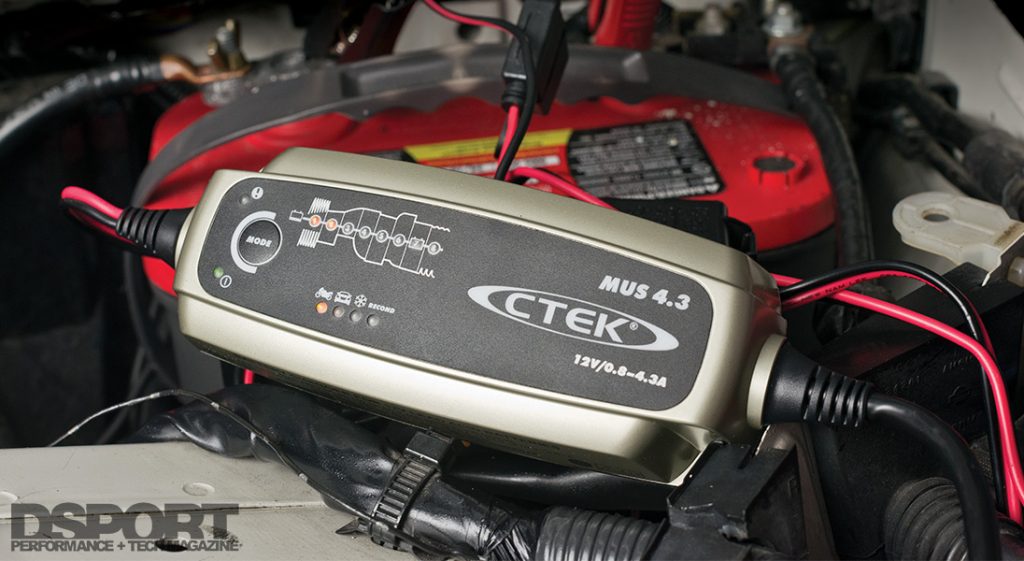
Unlike conventional single-stage dump chargers, smart chargers use multiple stages of charging and temperature feedback information to optimize the charging process. Here is an overview of what happens during the four stages of smart charging.
Stage 1: Bulk/Boost Stage
This is the first process in the multi-stage charging process. This stage will continue until the battery reaches an 80-percent state of charge. This process is marked by a constant current charging at an increased voltage. Charging voltage will be highest during this stage (up to the limits of the charger) for faster charging. It may be as high as 14.6~14.8 volts on an AGM battery and even higher on a conventional flooded battery. This stage will often use a temperature sensor to ensure that the battery temperature doesn’t get too hot during this charging period. If a battery is left in this bulk charging state it will overcharge (this is the problem with a dumb charger).
Stage 2: Absorption Stage
Also known as the soak stage or topping stage, a smart charger reduces the charging voltage during this stage. The lower voltage setting stays fixed at an optimized level for the type of battery being charged. As the battery absorbs the energy from this charge, the charging current drops. This allows the electrolyte solution to charge fully and completely. At the completion of this stage, the battery is anywhere from 85-percent to 95-percent charged. Since this absorption-stage voltage is still above the “floating” voltage of the battery, a battery left in the absorption stage will also overcharge.
Stage 3: Float Stage
During the float stage, a trickle charge (extremely low current) is applied to the battery to reach its full charge. Voltage is usually held constant around 13.2-to-13.4 volts (the maximum a 12V battery should hold). If a battery is left at this charge it will undercharge as it slowly self-discharges.
Stage 4: Equalization/Pulse Stage
Since the battery will gradually self-discharge if left in the float stage, a smart charger will increase the voltage should the float voltage drop below a certain level. Some smart chargers will pulse the voltage, essentially revisiting the stage 2 and stage 3 processes of the charging process.
Troubleshooting
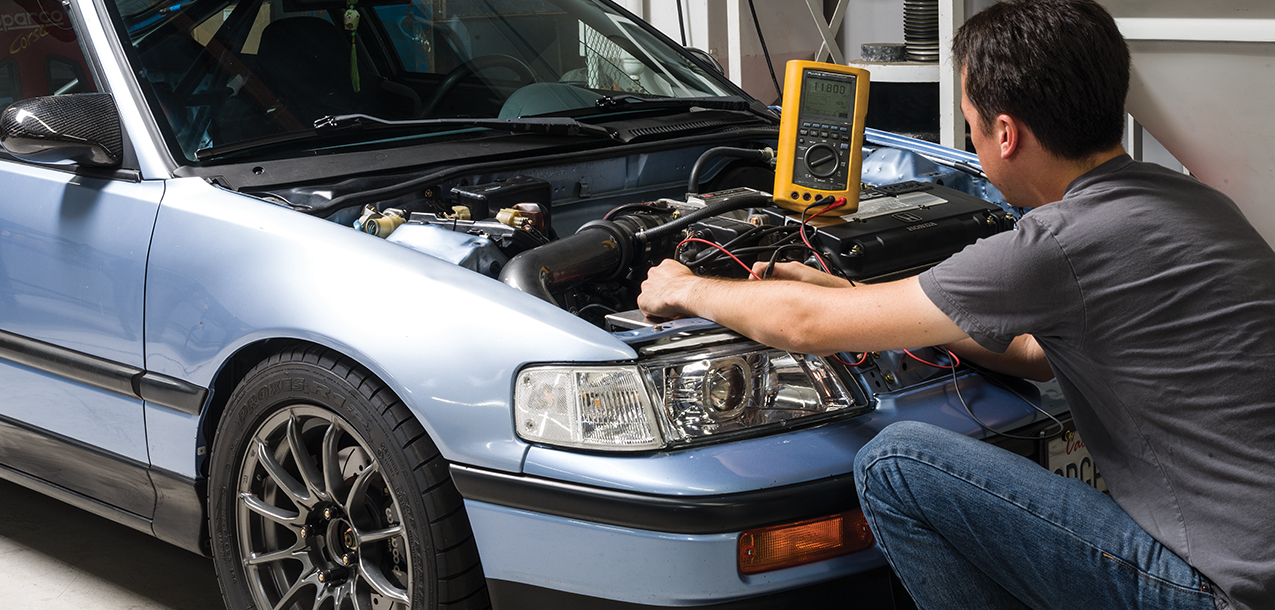
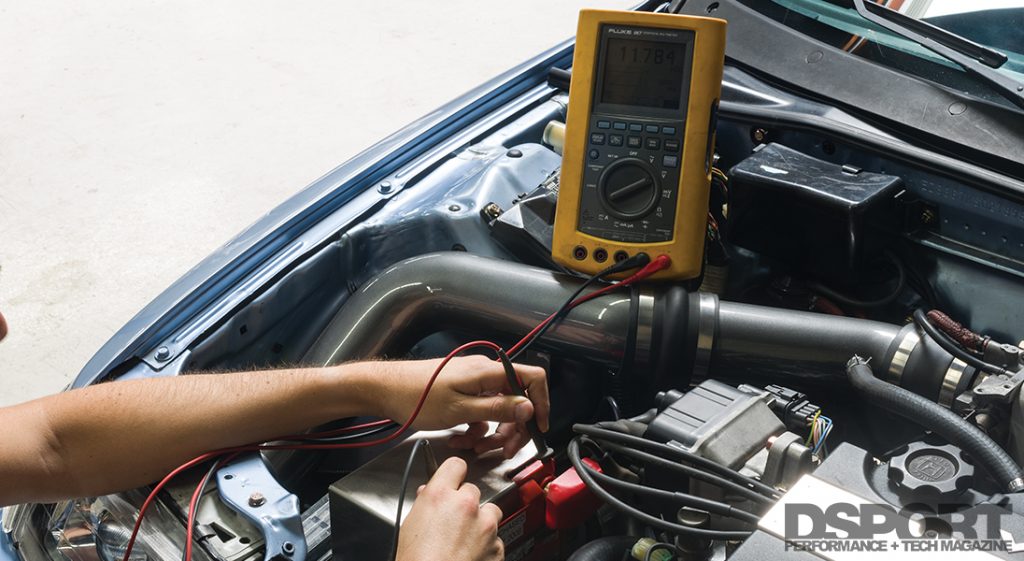
When you have a situation with a battery too drained to start a vehicle, determining the exact cause of the failure will minimize the repair costs and inconvenience associated with the problem. Just last week, Tyler’s S2000 wouldn’t crank. Tyler’s first instinct was to purchase a new battery. Instead, we placed his battery on our CTEK charger and recovered it to a full state of charge. At this point, we load tested the battery and found it to pass the test. We then recharged the battery again and installed it in the vehicle. The recharged battery started the vehicle immediately. However, we knew that the charging system needed to be inspected (good batteries don’t lose their stored energy for no reason). When we hooked up a volt meter to the battery with the car running, we only recorded 12.5 volts. This was less than the 12.8 volts that we had before the engine was started. A minute later, we were down to 12.4 volts, so we shut off the vehicle. After confirming that the belt on the alternator showed no signs of slipping, we ordered a replacement alternator. While waiting for the replacement alternator, we again placed the battery back on the CTEK charger to give it a full charge. Why was this necessary?
TROUBLESHOOTING CHECKLIST
- Ensure that battery terminals are tight on the battery
Clean and tighten if needed- Recharge Battery on a Smart Charger
Fill battery if serviceable
Charge on a smart charger to 100-percent state of charge- Load test battery and replace if necessary
Battery voltage should not drop below 10.5 volts
with 50-percent of CCA load for 15 seconds- Check the charging voltage with a freshly charged battery installed
Voltage should be between 13.5 and 14.5 volts one
minute after engine is started with engine at idle
Installing a brand new alternator in a vehicle with a weak battery can damage the alternator. Once we fired up the engine with the charged battery and new alternator in place, the charging voltage read 14.2 volts and we had a vehicle with a properly functioning battery and charging system.
The Bottom Line
Tyler might have wasted money on a new battery or blown out a new alternator if installed with a weak battery. Fortunately, combining the proper knowledge with a few simple tools saved money and time and got the car back on the road at the minimum cost. Maintenance of the battery and charging system will extend battery life and reduce the likelihood of ending up stranded on the side of the road. A smart multi-stage battery charger and a quality digital volt/ohm meter should be part of every enthusiast’s arsenal.
MAINTENANCE SCHEDULE
Every six months:
Inspect your battery’s electrolyte levels. If the battery has removable vent caps that allow filling, fill with distilled water to recommended level if low. Gel, AGM or maintenance-free batteries do not allow fluid level adjustments, so this step cannot be done.
Clean your battery terminals and ensure that both ends of the main cables are tight. Use corrosion-preventing grease on terminals. If the cables have frayed conductors or fit loosely, replace.
Check the battery voltage with the vehicle off and with the vehicle running to confirm proper standing and charging voltages of the battery and charging system. A standing battery should show between 12.4 and 13.2 volts. With the engine running for at least one minute, the battery voltage at idle should read higher (between 13.2 and 14.2 volts). This indicates that the charging system is charging the battery.
Inspect physical condition of battery. If the case is distorted, cracked, leaking or if the battery builds excessive heat when the vehicle is running, replace the battery immediately.
Inspect the alternator belt and ensure that it is not slipping. If black rubber dust or other signs of slipping are present, replace and re-tension the belt.


