
During the chase for more horsepower, we often neglect the rest of our systems. While our engines could provide us with plenty of power to put smiles on our faces, failing to address other systems that keep our engines running reliably could quickly eliminate these smiles. Since heat is the enemy of performance and reliability, the cooling system serves as the friend we all rely on and need. A small leak in your cooling system could be the start of big problems and eventually complete engine failure if completely ignored. While you can visually see some leaks, we can’t rely solely on our eyes. That’s when a cooling system pressure test kit comes in handy. Here’s how you can check your cooling system and cross one item off your list of worries.
Text by Bassem Girgis // Photos by Joe Singleton
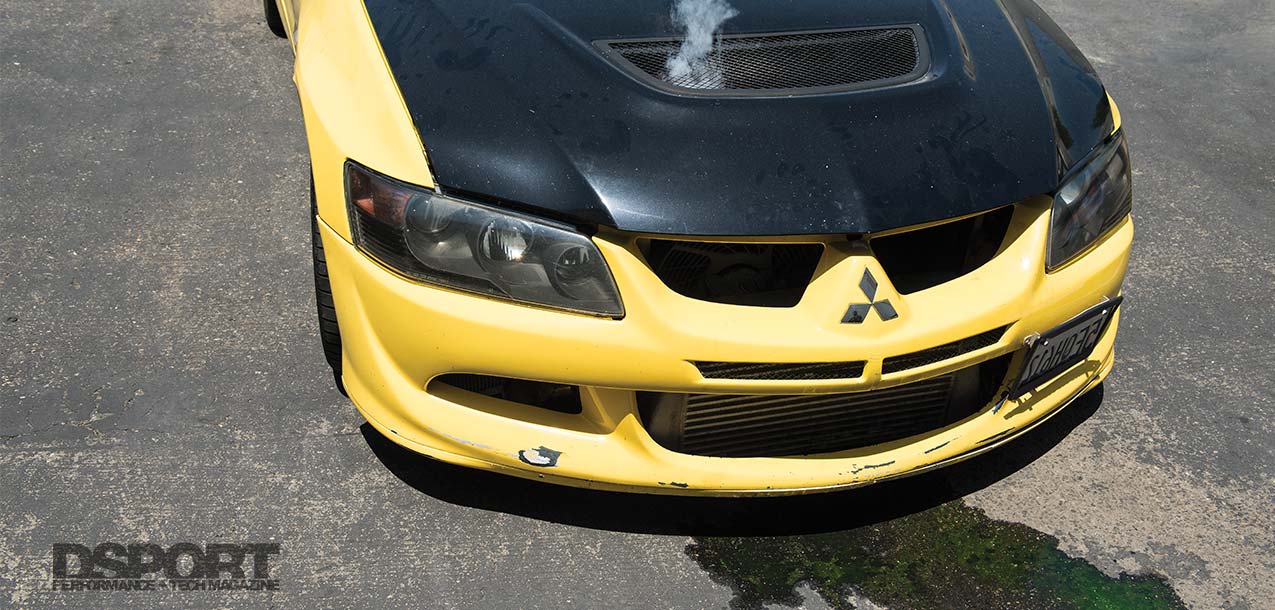
DSPORT Issue #219

How the System Works
A radiator, a fan, a water pump, a thermostat, and a radiator pressure cap are partially responsible for the health of your engine. The radiator ejects the heat in the cooling system to the atmosphere, serving as a heat exchanger. The fan assists in moving the air across the core of the radiator to assist with cooling. While the fan moves the air, the water pump moves the coolant. It puts the coolant in motion as it flows through from the engine to the radiator and back into the engine in a cooler state. The radiator cap keeps the entire system at a specific pressure, as it keeps the system closed to the atmosphere. If the pressure rises above the maximum level, the cap purposely vents to prevent a catastrophic disaster of built-up pressure with nowhere to go. Finally, the thermostat serves as the gate that closes when the engine is cool to let it warm up quickly, then opens up when the temperature reaches the optimal degree to let the coolant flow through and prevent overheating. Since the system is pressurized, any leak in one of the hoses, radiator, or around the engine block could allow the coolant to boil causing overheating.
Boiling Point
 Boiling is the process in which molecules move from liquid state into vapor state. As temperature increases, additional particles have enough energy to enter the gas phase. This increases the vapor pressure to equal or exceed atmosphere pressure, thus boiling the liquid. As the pressure increases, it becomes more difficult to move into the vapor. The boiling point is when the temperature at which the vapor pressure of liquid is equal to atmospheric pressure.
Boiling point is lower than original boiling point
Pressure < one atmosphere
Boiling point is at normal boiling point
Pressure = one atmosphere
Boiling point greater than normal boiling point
Pressure > one atmosphere

The Tester Kit
Cooling system pressure tester kits vary in price between $50 to $300. We use a Snap-On pressure tester kit. The kit comes with the pump and the pressure gauge attached to it. Also included in the kit are three adapters to accommodate various fittings. The pressure gauge displays pressure in PSI and kPa. While we always use PSI, you will notice that your Japanese car’s radiator cap has the maximum pressure in kPa, so this comes in handy to avoid having to convert it yourself.
System Check
Before jumping into pressure testing your cooling system, make sure your car is cool enough (or you’ll have bigger problems to worry about). If your car has been parked all night, you don’t have to worry about it, but if you’ve recently driven it, wait at least 1-2 hours before attempting anything. Grab the top radiator hose and squeeze it. The first sign is a cool hose, then followed by how it feels. If it’s easily squeezable, it means the system is not pressurized, but if you find resistance and feel like it’s expanded, then wait a little longer and try again. Once the car is actually cool and there is no pressure in your cooling system, you’re ready to expose the leak.

It’s CRITICAL that you do NOT exceed the rated pressure on your radiator cap when pumping through your pressure tester kit.
Pressure is ON
If your car has two radiator caps, look for the one with the pressure rating on it. Remove the radiator cap and find the adapter that fits on your radiator. Turn the adapter clockwise as if you’re installing your radiator cap until it clicks, then attach the pressure tester connecter to the adapter. Push the pressure tester connecter downwards as you turn the connecter and lock clockwise. After you hear the click and feel that it’s snug on there, you are ready to start pumping, but first, take note of the pressure rating on your radiator cap (extremely important).
With your eyes on the gauge, pump the tester as if you’re pumping air into a bicycle tire. Watch the needle on the gauge climb up in pressure with every pump. Under no circumstances should you go above the pressure rating displayed on your radiator cap. Continue pumping, slowly, until you reach the pressure rating, then stop and wait. If the needle on the gauge stays at that pressure for a few minutes, you’ve got a healthy cooling system with no leaks. However, if it starts dropping, then you should first check to ensure the adaptor and connector are tightly attached to your radiator, or the worse option, you have a leak.
Do You Have a Blown Head Gasket?
 While you have the cooling system pressurized, it’s a good opportunity to check if you have a blown head gasket. When your head gasket fails, coolant can leak outside of the engine and in places it doesn’t belong. Remove the spark plugs with the system pressurized and visually inspect in the spark plugs’ sockets to see if there is any coolant present. If you do find coolant, you’ve got a blown head gasket. Another place you can check is your engine oil. If you open your oil filler cap and find milky brown liquid, that means coolant is leaking into the oil and you have a blown head gasket. In an upcoming issue, we will show you all of the tests to check for blown head gaskets using its proper tester kit, as well as ways to prevent it from happening.

As you pump air through your cooling system, the pressure will increase exposing any leaks in it. Visually check your hoses to see if any coolant is seeping out with the pressure at its maximum.

Visual Inspection
As you wait to see if the needle on the gauge will drop or stay holding pressure, you can do a visual inspection of the cooling system. With your system under maximum pressure, any leaks should be exposed. Check all of your radiator hoses, your radiator, and around the engine. After a minute or two, if the pressure on the tester kit’s gauge maintained that pressure, then your cooling system checks out. Turn the connector lock counter-clockwise and listen to the system releasing its pressure. Install your radiator cap back on, and you are done.

For the parts that you can’t easily reach with your eyes, an inspection camera (Borescope) could be of great value. It allows you to see the hidden nooks and crannies and locate leaks that you never would’ve found using your eyes. We use a Milwaukee Tools Video Borescope.
The Bottom Line
Coolant leaks can happen with no fault or negligence from you. However, if you neglect it, overheating issues can occur which can lead to engine failure. It never hurts to check your cooling system using any pressure tester kit on the market and prevent thousands of dollars in repair fees. Always keep your vehicle maintained with fresh coolant, make it a habit to visually inspect for leaks from time to time, as well as check your coolant level often. It doesn’t matter how much power your engine produces if you can’t keep it cool.
