
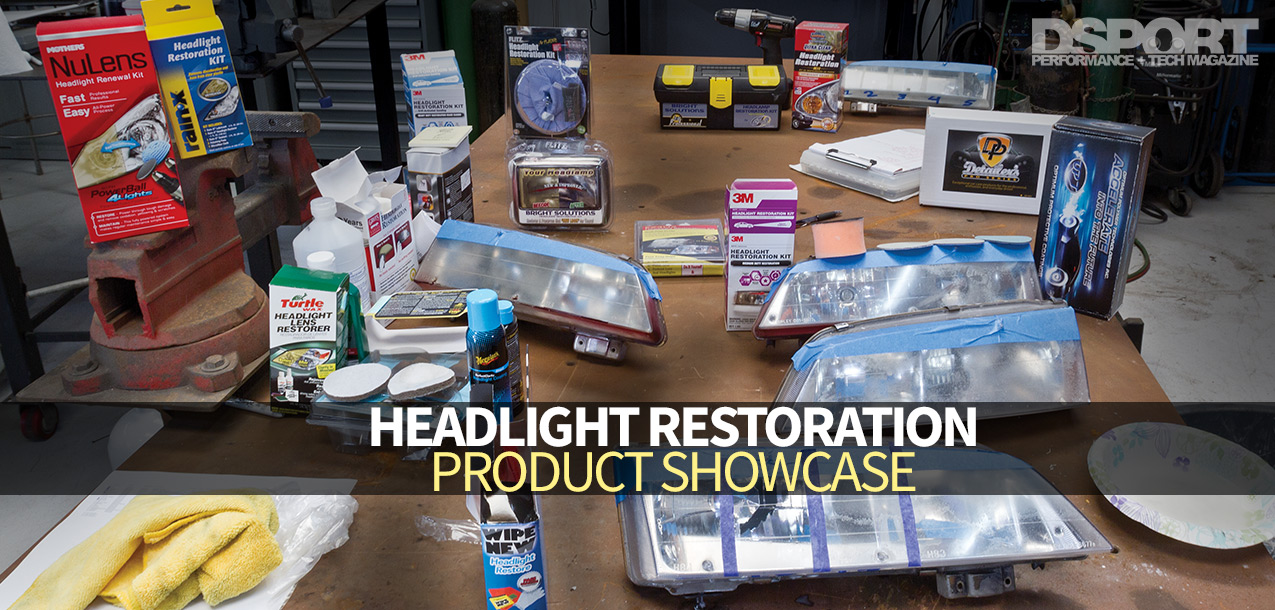
In order to fairly evaluate these headlight restoration products, we’ve sourced headlights from our Local Pick Your Part salvage yard to serve as test samples. These headlights are from 1994-1997 Honda Accords and feature similar wear, pitting, oxidation and UV damage. Each product will be tested on a portion of a headlight lens following the manufacturers instructions. Once the testing has been completed, all of the headlight samples will be left outside at the DSPORT office, exposed to the elements for a period of four-to-six months. We will revisit the samples and publish their condition in a follow up to this Showcase. Check out the manufacturer’s website for more information or give them a call if you can’t find the information you’re looking for.
Text by Richard Fong // Photos by Richard Fong and Cameron Parsons
DSPORT Issue #157
Quick Tips
Isolate Your Work Space
Always mask off the painted surface around the headlights. You’re dealing with chemicals and abrasives here, don’t leave anything to chance. Human error (your mistakes) handling/using abrasive products could leave you with damaged paint.
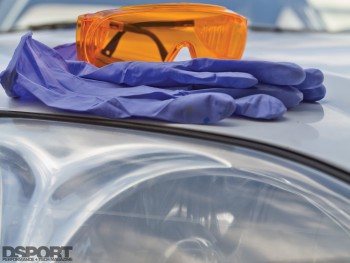
Safety First
Dust, abrasive pastes and chemicals are usually not good for your health. Also, in the case of sophisticated systems that employ a UV light system to cure the finish, follow the directions carefully, cover all body parts and wear the recommended eye protection. UVA light can burn the skin and harm your vision if handled incorrectly.

Cordless Convenience
Some of these kits include an arbor or some other attachment intended to work with a drill to mechanize the sanding, cleaning or polishing processes. Take advantage of this convenience whenever you can. Work smarter, not harder. Just be careful not to damage the paint or body panels near the headlight surface.
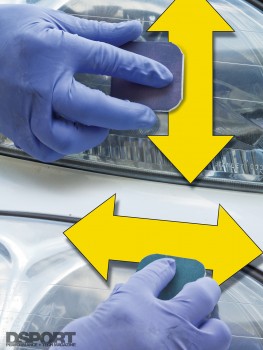
Cutting Edge
Unless the kit you’re using specifies otherwise, you should alternate directions when sanding. For example, use a coarse grit abrasive when sanding horizontally, then switch to a vertical motion when sanding with a finer grit abrasive. This ensures that you don’t miss any part of the headlight, as you’ll see the horizontal sanding marks contrast against the areas that have been vertically sanded.
Know What You’re Buying
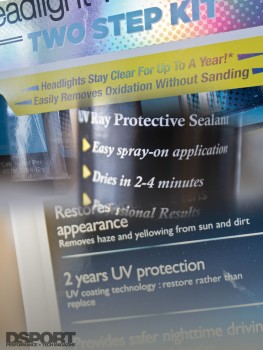
Not all kits include a UV resistant coating, which will protect your headlights from UV degradation and/or oxidation. Some products were intended to restore the luster to headlight lenses and might require an aftermarket protectant to be applied afterward for long term defense against UV.
Page 3: Kits Under $30: Continued
Page 5: Kits Over $ 99 / Home Remedies
Article: Clearing Up Your Headlight Restoration Concerns