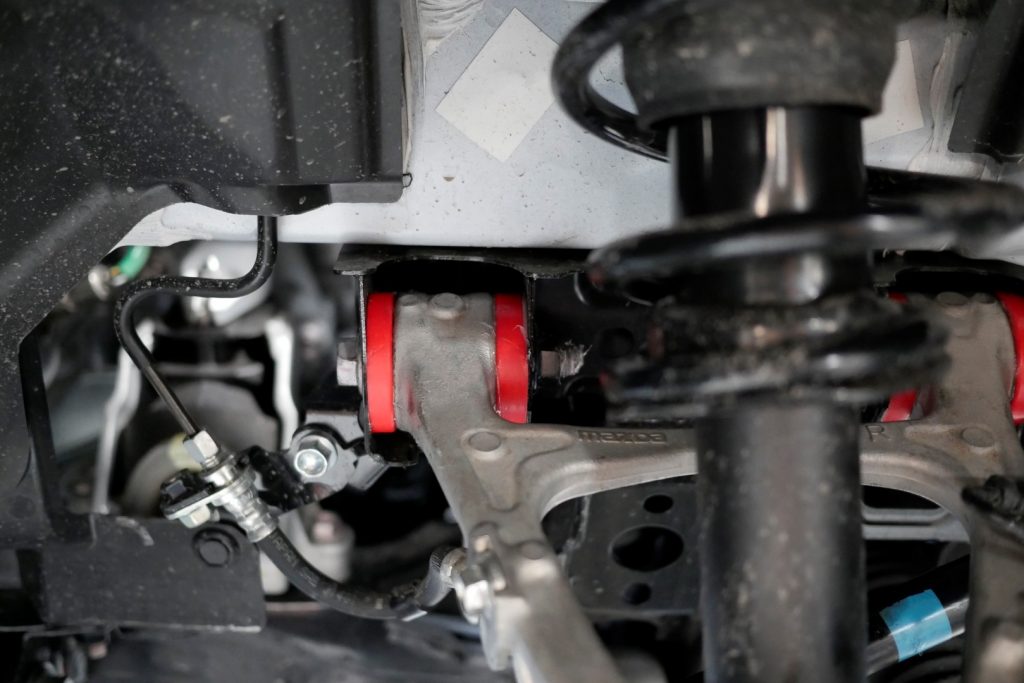
Polyurethane Bushings: Getting the Most Out of Your 2016 Mazda MX-5 Miata
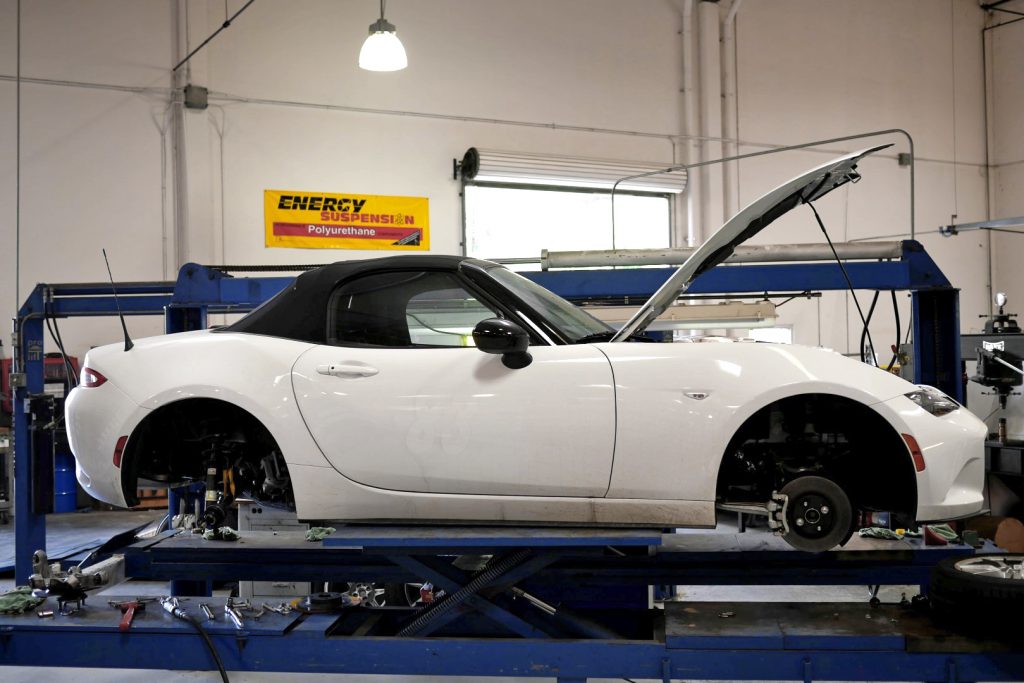 If you’ve had a look at issue #170, you’ve seen the benefits of making the switch over to polyurethane suspension bushings. When we tested Energy Suspension’s Hyper-Flex polyurethane bushings on our 2016 Mazda MX-5 Miata, we found notable improvements in both lap times and the car’s driving characteristics. Installing a new set of bushings is no simple task, but the proper tools and know-how come a long way in getting the job done and reaping the benefits. In this How-To, we’ll take a look at the installation process with the help of Energy Suspension’s engineers.
Prep Work
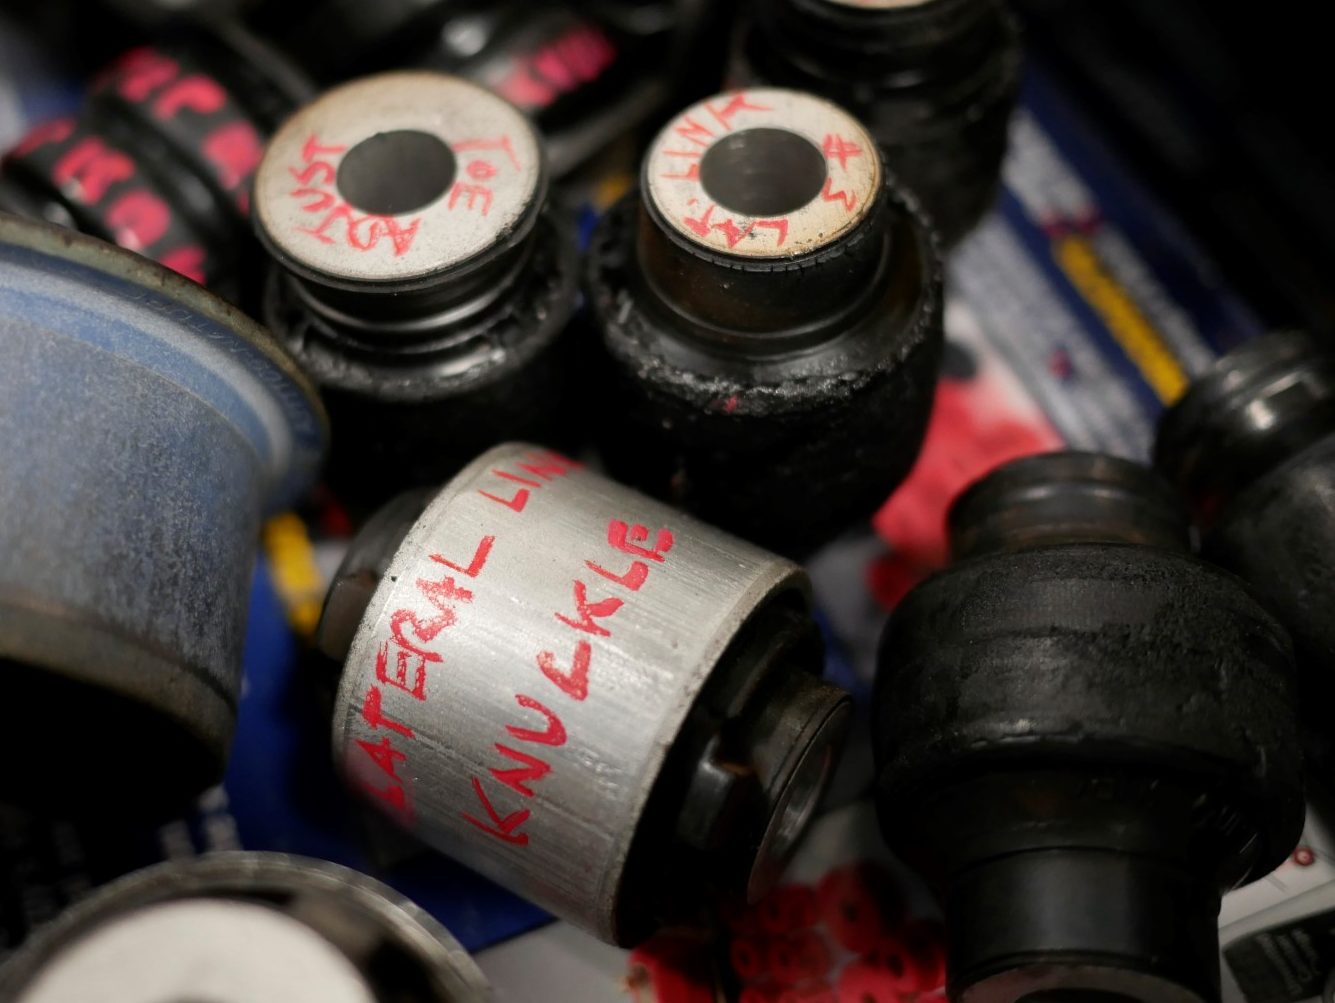
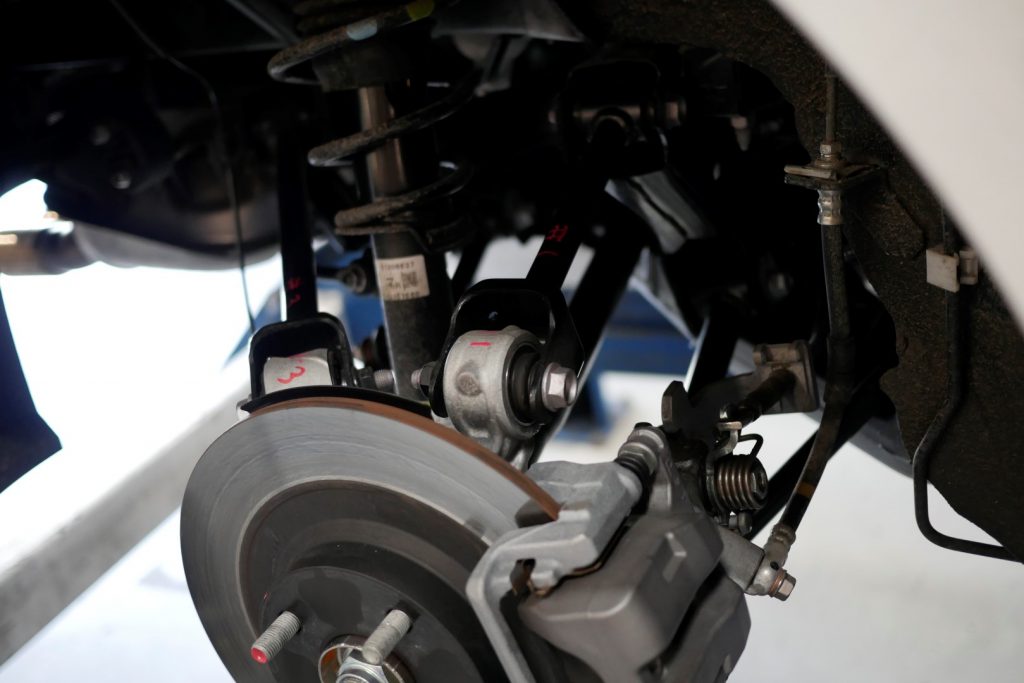
There are a lot of pieces to this puzzle, and the process can be time consuming for you do-it-yourselfers. With that in mind, whether you’re putting the car on a lift or propping it on stands in your garage, make sure that the car is secure from tipping or falling, and that you’re fine with it occupying the space for a few days if needed. With the car off the ground and all four wheels removed, use a paint marker to label the components in order to simplify the reassembly process.
Starting From the Back
In order to access the upright, remove the brake components, starting with the caliper. Two bolts on the inside will free the caliper with the parking brake assembly to set aside, make sure to set the assembly down or hang it in a manner that does not put stress on the lines. With the caliper removed, proceed to remove the brake rotor, disconnect the sensor located behind the brake dust shield. Remove the center castle nut, then remove the bolts holding each of the suspension arms to the upright.
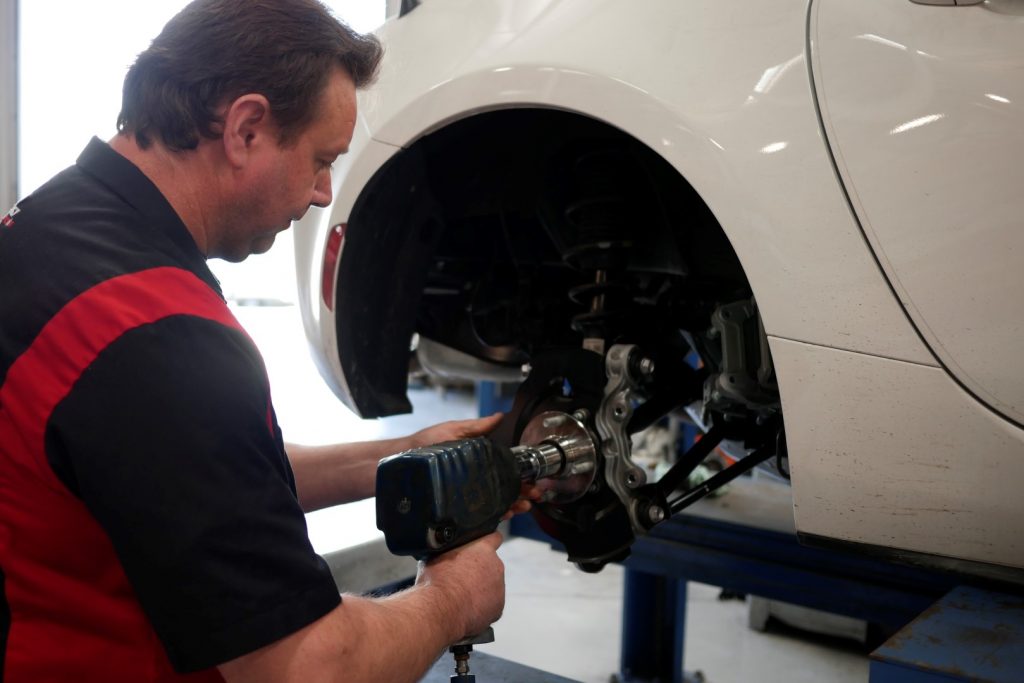
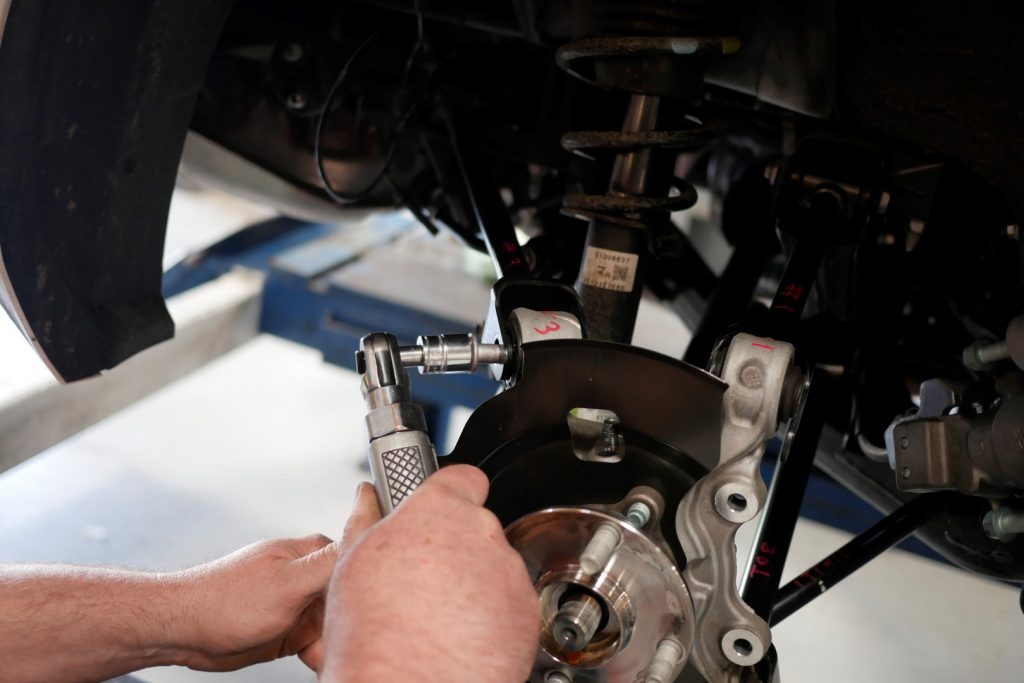
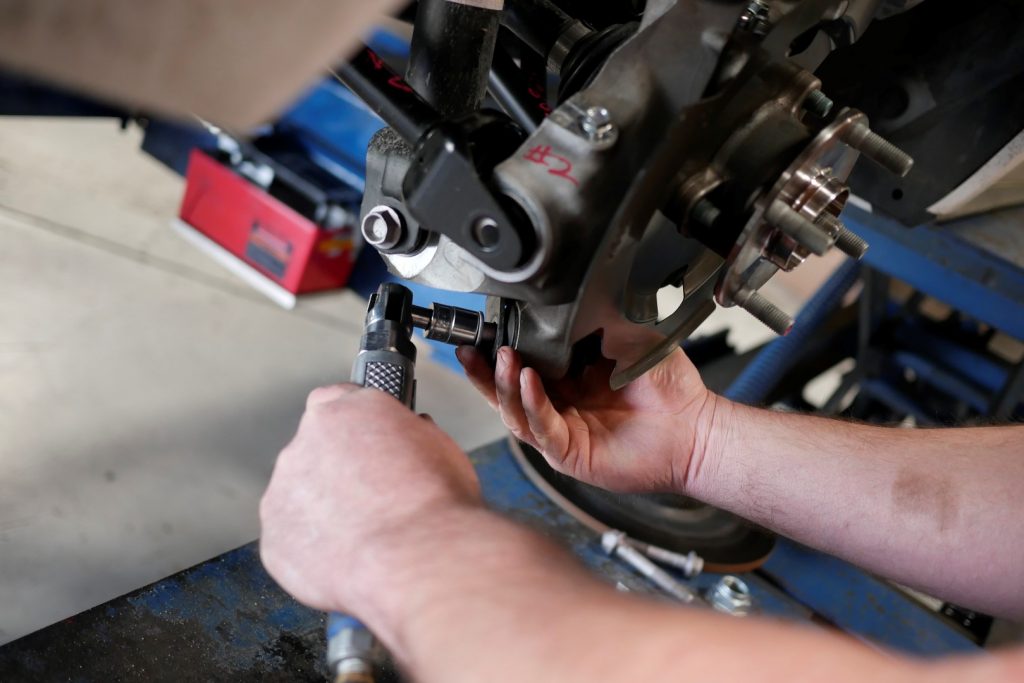
Remove the bolts holding the suspension arms to the frame and remove the arms. Tether the axle to the frame or spring to keep it from hanging or moving.
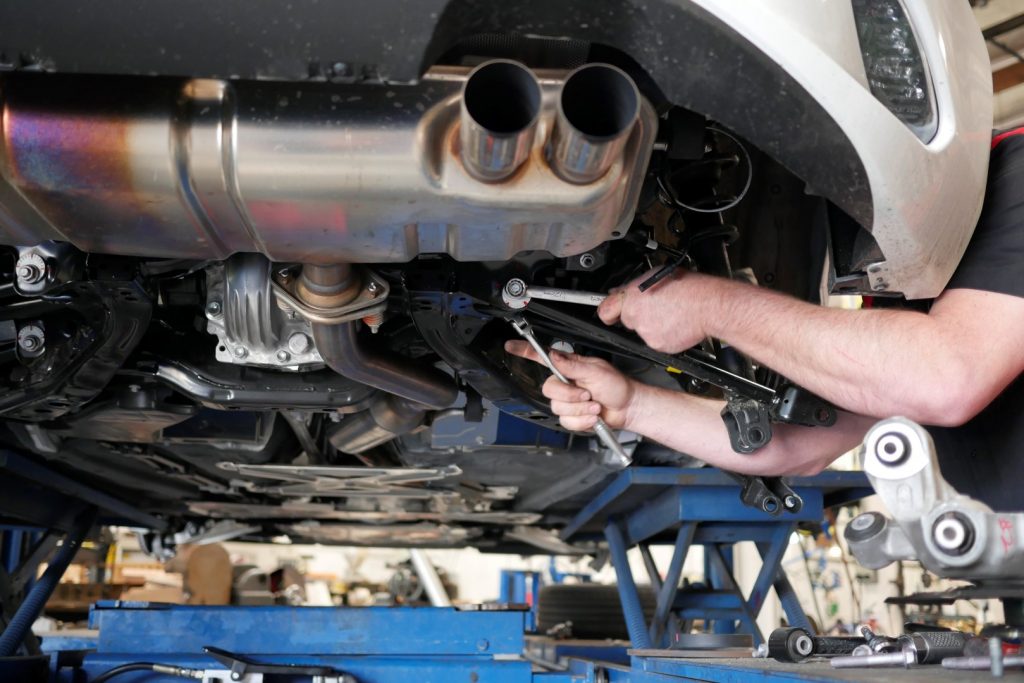
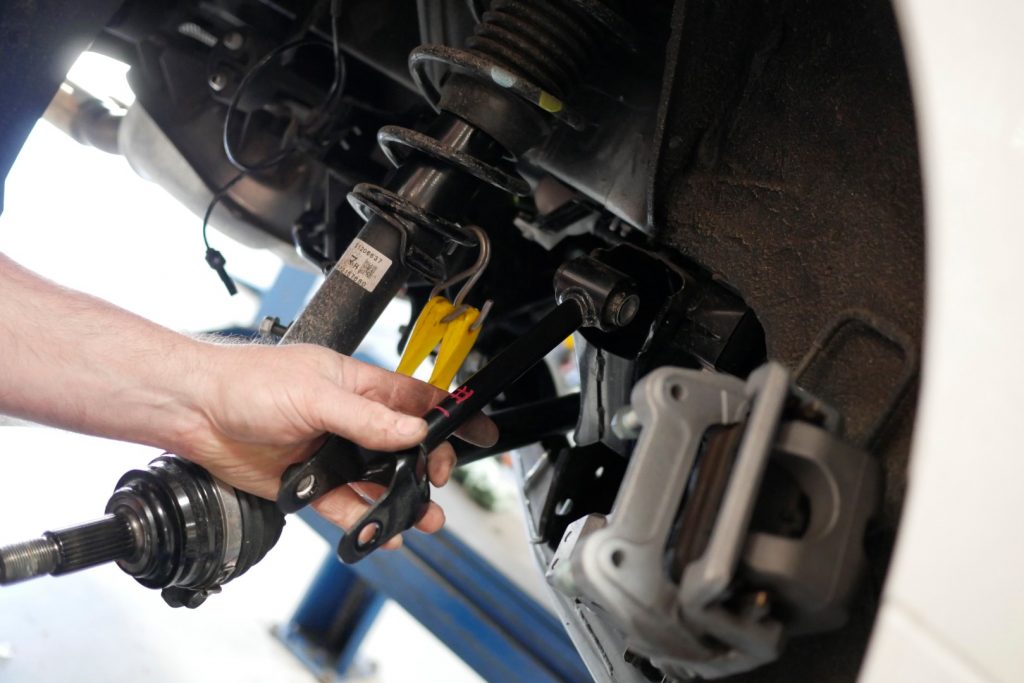
Removing the Factory Bushings
With the upright and suspension components out, removal of the factory rubber bushings can begin. This is where some creativity can make a world of difference. The bushings need to be pressed out, there are tools available that help take care of this, or you can craft up tools of your own. Short sections of piping with washers, a nut and a long bolt can be used to press out the bushings with little effort.
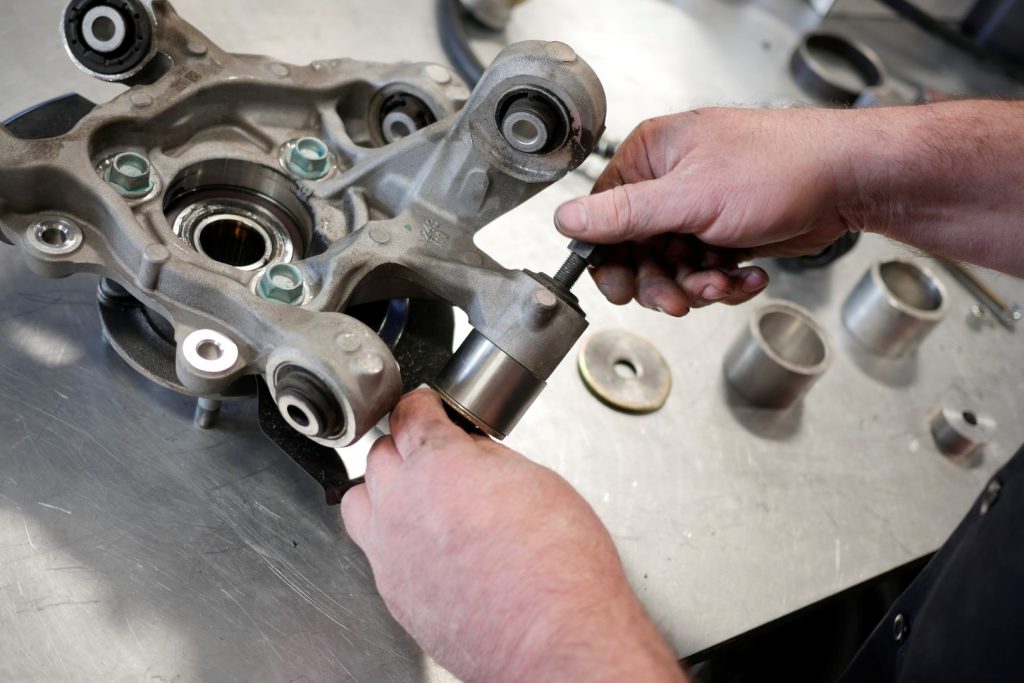
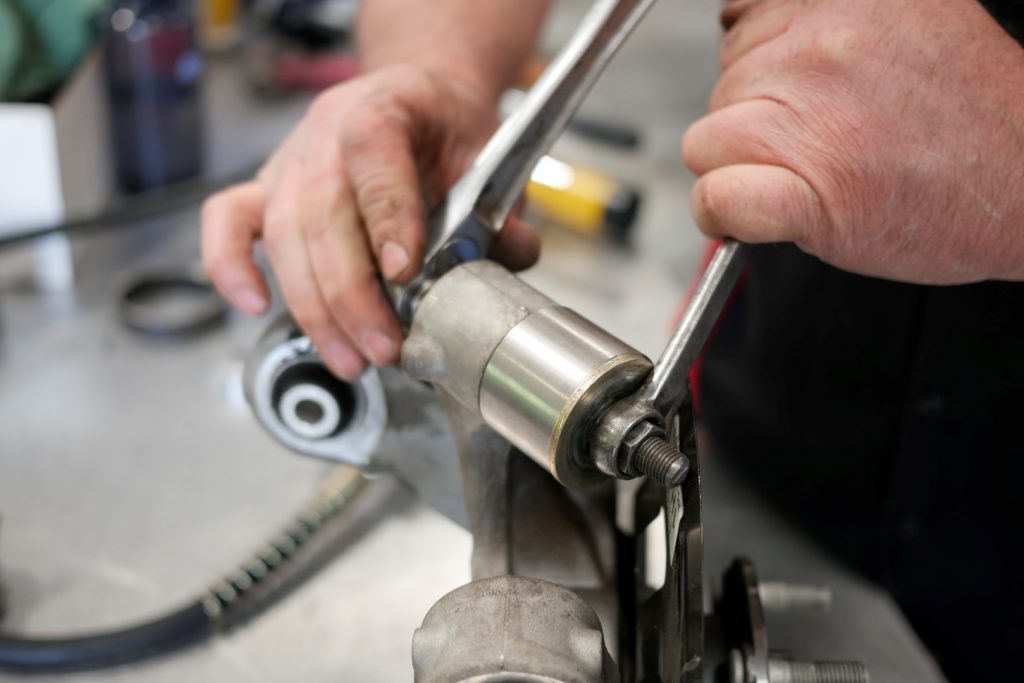
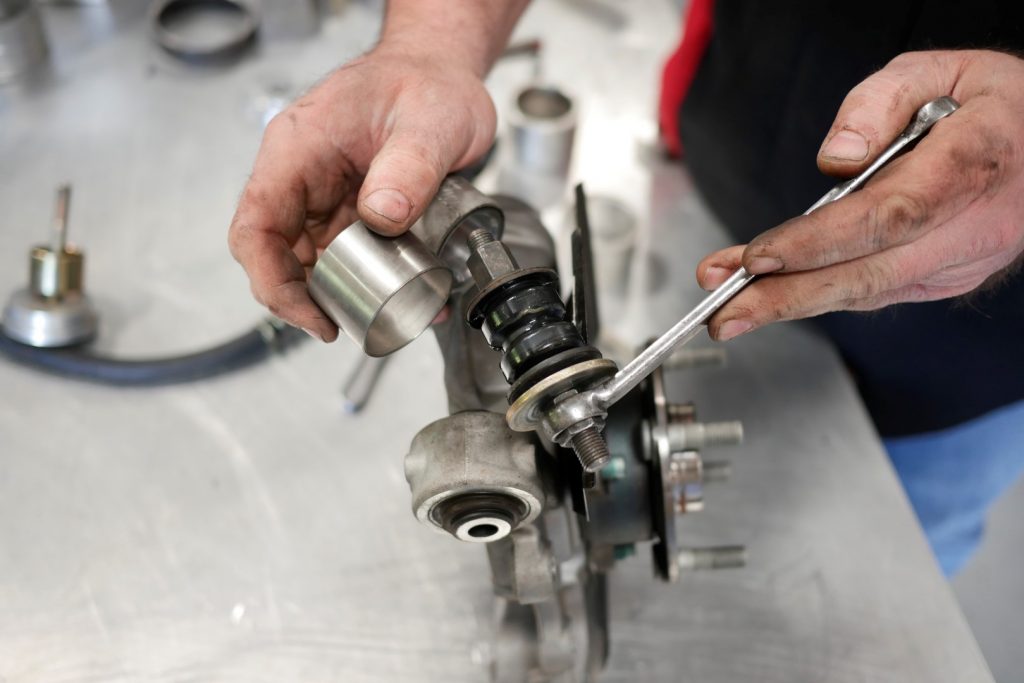
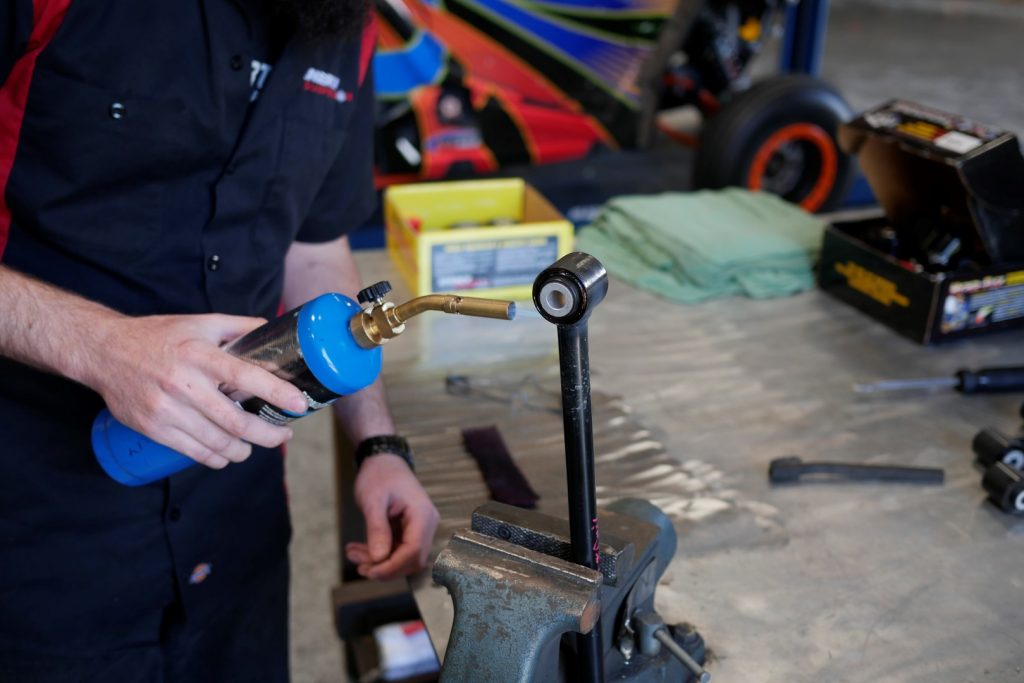
The bushings in the suspension links will need to be heated for removal. We recommend heating the outside of the bushing carrier instead of burning the bushing out directly. Applying heat around the outside, without focusing too much on any single area, will melt the material that bonds the bushing to the metal. The material will begin to slowly bubble, at which point you can slide the bushing out. Do not handle the the suspension arm or the bushing at this point with bare hands!
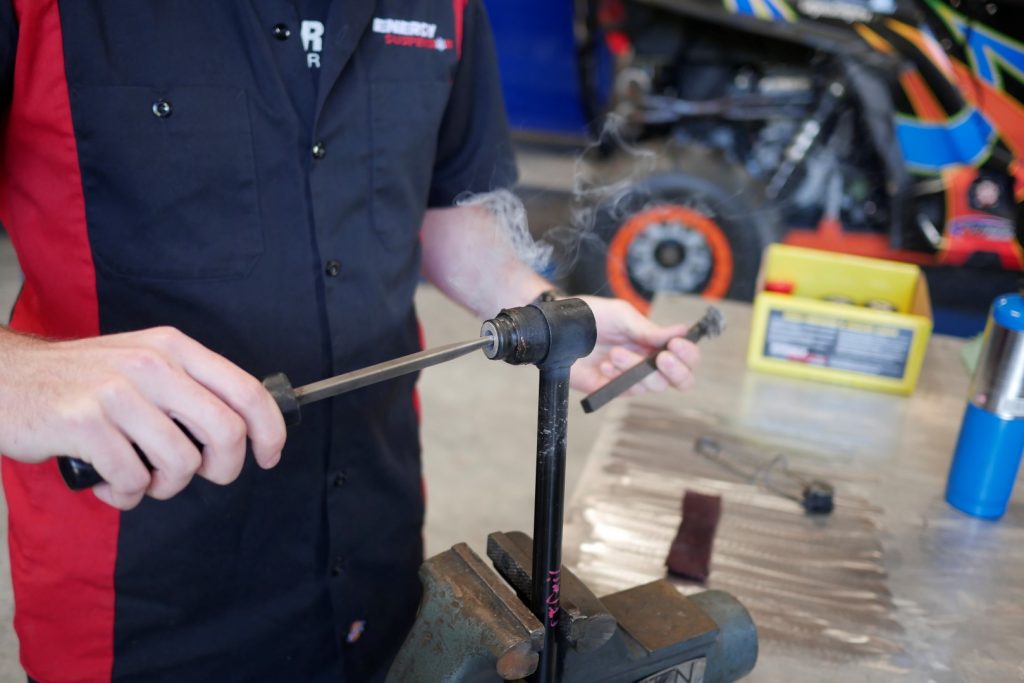
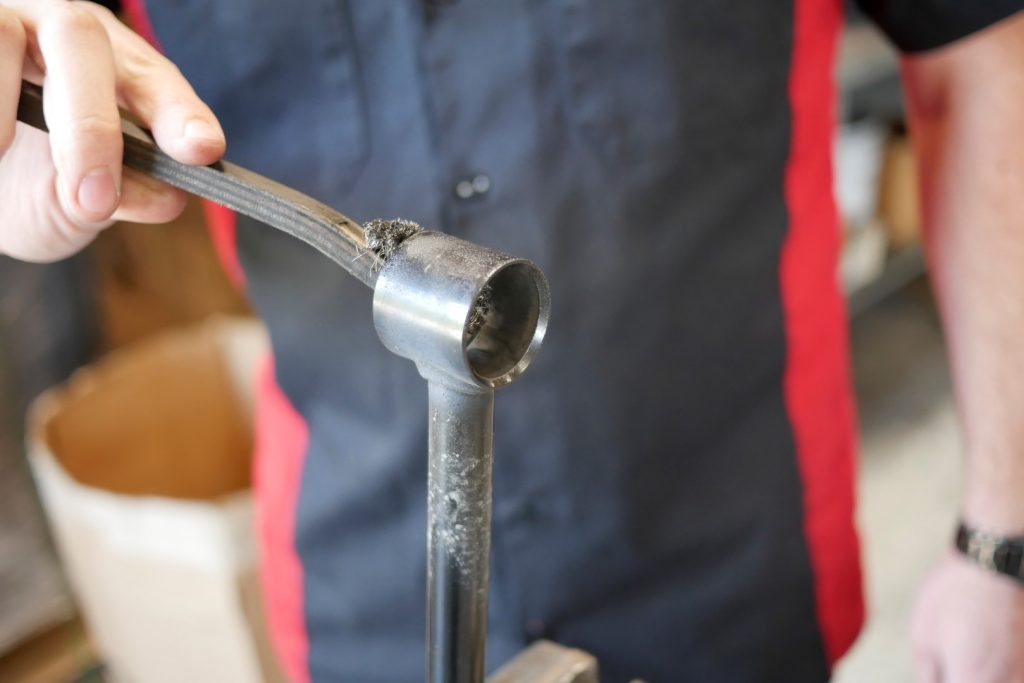
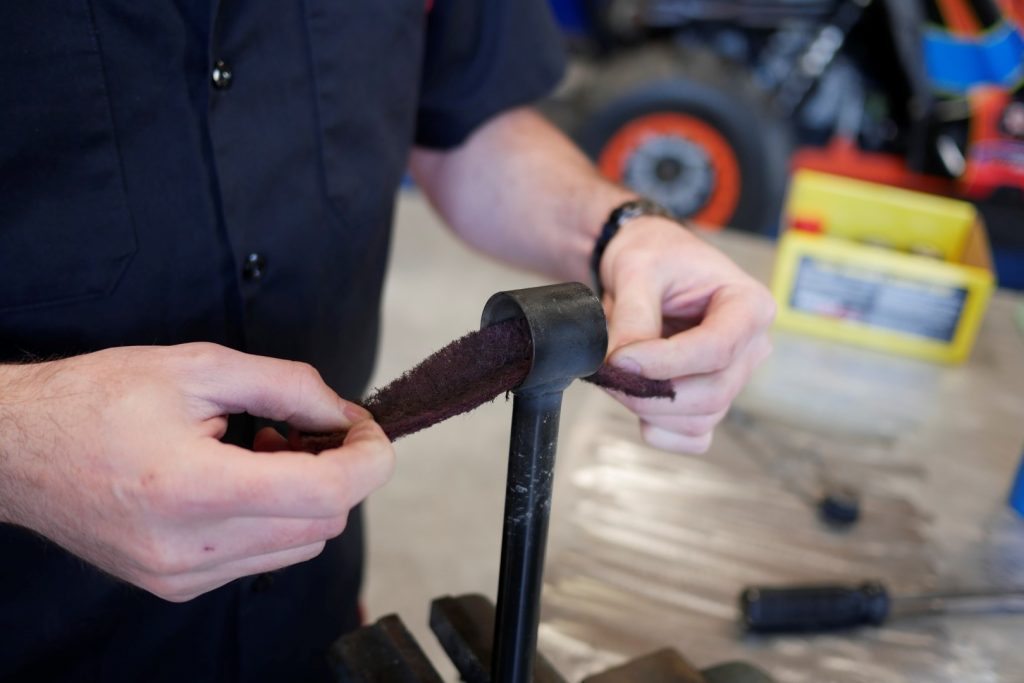
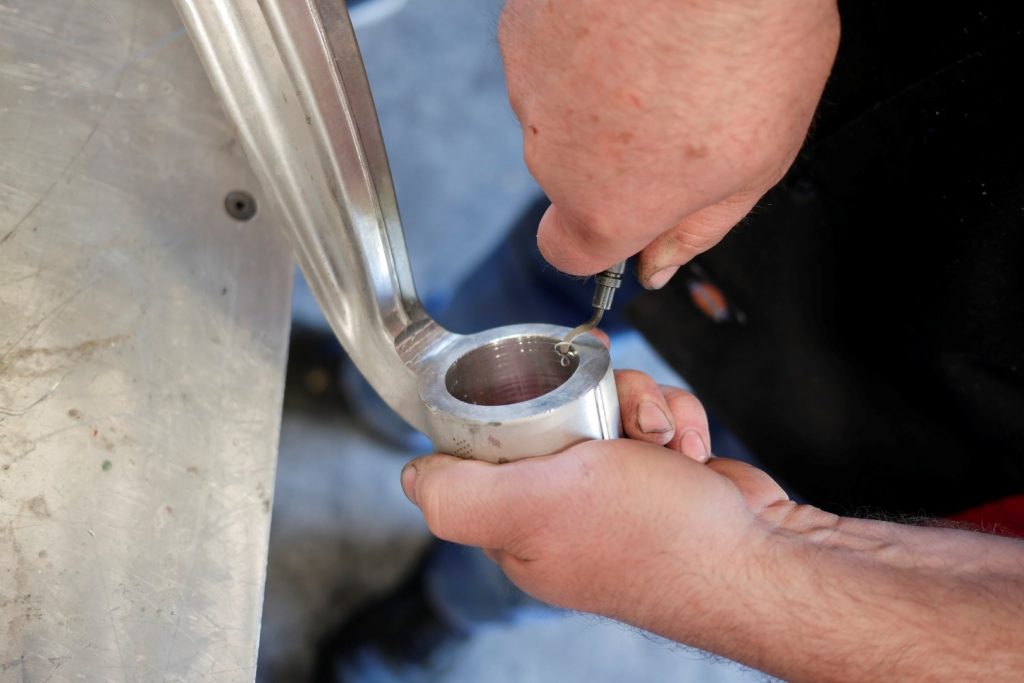
Lightly brush the inside of the carrier to remove remnants of the original materials.
Polyurethane Bushings Installation
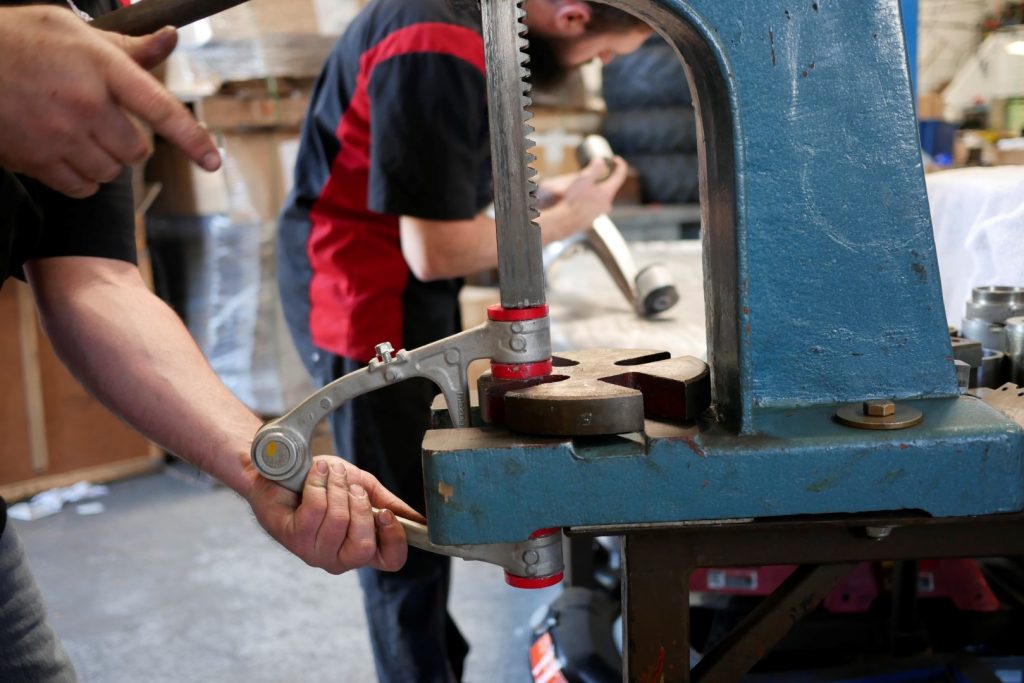
With the rubber bushings removed and the suspension components readied, the Hyper-Flex polyurethane bushings can be installed. This is where creativity steps in once again. Apply plenty of grease to the bushings to ease installation. While some of the bushings can be installed by hand, items like an arbor press or bushing driver are highly recommended for the more difficult ones. Some of the carriers have a small lip on the outer edge to hold in the original bushings, these can be lightly carved out to prepare for the polyurethane bushings.
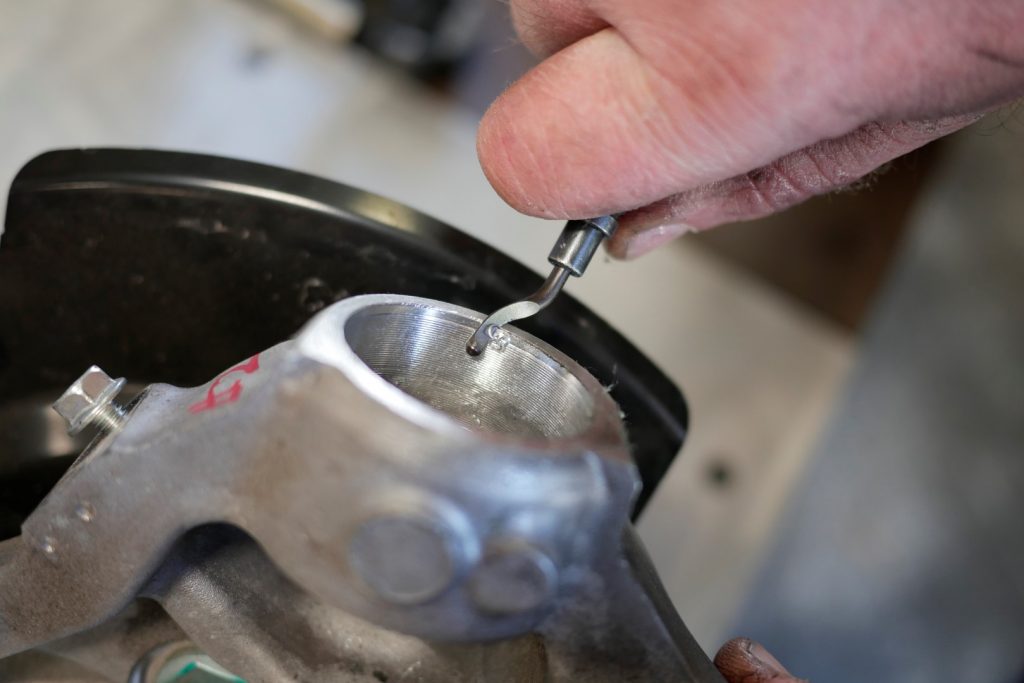
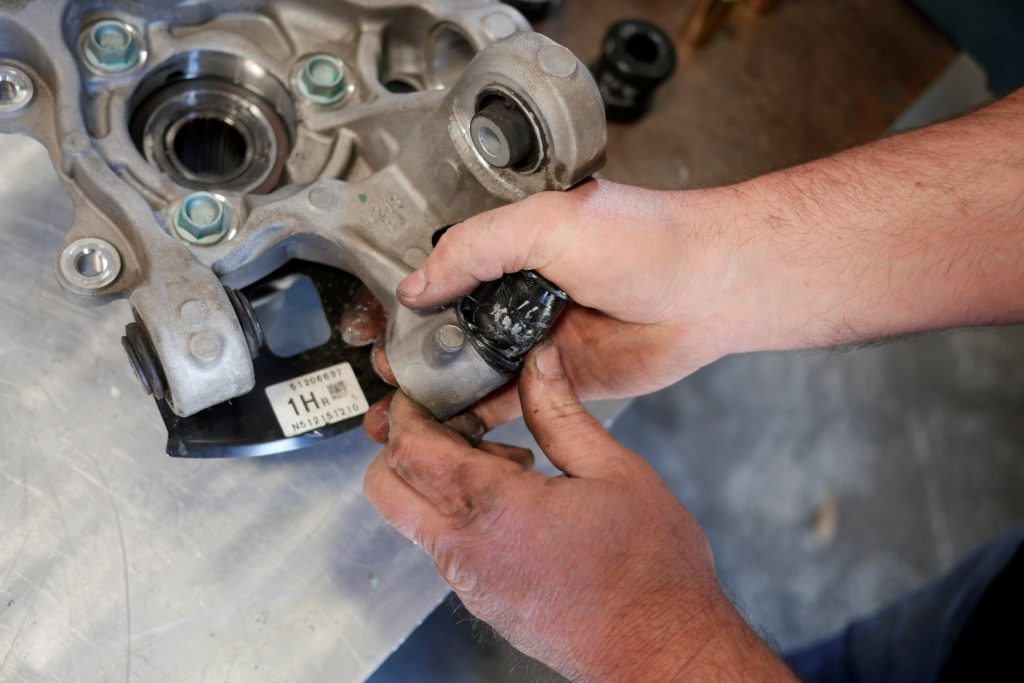
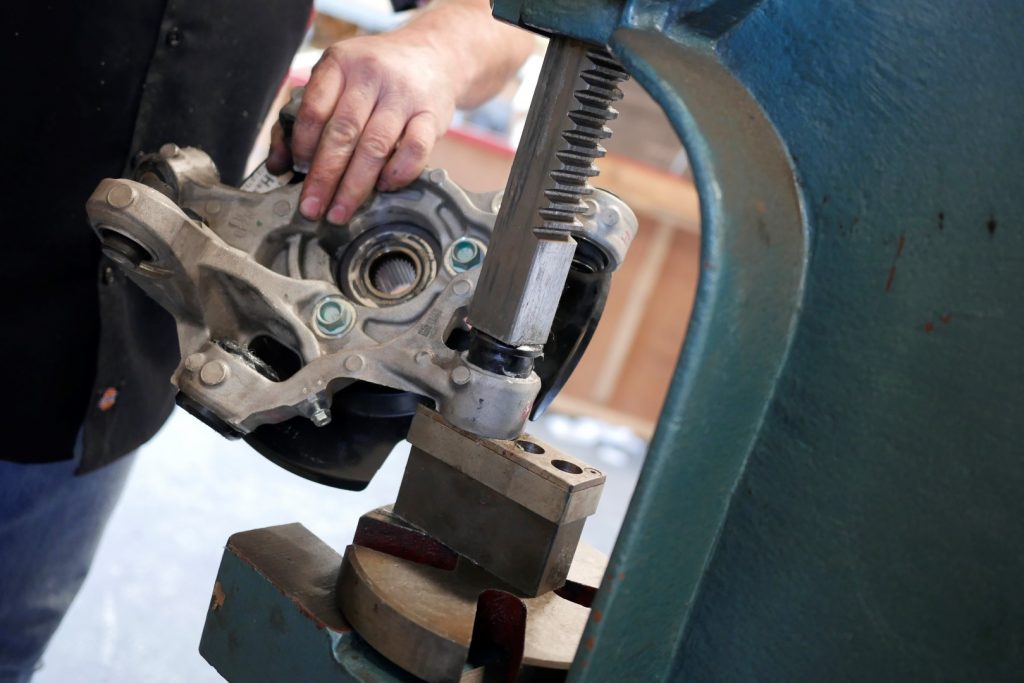
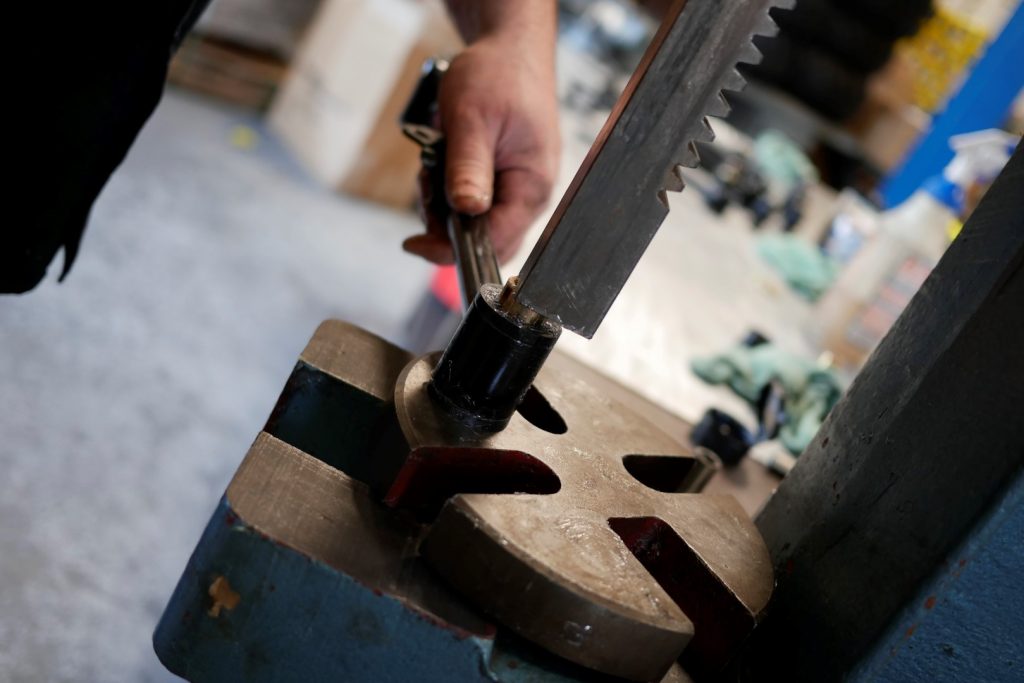
With the new Hyper-Flex polyurethane bushings greased and installed, the arms, upright, and brake components can go back together. Aligning each of the arms on the upright at the same time can be difficult, so prop up the upright or get help from a friend to position the components properly before installing. With the components in the proper position, bolt in each of the arms, then proceed to reinstall the center castle nut and brake components.
Front-End Bushings
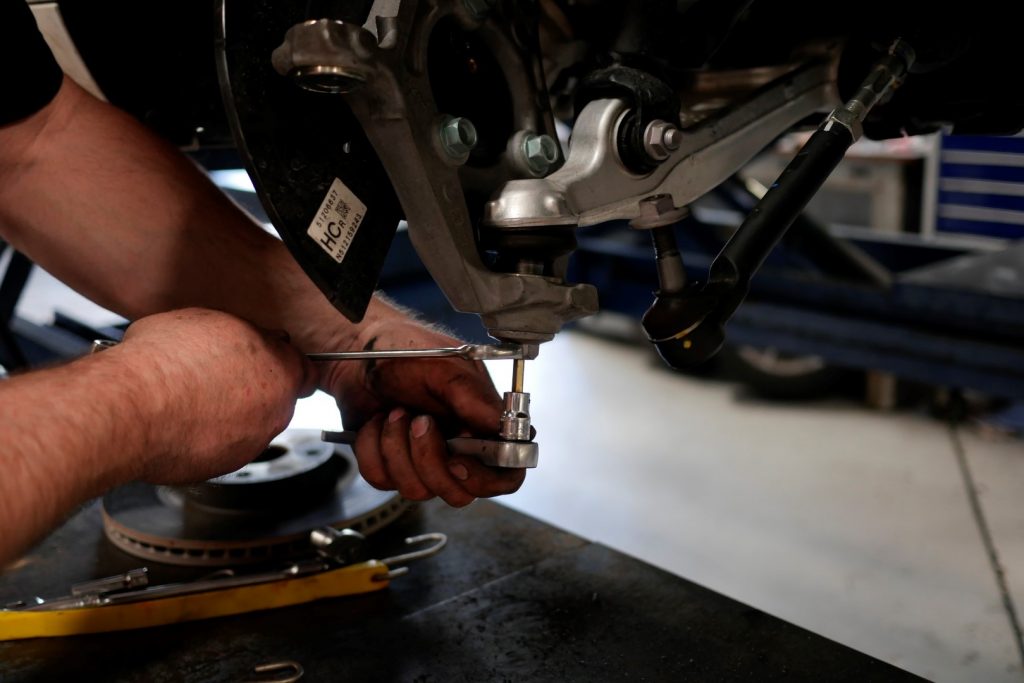
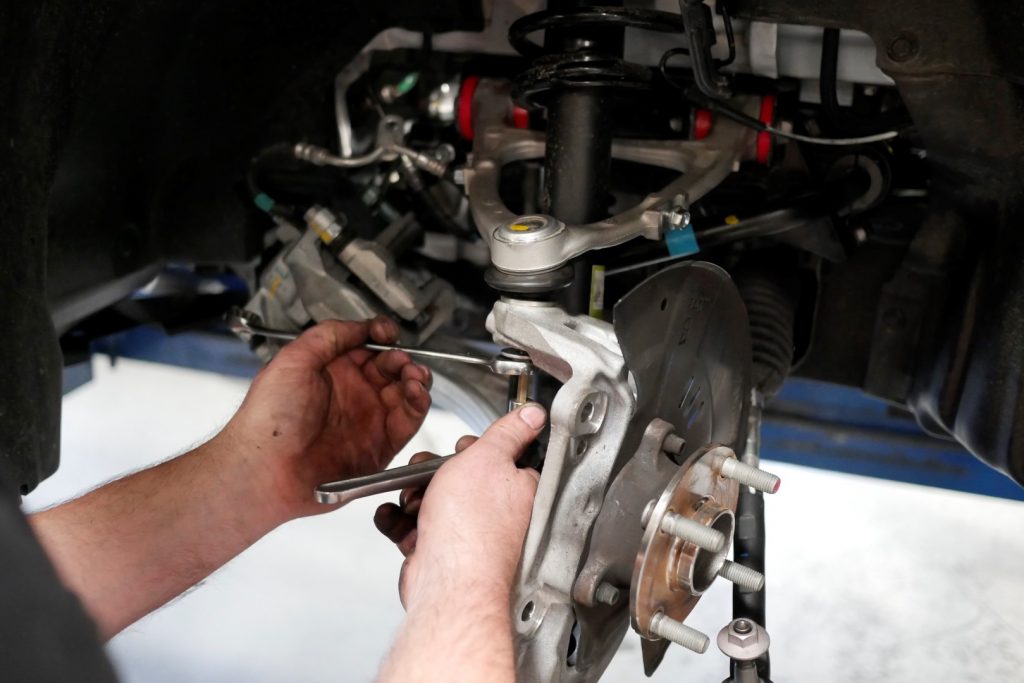
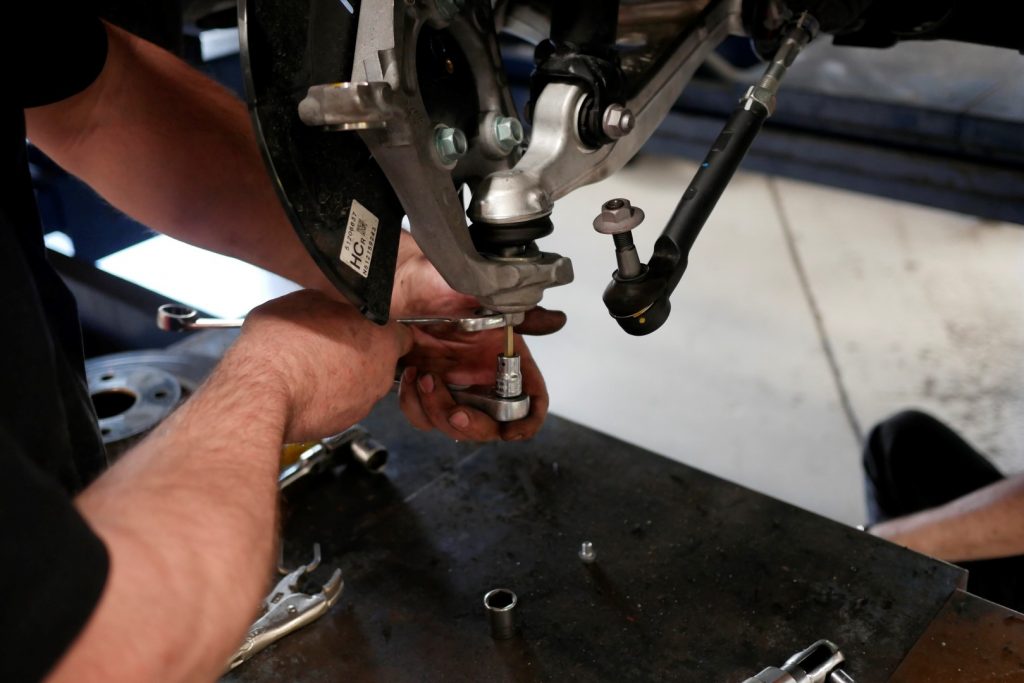
Same as the rear end, changing the front suspension bushings starts with removing the brake components in the same manner. With the caliper and rotor off, disconnect the tie rod. You will likely need to disconnect the sensor pointed at this wheel as well, to provide space for loosening bolts. The tie rod may not come out easily, in which case a puller to push the bolt out the other end may be of help. The same or similar method is recommended for removing the upright from the upper and lower control arms.
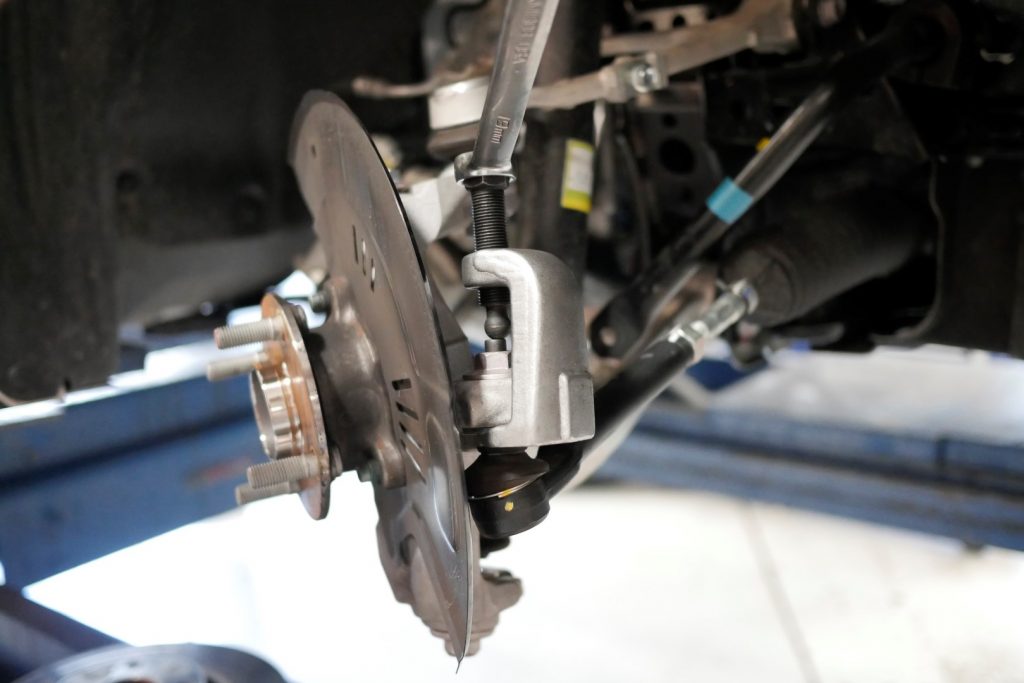
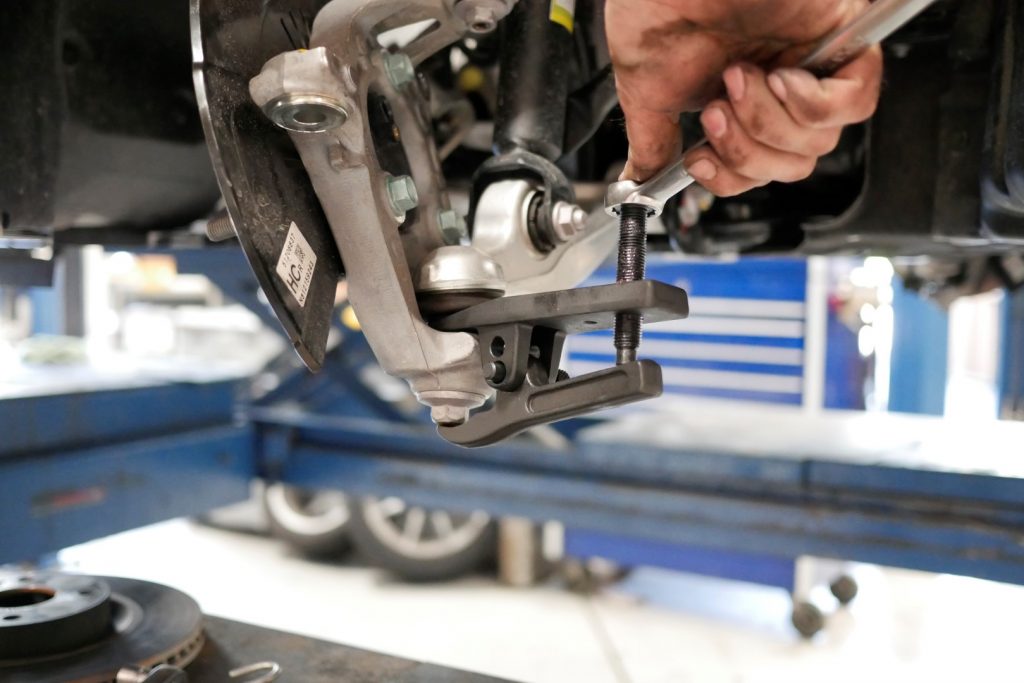
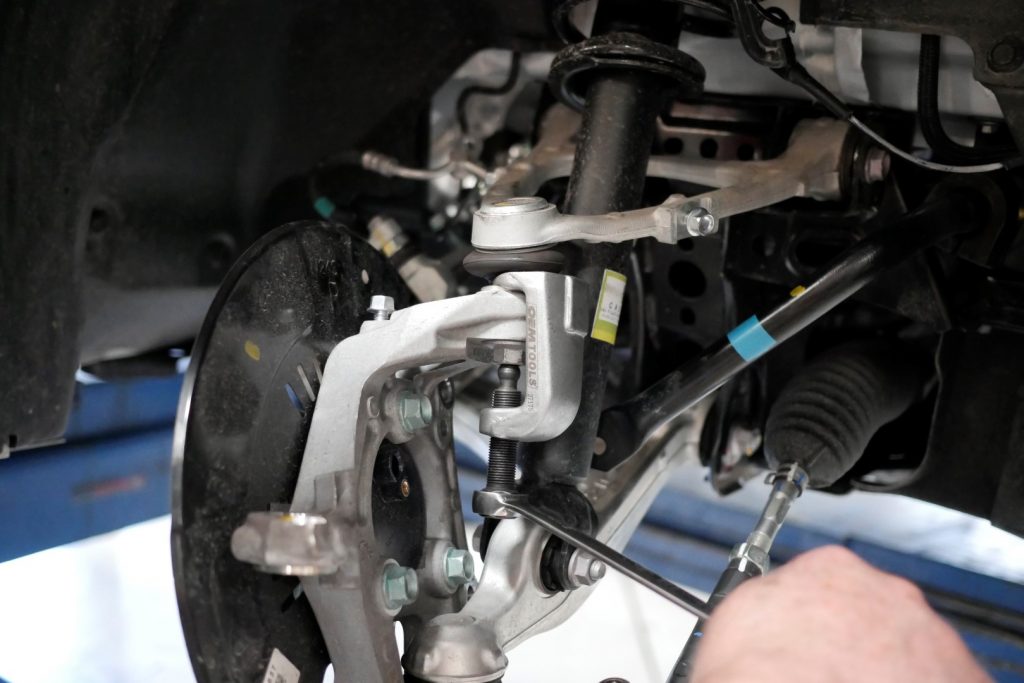
Use a 17mm box wrench and 9mm hex wrench to complete the removal off of these arms.
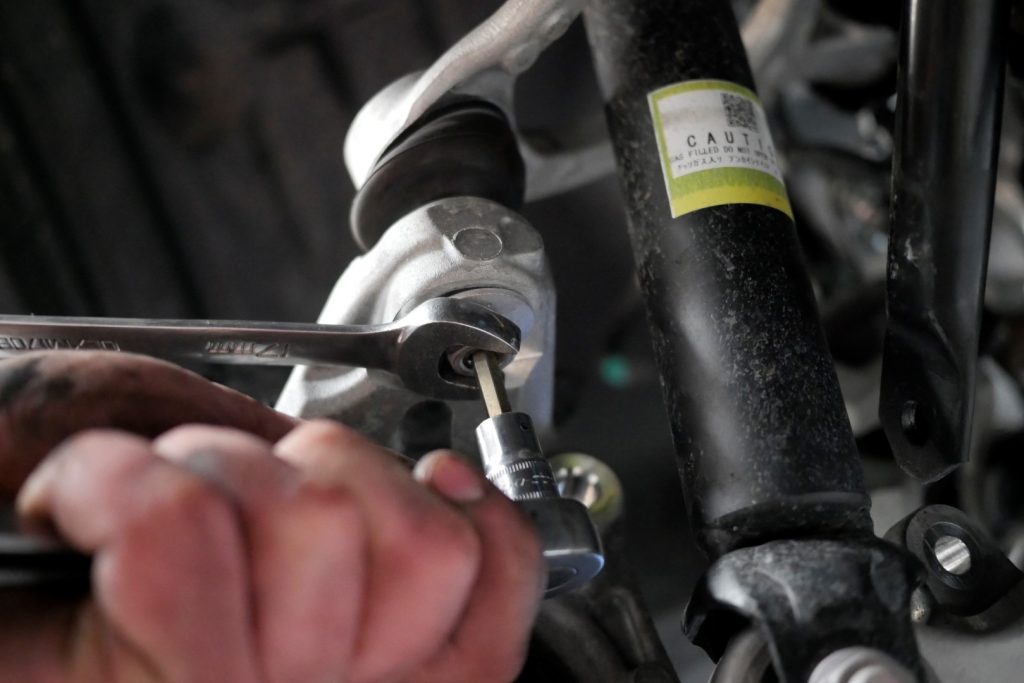
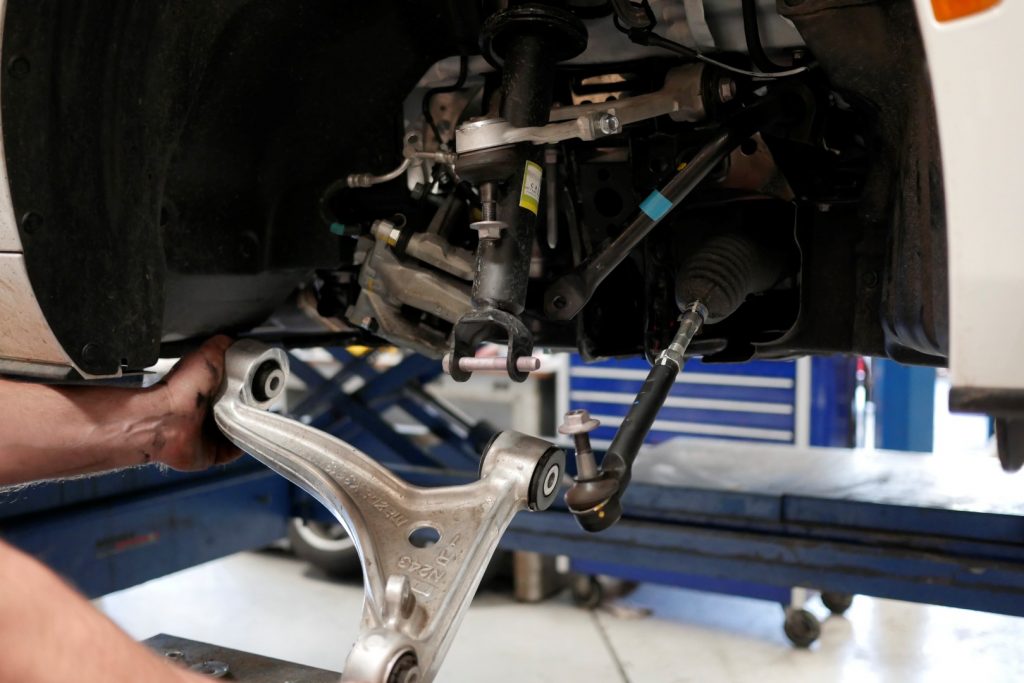
With the upright removed, disconnect the shock absorber mount on the lower control arm, and then disconnect the arms where they connect to the frame.
More Bushings Removal
The bushings in the front control arms utilize a metal flange to keep them in place. You will need to pry two sides of the flange out, work the bushing out with a puller, then use a table vise to clamp on it and complete removal.
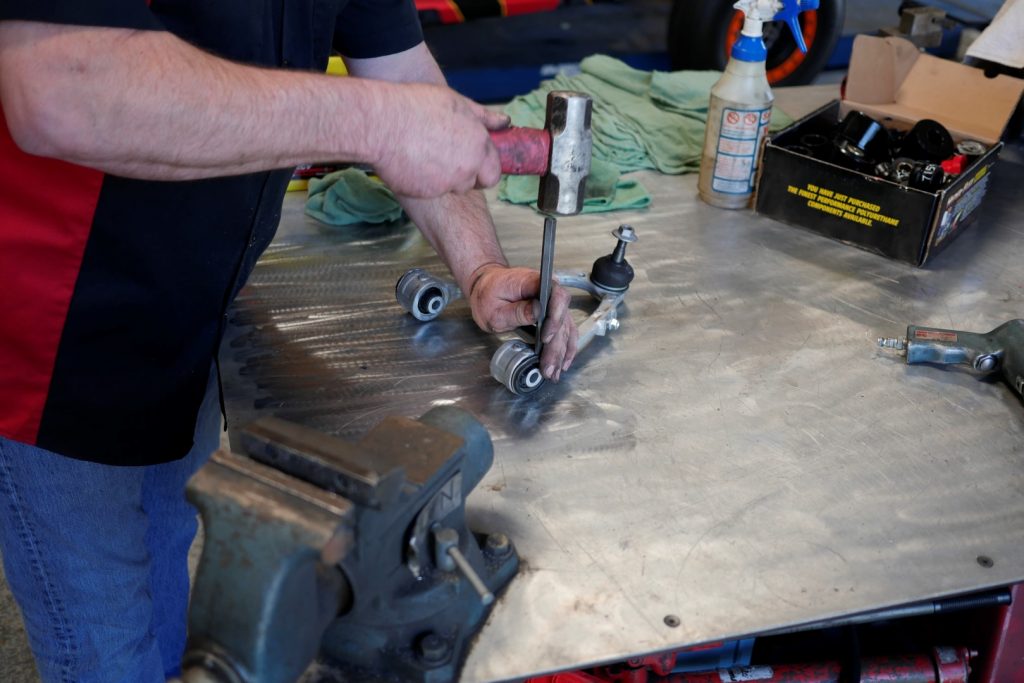
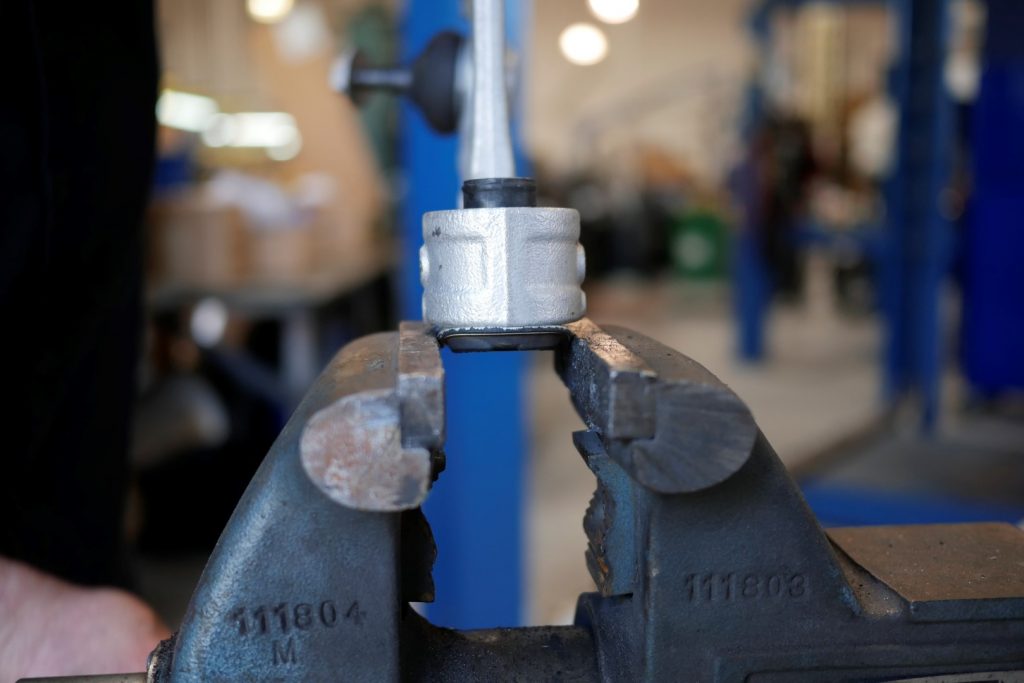
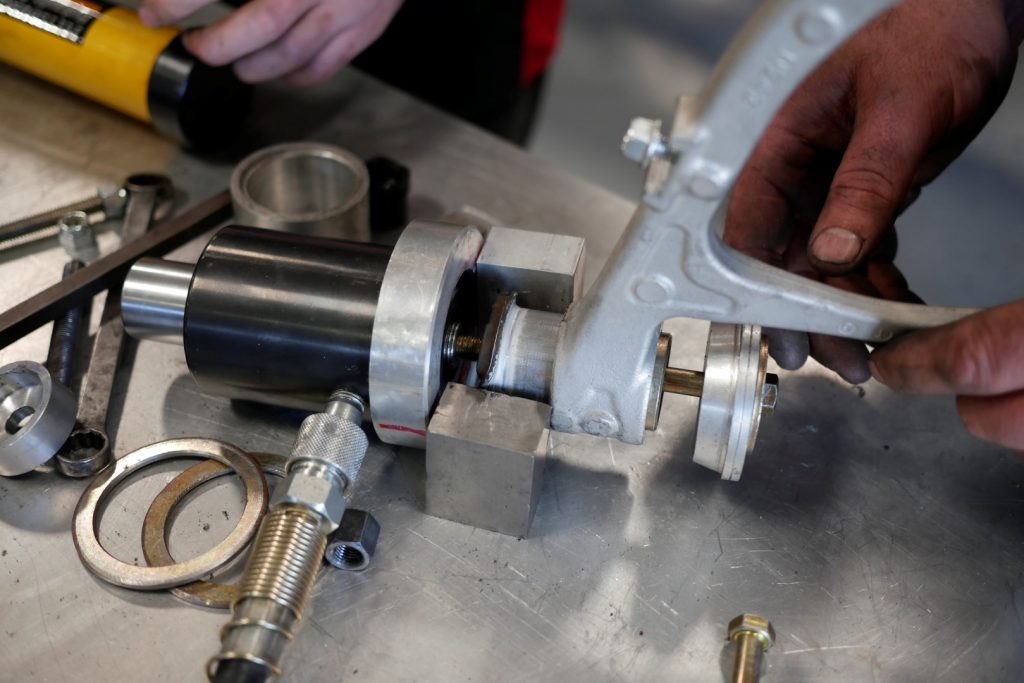
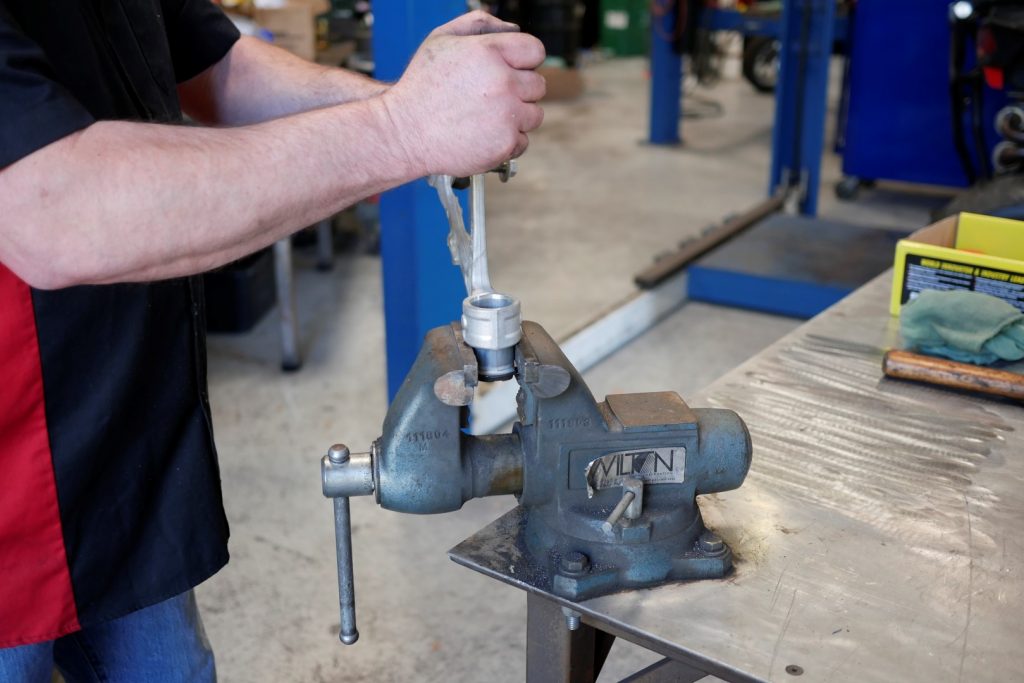
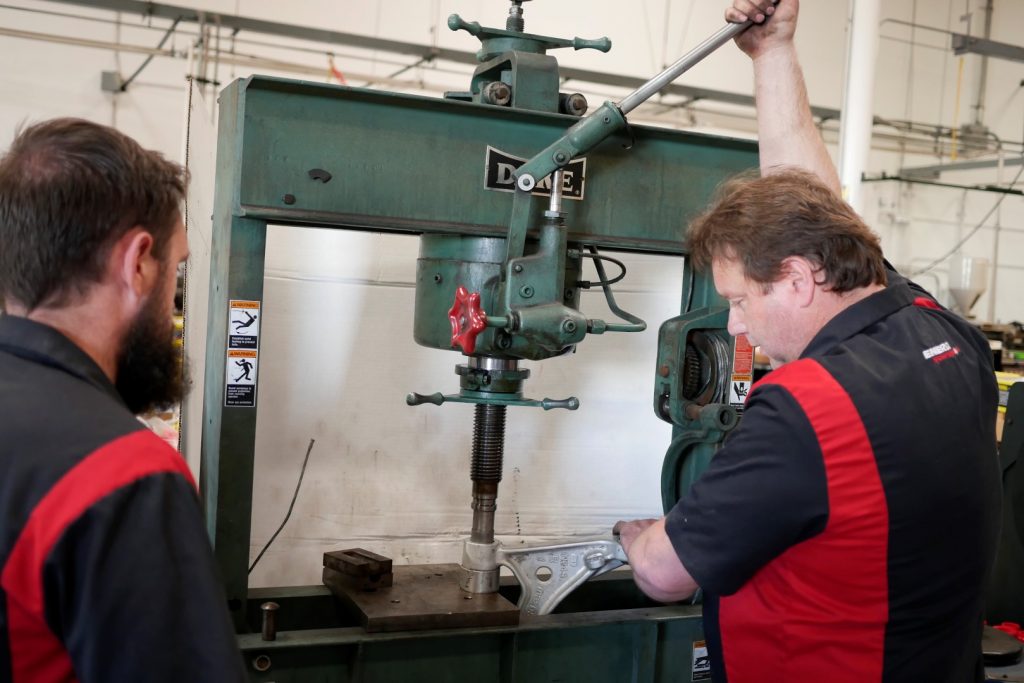
Similar to the rear suspension bushings, access to a press will be a great help in both the removal of the rubber bushings and in the installation of the polyurethane bushings.
Sway Bar Bushings
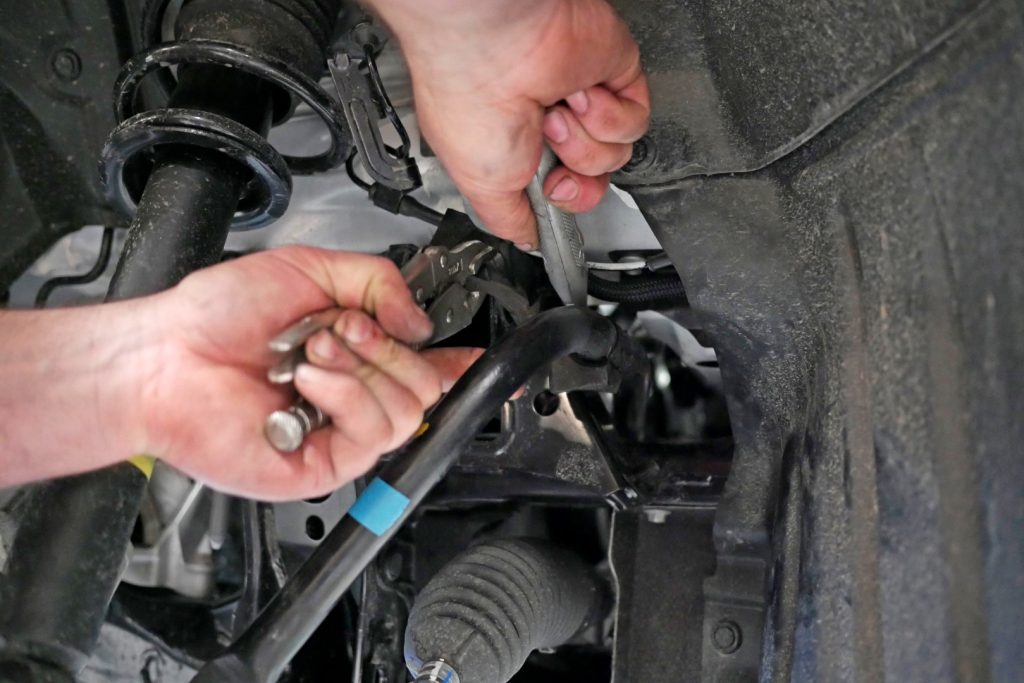
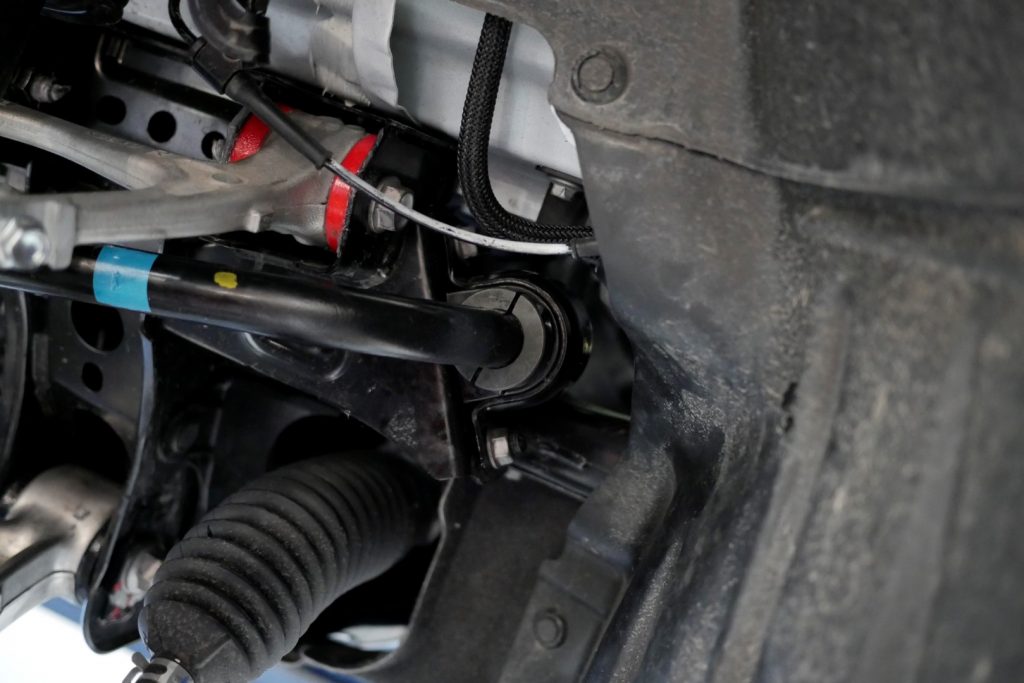
While the control arms are off, you’ll have better access to change out the front sway bar bushings. Mazda molded these bushings onto the sway bar directly, so a blade or box cutter is necessary to cut them off. Disconnect the sway bar end links and remove the clamps that hold the bar to the frame to access and then cut off the bushings. Once the bulk of the rubber is removed, brush or sand off the remaining rubber until the surface is smooth and consistent with the rest of the bar. The Hyper-Flex polyurethane bushing replacement is split so that you can grease the bushing and slide it over the bar for installation. A collar clamps down on the bar next to the bushing to prevent the bar from sliding back and forth.
Suspension Components Reassembly
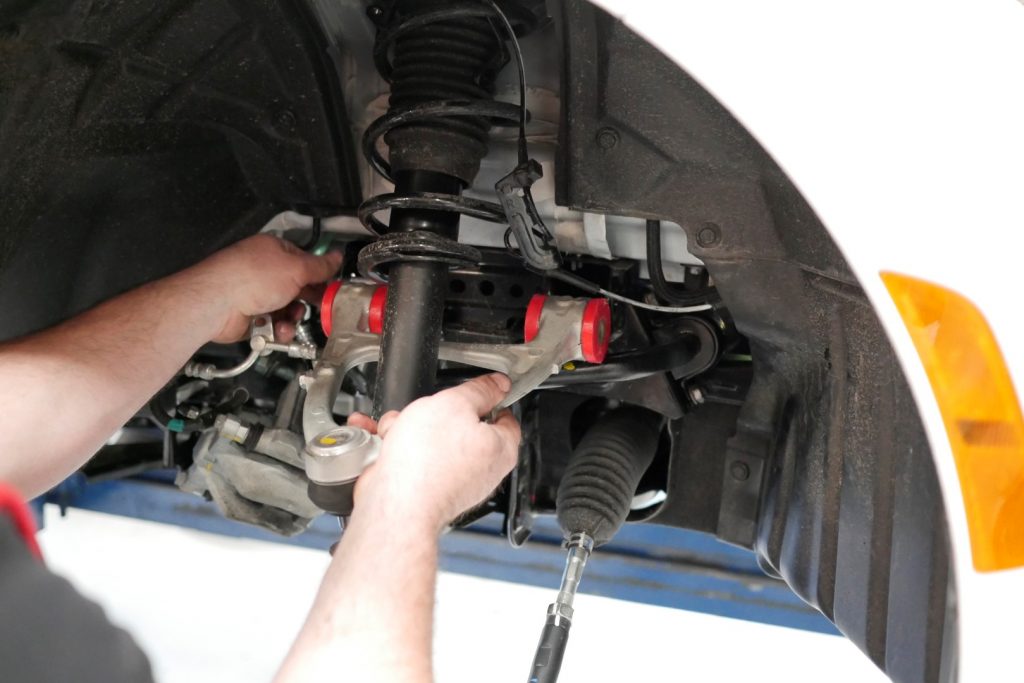
With the front-end bushings greased and properly in place, the sway bar, control arms, shock absorber, and upright assembly can be reinstalled.
Post-Install Notes
There are a lot of suspension linking points, sensors, and bits and pieces that were removed during this process, so double-check the tightness of every nut and bolt. Given that the bushings fill in the major areas of movement in the suspension, make sure to check the tightness of every component after about 500 miles of driving. From here, you’re all set to hit the track with the added benefits that come with polyurethane.
