
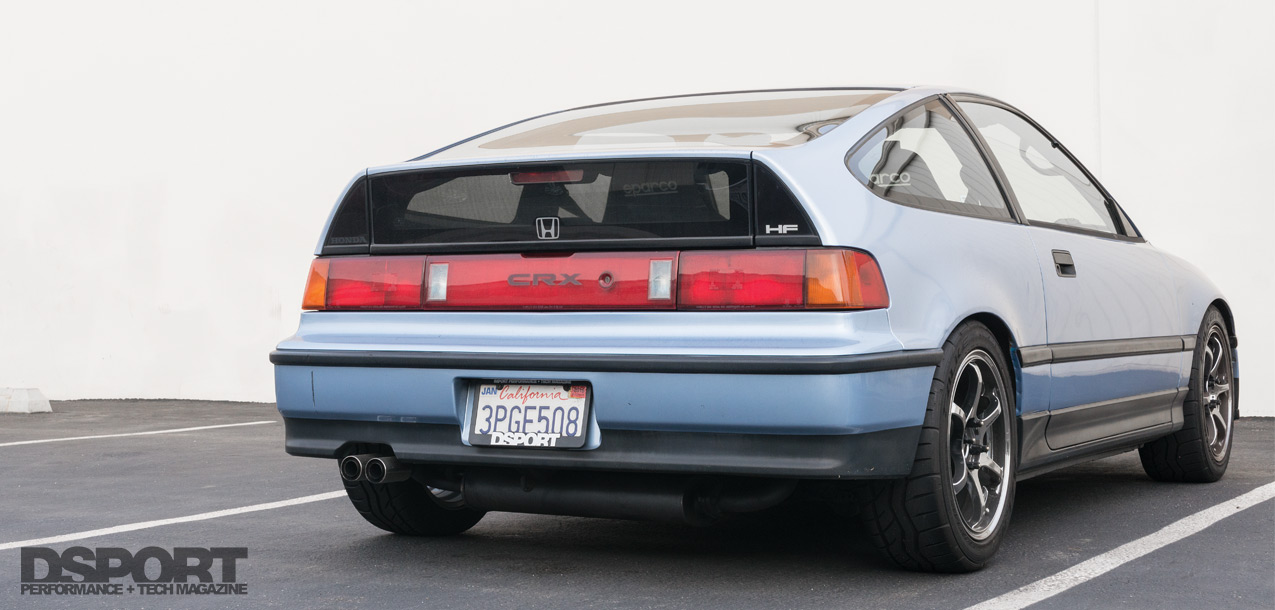
BE IT A JUNKYARD BARGAIN FIND OR A COMPLETELY REBUILT ENGINE FROM THE ground up, swapping in a B-series engine will generally require the same parts, procedures and pain-in-the-you-know-what. Within the family of B-series VTEC engines, small di fferences like the intake manifold, deck height, combustion chamber and sensor placement distinguish them from one another. Which traits your engine will have depends on the year and model that you purchased. As mentioned in the previous installment of Swap Shop, we’re swapping in a B17A1 and YS1 transmission from a 1992-93 Acura Integra GS-R into our 1989 Honda CR-X HF. Read on to find out how we did it, what you need to know, and how many ponies this freshly built B17A1 put to the rollers of our Dynojet.
Text And Photos by Jun Chen
Out With the Old
The first order of business is to completely tear out the old engine. Before beginning on this journey, remember that many of the parts will be reused. Don’t assume that you will discard everything, as some parts like the factory engine harness can be reused since all that’s required is a few extra wires. With that said, the engine, transmission all of the hoses, brackets, mounts and linkages must be removed to clear space for the B-series. Having a cherry picker and the help of a friend with experience pulling an engine makes the job much easier. With the engine out, we degreased the engine bay and wiped it clean in preparation for the new engine. Before attempting to bolt in the engine, it’s imperative to test fit the engine for clearance. We discovered that we needed to make room for the larger B-series alternator, as the pulley is positioned in such a way that it interferes with the USDM CR-X driver side frame rail. To minimize the size of the dent in the frame rail, we searched for the shortest belt possible, settling on a 30-inch Gates K040300 alternator belt. This belt went on the alternator and crank pulley without too much e ffort and once tensioned, kept the alternator as forward (and away from the frame rail) as possible. We only needed to make a ¼-inch dent in the frame rail directly below the strut tower to clearance the alternator and pulley from the frame rail.

The Mating Ritual
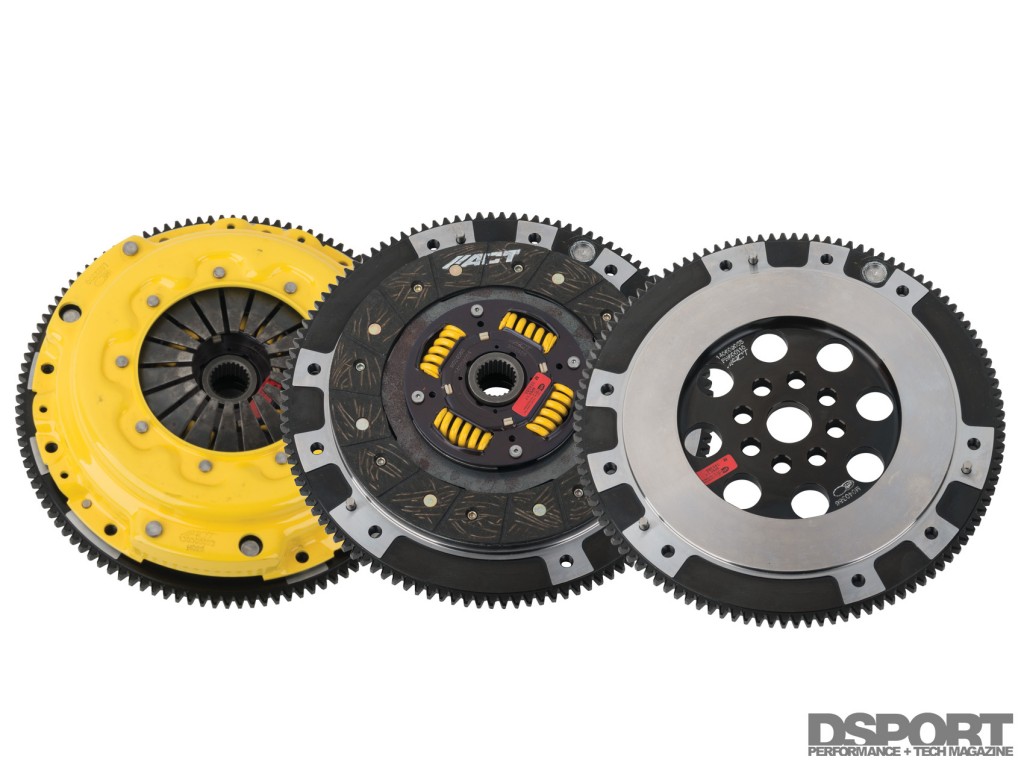
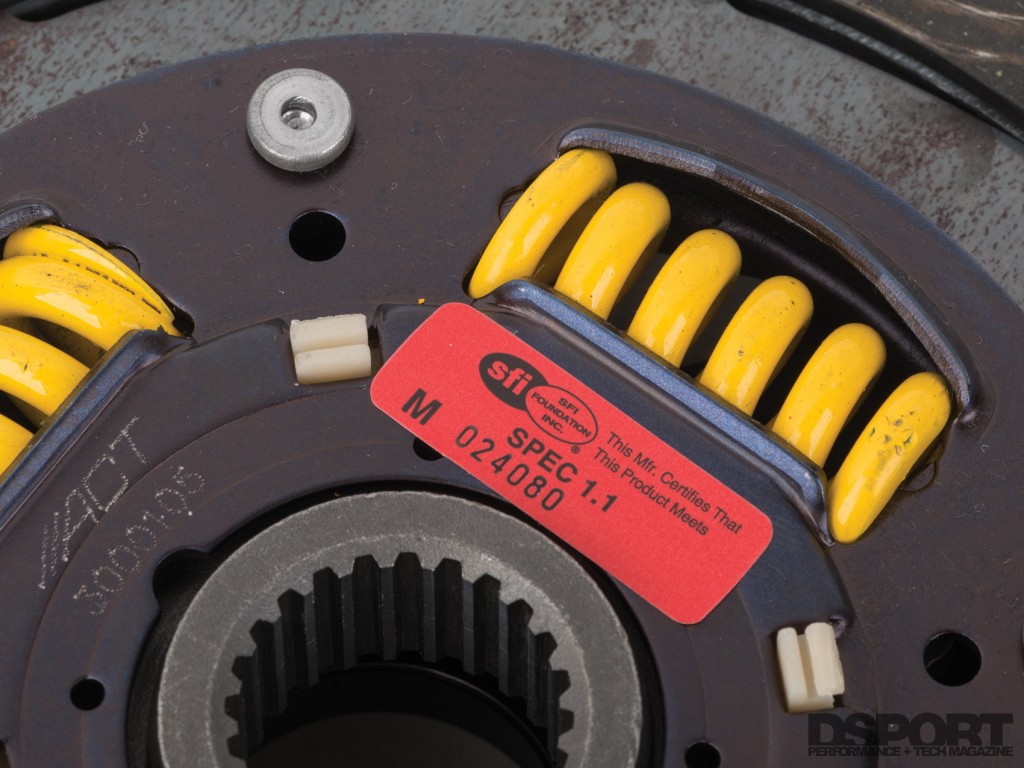
In our last installment of Swap Shop, we le o with a completely refreshed engine and rebuilt transmission. Before dropping them into the engine bay, a new clutch and flywheel were in order. To that end, we selected Advanced Clutch Technology’s heavy-duty performance single disc sprung clutch (p/n AI3-HDSS) and XACT Streetlite flywheel (p/n 600110). This clutch kit features a torque capacity of 245 -lbs and comes complete with pressure plate, disc, pilot bearing, throw out bearing, clutch alignment tool and grease. We installed the XACT flywheel using a set of ARP flywheel bolts (p/n 208-2802) with the recommended threadlock and torque specs to keep the bolts from backing out. A after bolting the clutch to the flywheel, we mated the transmission to the engine and bolted up the required 92-93 Integra rear T-bracket to the engine.
Swap Notes 101: Don’t Be Fooled!
THROTTLE CABLE MYTH• Many forums recommend swapping the throttle cable for an unnecessarily long one from the 1990-93 Integra. • We found that re-using the original throttle cable and utilizing a modified bracket such as Innovative’s (p/n 59510) delivers much better results.
PROPER VACUUM HOSE ROUTING • If the engine has a hunting idle or it dies shortly after starting and a check-engine light turns on, the vacuum system is a very likely culprit. • To properly route the vacuum system, utilize the factory vacuum hose diagrams from both the original engine and the engine being swapped into the vehicle. • After figuring out where the lines should go, double check that any and all lines are in good condition and don’t need replacement (pin hole leaks, cracking, etc.) • Check for any loose connections where the rubber may have expanded due to heat and age.
ALTERNATOR PULLEY CLEARANCE• Whether or not the alternator will hit the frame rail depends on the vehicle, the mounts used and the alternator (B-series or D-series) • We recommend making a 1/4-inch dent in the frame rail prior to swapping in the engine because it’s nearly impossible to make that dent with the engine mounted. • Replacing alternator will require removal of left axle


