
No Rats Nest, Please
Physically swapping the engine isn’t the hardest part. Rather, most of the headaches lie in the wiring and electronics. As our B-series engine did not include an engine harness, we opted to use the one from the original single-cam engine and modify it to work with the B17A1. The key differences between the two engines are that the OBD1 B17 utilizes a four-wire oxygen sensor (as opposed to a one-wire) and requires extra wires for the knock sensor, VTEC solenoid and the oil pressure switch. If adding wires and soldering isn’t your thing, we suggest going with an aftermarket conversion harness like the RyWire OBD0 to OBD1 Conversion Package (p/n ECU-0-1-PKG) that includes both a sub-harness for all of the additional wiring mentioned above and a jumper harness for complete plug-and-play operation. This kit also includes the necessary adapters to run the OBD1 distributor. Instead of using the distributor jumper harness to switch the plugs from OBD0 to OBD1, we pinned out the plugs for each and re-pinned the engine harness to utilize the OBD1 distributor plugs.
 Honda engine swap experts such as Rywire offer jumper harnesses that take care of the OBD0 to OBD1 conversion and the additional wiring for VTEC.

In addition to the new wires, there are a few existing wires that need to be modified on the existing OBD0 harness. The first change that needs to be made is the connector for the coolant fan switch. The coolant fan switch plug on the OBD0 harness utilizes two bullet connectors and is located on the driver’s side rear of the engine. In contrast, the OBD1 B-series shifts the fan switch to the thermostat and changes it to a single connector with two pins. We recommend pulling the wire back from the loom and shortening it to the proper length since the connectors must be cut off and a two-wire plug soldered on.

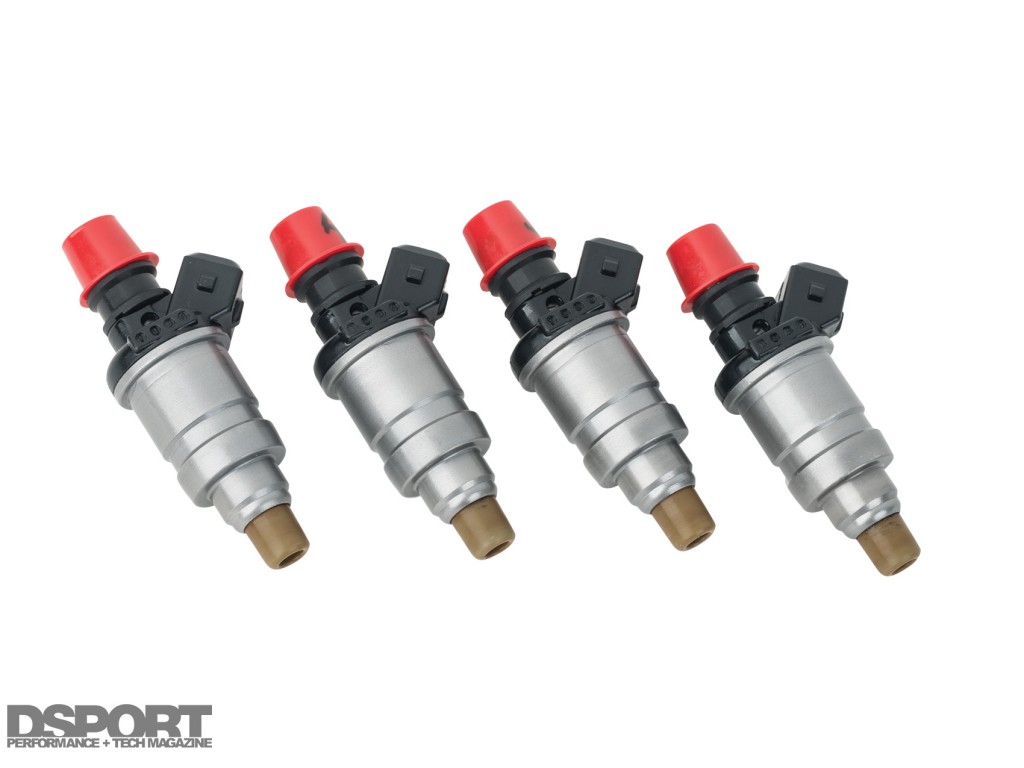
(L) RC Engineering offers an extensive lineup of high-flow injectors such as these 550 cc/min units that we’ll be using for performance tests in the future. (R) For those looking to simply service the factory injectors, RC Engineering also offers an affordable injector cleaning service.
The second change that must be made depends on the type of injectors used. If a high-impedance injector will be used later on, we recommend deleting the resistor box and simply running factory OBD1 or OBD2 high-impedance (saturated) injectors. To delete the resistor box, simply cut the five wires off and connect them all together. We sent out the OBD1 injectors that came with the engine to RC Engineering for its injector cleaning service to ensure adequate flow from the injectors. In later testing, we’ll be utilizing a set of RC Engineering’s 550cc/min injectors (p/n SL4-0550H) for the nitrous and camshaft evaluation on the vehicle.

Instead of running an adapter to convert the OBD0 harness to accept the OBD1 distributor, we re-pinned the harness with the correct OBD1 plugs.

Check engine lights will commonly turn on after a swap. Don’t be alarmed by it. Simply pull the codes from the ECU and figure out what’s going on.
Fire it Up
 [pullquote]WHEN THE CR-X HAD ITS ORIGINAL 250,000-MILE D15B6 IN IT, THE VEHICLE STRUGGLED TO MAKE IS ATOP THE ROLLERS OF OUR DYNOJET IN-GROUND DYNAMOMETER.[/pullquote] With everything bolted in and the wiring completed, we filled the engine, transmission and cooling system with fluids in preparation of starting the vehicle. After double checking all the wiring, plumbing and bolts, we fired up the vehicle and got a nice check engine light greeting. After checking the main grounds multiple times, we finally discovered that Jun forgot to attach the grounding boxes found on both the left and right inner fenders. We cleared up the codes and headed for the street to break-in the engine using Royal Purple’s Engine Break-in Oil. This specially formulated mineral oil utilizes high levels of zinc and phosphorus to help allow optimal ring seal and increase protection for rotating assemblies against initial startup wear.
After driving the engine on the street for 500 miles, we strapped the CR-X back onto the dyno for some big power, B-series dyno pulls. Although the first pass yielded us only 70 horsepower since someone accidentally turned off the air compressor for the dyno, subsequent dyno passes consistently rang in right above the 150 wheel horsepower mark. Compared to the previous gas-sipping D15B6 that delivered only 60 wheel horsepower, the B-series powered CR-X felt like a completely different car.
Horsepower
Red- B17A1 Blue- D15B6Looking at the dyno comparison, the RPM range of the B17A1 nearly doubles that of the factory D15B6. With nearly three times as much power as before, the output of the B17A1 is tremendous compared to that of the original HF engine. The spike at 5,400 RPM is VTEC coming on and switching to the more aggressive camshaft profile. This allows the engine to keep pulling in the higher RPM range until about 7,400 RPM. Although the D15B6 delivered excellent fuel economy, it’s power deficiency made it one of the worst traits of the CR-X.
Torque
Red- B17A1 Blue- D15B6
Like the horsepower comparison, the torque difference is simply night and day. While the D15B6 made peak torque at what almost seems like idle, the B17A1 made more torque throughout the entire RPM range. Torque is linear across the powerband with a slight increase when VTEC kicks on and a slight decrease from 7,300 RPM to redline. In fact, the B17A1 delivered a solid 100-110 lb-ft of torque across the entire powerband, more than enough to get the extremely light CR-X moving along quite quickly.

