
Have you ever looked down at your phone and thought “How the hell did I survive before this amazing invention?” Seriously, I probably know two or three people’s phone numbers and get step-by-step directions to at least 50-percent of the places I go. Put aside the constant social contact through calls and texts and just consider the shear utility of your phone, it is mind blowing that people functioned before smartphones.
Before the onset of smartphones with GPS and voice commands, people found solutions to their everyday challenges. Whether it was writing letters or using a good old-fashioned printed map, people figured out how to get it done. Just like this old school way of problem solving, people used to also join metals before welding. Whether it’s through the use of fasteners (bolts, studs, rivets), brazing or soldering, you can affix two pieces of metal. But welding makes it possible to take two pieces of metal and effectively make them one.
Text and Photos by Sami Sharaf // Illustrations by Paul Laguette // Welding by Len Higa at Sleepers Speed Shop
DSPORT Issue #167
Come Together
Welding is the process of joining similar metals by melting two pieces together. There are different methods of welding; some rely on electricity to generate an arc while others ignite gas to generate heat. What’s actually happening during the welding process simply comes down to heating metals to their melting temperatures until they melt (and then cool) as one piece.

The components that make up the welding process begin with the use of a welder. The welder creates heat that will produce a puddle of molten metal. The depth of the melting is referred to as penetration. It is critical to have the proper amount of penetration to functionally join the metals. A weld without penetration simply will not hold up and will eventually break. Lastly, the deposited weld is referred to as the bead, which often builds up on top of the work piece.
Oxy-Acetylene
If you took auto shop or metal shop in high school then you’ll probably remember oxy- acetylene welding. Oxy-acetylene welding is likely the first process that aspiring weldors and fabricators will learn. Oxy-acetylene burns acetylene gas to generate a torch that can heat metal to its melting point. The addition of oxygen gas to the combustion of acetylene gas produces flame temperatures in excess of 5,500-degrees, which allows for the heating of many types of metals. This versatile process is simple and portable since it does not require electricity plus it can be used to weld, heat, cut and braze all types of metals by changing out attachments or tips.

Stick (Arc)
The three other main types of welding all utilize electricity to generate an arc to ultimately heat metals past their melting temperatures to achieve a weld. Stick or Shielded Metal Arc Welding (SMAW) is a welding process that generates an arc between a coated metal electrode and the work piece. The metal electrode (where the term stick originates) is coated with a flux that melts during welding to release carbon dioxide.
The carbon dioxide gas performs as a shielding gas to protect the molten metal from contamination, primarily from oxygen and water vapor that may weaken the weld. While this process requires a higher level of coordination to properly puddle the bead, it is a powerful process when working with material that isn’t clean or contains rust.

MIG
MIG or Metal Inert Gas welding is now also known as Gas Metal Arc Welding (GMAW). This process heats metals to their melting point with an electric arc. The arc is generated between a continuous, consumable electrode wire and the work piece. The gas portion of this technique is present as a shielding gas. As such, it flows from the welding gun itself to shield the arc from contaminants. A noble gas, commonly Argon, is used since it does not react during combustion, keeping oxygen and water vapor away from the weld. In addition to Argon, helium gas is often used due to its similar nonreactive properties but less expensive cost.
Many consider MIG welding to be the easiest form of welding to learn and it is often the go-to welding process because it tends to allow a faster workflow. Another benefit of MIG welding is that the metal doesn’t need to be as clean as TIG welding. With that said, this forgiving process is known to be dirty as it produces more sparks, fumes and smoke than TIG welding.

TIG
TIG (Tungsten Inert Gas) or Gas Tungsten Arc Welding (GTAW) uses a non-consumable tungsten electrode to create an electric arc with the work piece. The inert gas used for shielding is also typically Argon. The shielding gas protects the heat-affected zone, the molten metal and the tungsten electrode. This versatile welding process is best for intricate welding jobs on metals such as carbon and low-alloy steels (such as 4130 chromoly tubing), stainless steel of various grades, Inconel, aluminum, magnesium and titanium. The main downside of TIG welding is that it is a relatively slow process. Additionally, it is usually necessary to ensure the cleanliness of the material being welded for TIG to be effective since impurities can compromise the strength of the weld. Depending on the material being welded and its thickness, the TIG welding process can be varied by the electrode polarity. The current settings can change the polarity to DC negative, DC positive or AC. DC negative TIG welding generates more heat to the workpiece which allows for deeper penetration. For thinner metals that don’t require as much penetration, DC positive supplies more heat to the tungsten electrode. AC TIG welding is used on non-ferrous metals to help clean the weld of contaminants.

Safety Equipment That You’ll Need
Once you have a welder selected and a clean and safe work area cleared, you’ll need a couple pieces of safety equipment to start welding.
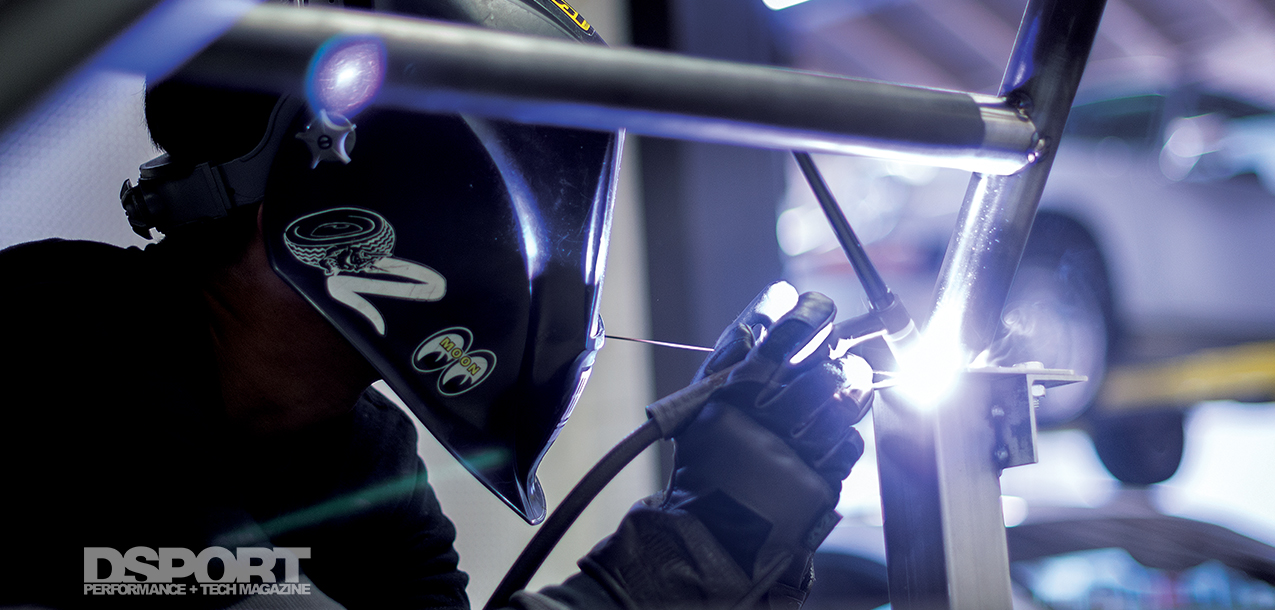
 Welding Hood (Mask or Helmet)
A welding hood is used to protect the weldor’s head, face, neck and eyes from flash burn, UV light, sparks, IR light and heat.
NEVER look at a welding arc with the naked eye – the eye’s retina is easily damaged. Looking at welding arcs can cause anything from slight discomfort to permanent vision loss.
Gloves
High-quality gloves that offer both heat and flame resistance while maintaining dexterity are a must- have for any weldor.
Jacket, Shirt, and/or Apron
Many weldors opt to use welding-specific attire that are flame retardant, protect against splatter and reduce heat absorption while maintaining comfort. This can be achieved by wearing long-sleeve welding shirts, jackets and/or aprons.
What the Flux
Another attractive option for beginning weldors is a flux-cored welding process. This process is similar to the “glue gun” configuration of MIG welding except it does not require an external shielding gas to protect the weld from contaminants. Flux-cored welders feature a continuously fed hollow wire electrode that contains a flux compound. During the welding process, the flux reacts with the arc to release carbon dioxide and function as a shielding gas. As a result of the built-in shielding properties, flux-core welding is ideal in outdoor applications (for smoke ventilation) and for use on metals that aren’t necessarily clean.
The upside of this process is that many manufacturers of welding equipment have designed machines that can function as both traditional MIG welders and flux-core wire welders. The downside to this process is that the welds do not appear as clean as MIG welds. This can be attributed (to some extent) to a layer of slag that builds up on top of the weld that will need to be either chipped or ground away once the weld cools.

Safety Precautions
Welding can be dangerous if the proper precautions aren’t taken. To protect yourself and those around you, keep the following ten safety precautions in mind before, during and after welding.

Recommended Welding Processes:
Select the welder according to the metal type

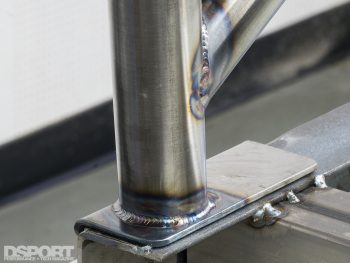
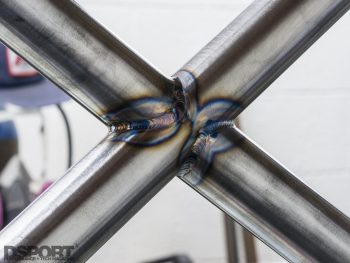
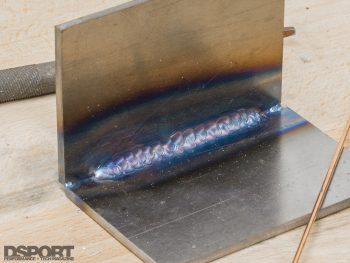
Types of Joints

Ready, Set, Weld
Welding is a complex, multifaceted subject that can take a lifetime to master. Knowing the basics is a good starting point. From here, tap into any resources available to you, whether it’s your neighbor that fixes farm equipment or the fabricator at your local tuning shop, there is a wealth of knowledge that comes from experience. From this article, you should be more familiar with the main welding processes and the theoretical understanding of joining metals together. From here, you’ll want to spend as much time as possible practicing laying down welds. One great practicing method is to learn the five major joints (butt, corner, lap, edge and tee) and how to effectively weld those joints. Knowing these welds will allow you to carry out most small repairs and fabricate simple brackets for your car. After learning the basics and mastering the techniques, you’ll be able to transition to other types of welding and gain the ability to weld different types of materials. Weld on!
